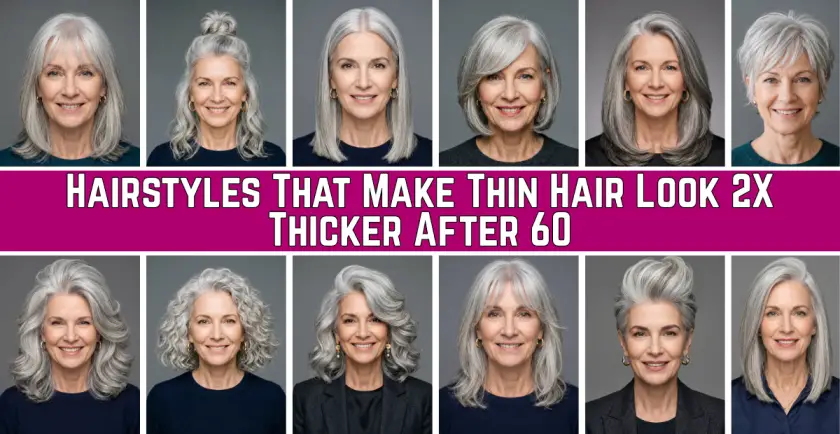
Most women expect their skin to change as the years pass, but nobody really prepares you for what happens to your hair. One morning you’re styling your usual look, and suddenly, you notice more of your scalp peeking through the crown, or your ponytail feels half as thick as it did a decade ago.
It’s a frustrating, often emotional transition. Whether it’s due to hormonal shifts, genetics, or just the natural aging process, thinning hair can make you feel like your “signature look” has vanished. But here is the truth that high-end stylists in London and New York know: You don’t actually need more hair; you need better architecture.
If you are over 60, the “long and straight” styles of your 30s might be working against you now, pulling the hair down and making it look limp. To get that “2X thicker” look, we have to stop fighting gravity and start using it. It’s about creating a silhouette that tricks the eye into seeing depth, movement, and volume where the strands themselves might be sparse.
In this guide, we aren’t just looking at “short cuts for seniors.” We are diving into 30 sophisticated, modern hairstyles specifically engineered to breathe life back into thinning manes. From the strategic “weight lines” of a modern bob to the lifting power of a textured pixie, these are the solutions that help you stop hiding your hair and start wearing it with confidence again.
2. The Science of Illusion: Why Certain Cuts Work
To understand how a simple haircut can seemingly “grow” more hair on your head, you have to stop thinking like a consumer and start thinking like an architect. Hair thinning isn’t just about the number of strands you have; it’s about the density of the silhouette. When hair is thin, light passes through it easily, exposing the scalp and making the hair look transparent. The “Science of Illusion” is essentially the art of blocking that light and creating shadows.
The Power of the “Weight Line”
In the world of professional styling, we talk a lot about the weight line. When hair is all one length and very long, gravity pulls those thin strands down, separating them and making the ends look “stringy” or “see-through.”
By opting for a blunt cut—where the ends are chopped straight across—you are creating a concentrated horizontal line of hair. This “stacks” every available strand on top of each other at the very bottom, creating a visual boundary that looks solid and healthy. It tells the eye, “The hair ends here, and it is thick.”
Geometry Over Length
For women over 60, height at the crown is the ultimate goal. As hair thins, it tends to lie flat against the top of the head. This is where triangulation comes in. By using shorter, strategic layers around the crown (often called “internal layering”), the hair is lightened. Without the weight of long hair pulling it down, these shorter pieces can “stand up” more easily, creating a rounded, voluminous shape.
Think of it like a tent: if the center pole is too short, the fabric sags. Strategic layering acts as that center pole, propping up the style from the inside out.
The Optical Illusion of Color and Parting
The science extends beyond the scissors. Color placement is a massive factor in the illusion of thickness. A flat, single-tone color (especially dark colors) can contrast harshly against a light scalp, making thinning areas more obvious.
- Root Shadowing: By keeping the roots a half-shade darker than the rest of the hair, you create a “shadow” that mimics the look of high density at the base.
- Dimensional Highlights: Multi-tonal colors trick the eye into seeing “depth.” Much like a 3D painting, the variation between light and dark shades makes the hair look like it has multiple layers of thickness.
Finally, there is the Deep Side Part. Most of us have a natural part, but over decades, the hair becomes “trained” to lay flat in that direction. By flipping your part to the opposite side or moving it two inches over, you are forcing the hair to stand up against its natural growth pattern. This creates instant, chemical-free lift at the root that can make the front of your hair look twice as full in seconds.
The Top 30 Hairstyles
When most people hear the word “bob,” they think of a generic, one-size-fits-all cut. But for the woman over 60 dealing with thinning hair, the bob is actually a precision tool. It is arguably the most effective “thickening” cut in existence because it eliminates the dead weight that pulls hair flat, while keeping enough length to feel feminine and versatile.
The magic of the “Power Bob” lies in its ability to condense hair. By bringing the length up towards the jawline or shoulders, you are essentially concentrating all your hair into a smaller area, making the density appear much higher than it actually is.
1. The Classic Italian Bob
The Italian Bob is currently a favorite in Tier 1 salons from Paris to New York, and for good reason. Unlike its sharper, more severe cousins, the Italian Bob features slightly “frayed” blunt ends. The length typically grazes the chin or the neck.
- Why it works: The bluntness at the bottom creates a solid “wall” of hair that looks incredibly healthy. Because it’s styled with a bit of a tossled, air-dried texture, it doesn’t look flat even if you have fine strands.
- Styling Tip: Use a small amount of texturizing spray on the mid-lengths to give it that “undone” chic look.
2. The Graduated Stacked Bob
If you find that your hair is particularly thin at the crown (the back-top of your head), this is your solution. A graduated bob is shorter in the back and angled longer toward the front. The stylist “stacks” the hair at the nape of the neck.
- Why it works: Those stacked layers act as a shelf, literally pushing the hair above them upward. This creates a permanent “bump” of volume at the back of the head without you having to spend twenty minutes teasing it with a comb.
- Styling Tip: Use a round brush while blow-drying the back section to emphasize that built-in lift.
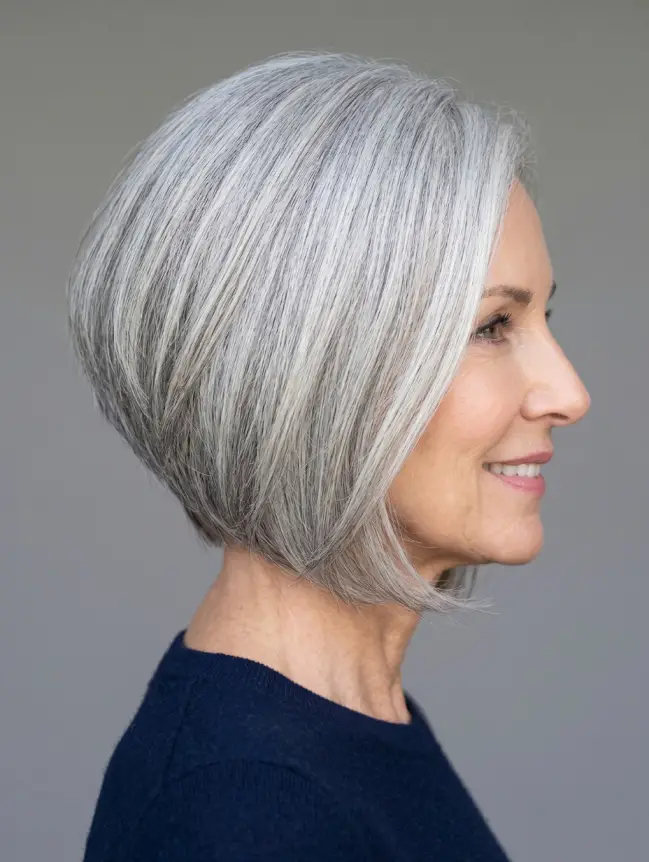
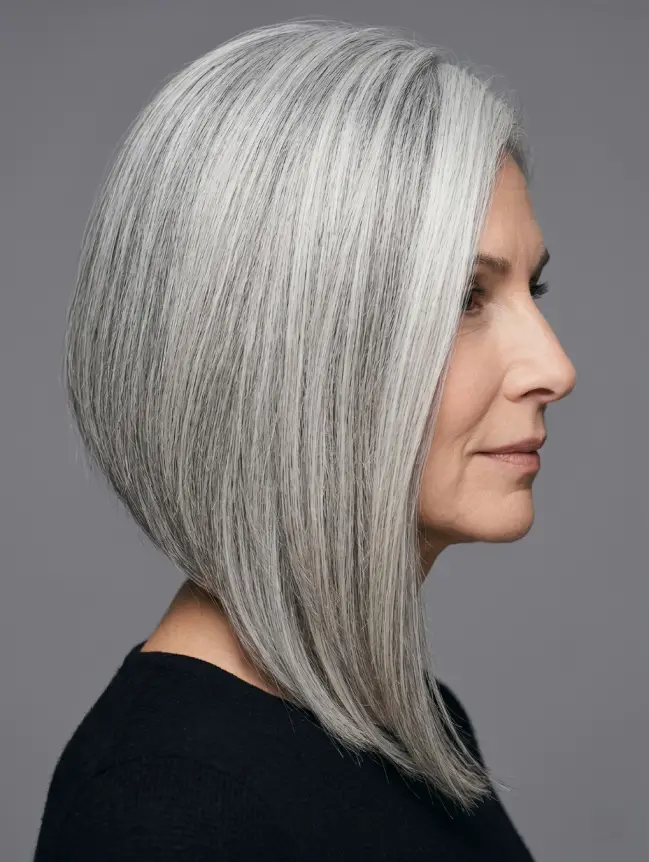
3. The “A-Line” Lob (Long Bob)
For those who aren’t ready to go quite as short as the chin, the “Lob” is the perfect middle ground. An A-line lob is shorter in the back and gradually gets longer as it reaches the collarbone.
- Why it works: It provides the elegance of longer hair while keeping the back short enough to maintain volume. The forward-slanting lines draw the eye downward and inward, framing the face and masking thinning at the temples.
- Styling Tip: This cut looks best with a deep side part, which adds instant height to the front.
4. The Shaggy Texturized Bob
Perfect for the woman who wants a low-maintenance, “wake up and go” style. This version of the bob uses soft, choppy layers throughout rather than a solid blunt line.
- Why it works: If your hair is thin, sometimes a perfectly straight line can actually highlight the lack of density. The “shag” approach creates a messy, voluminous silhouette where the gaps between the hair strands look intentional and stylish rather than sparse.
- Styling Tip: Apply a lightweight volumizing mousse to damp hair and scrunch it as it dries to encourage a natural wave.
5. The Asymmetrical Bob
Style 180° is all about misdirection. An asymmetrical bob is noticeably longer on one side than the other.
- Why it works: It breaks the symmetry of the face. When hair is thin, a perfectly symmetrical cut can make “flat” spots more obvious. By shifting the weight of the hair to one side, you create a focal point of density that makes the entire head of hair appear more robust.
- Styling Tip: Keep the shorter side tucked behind the ear to emphasize the volume and length of the “power” side.
Category B: Pixies & Short Crops (Maximum Volume)
For many women over 60, the transition to a shorter crop isn’t just about convenience—it’s a strategic power move. While long, thin hair can often feel like a burden you’re trying to “fix,” a pixie cut allows you to reclaim your style. By removing the weight that forces hair to lie flat against the scalp, these short crops allow your natural texture to defy gravity.
In this category, we focus on vertical volume. The goal is to move the “bulk” of your hair from the ends to the top of your head, where it creates the most youthful and vibrant silhouette.
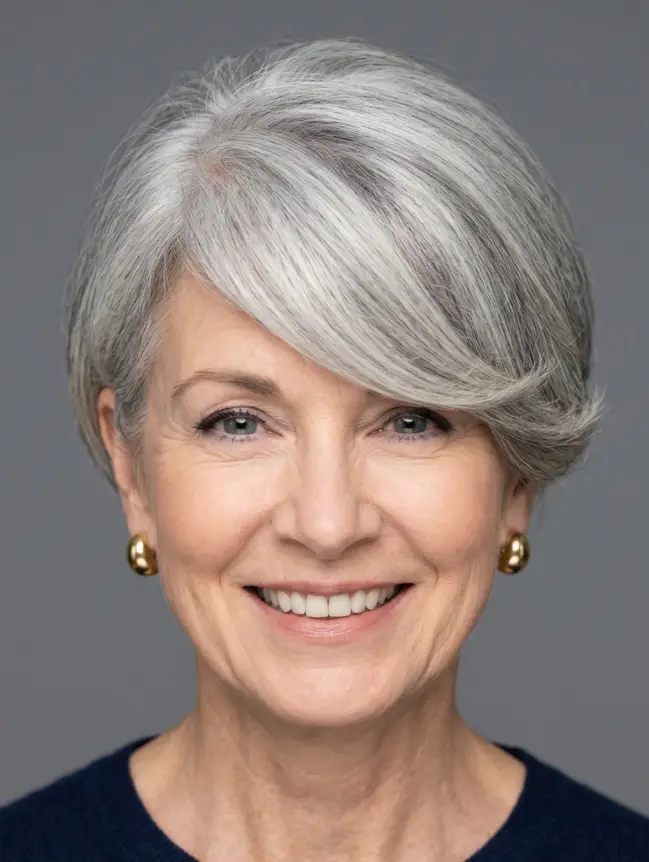
6. The Wispy, Layered Pixie
This is the “gold standard” for fine, thinning hair. Instead of a solid helmet-like cut, the stylist creates soft, feathered layers of varying lengths across the crown.
- Why it works: Because the layers are wispy and light, they don’t clump together. This prevents the “separation” that often makes thin hair look sparse. The movement of the feathers hides the scalp effectively while giving the hair a soft, cloud-like fullness.
- Styling Tip: Use a tiny amount of lightweight “dry wax” on your fingertips to pinch the ends of the layers for definition without weighing them down.
7. The Spiky Taper
If you have a bold personality and want a look that says “modern and edgy,” the spiky taper is unbeatable. The sides and back are kept very short, while the top is left slightly longer and texturized.
- Why it works: By keeping the sides tight, you create a visual contrast. The relative “emptiness” on the sides makes the hair on top look significantly denser and taller by comparison. It’s an instant face-lift in haircut form.
- Styling Tip: Blow-dry the top section forward and upward using a vent brush to maximize the “lift” at the roots.
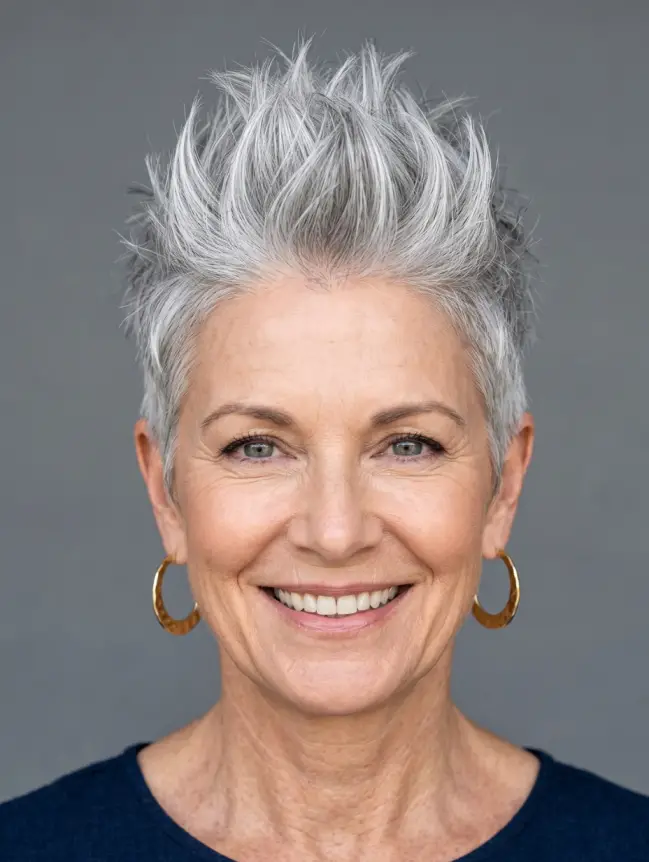
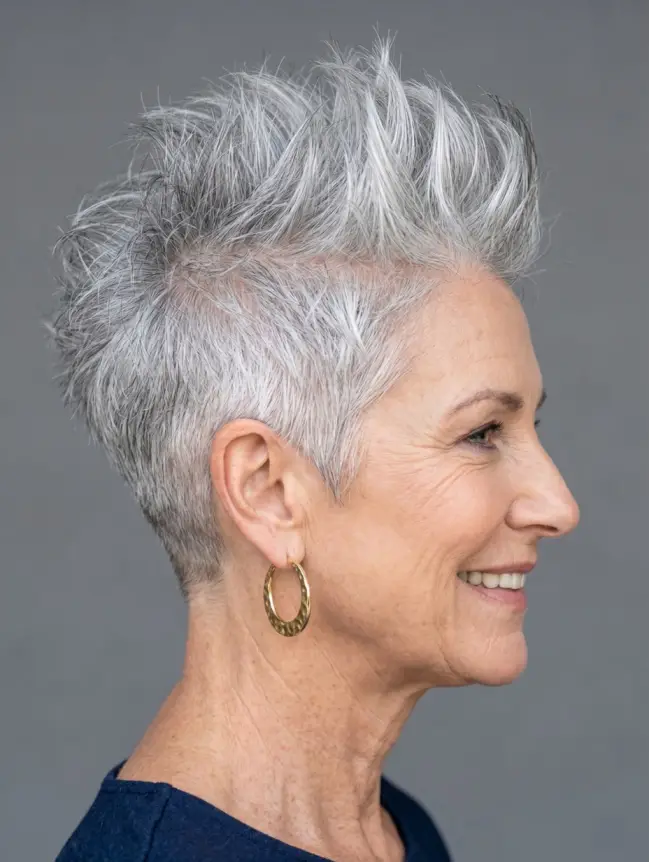
8. The Pompadour Pixie
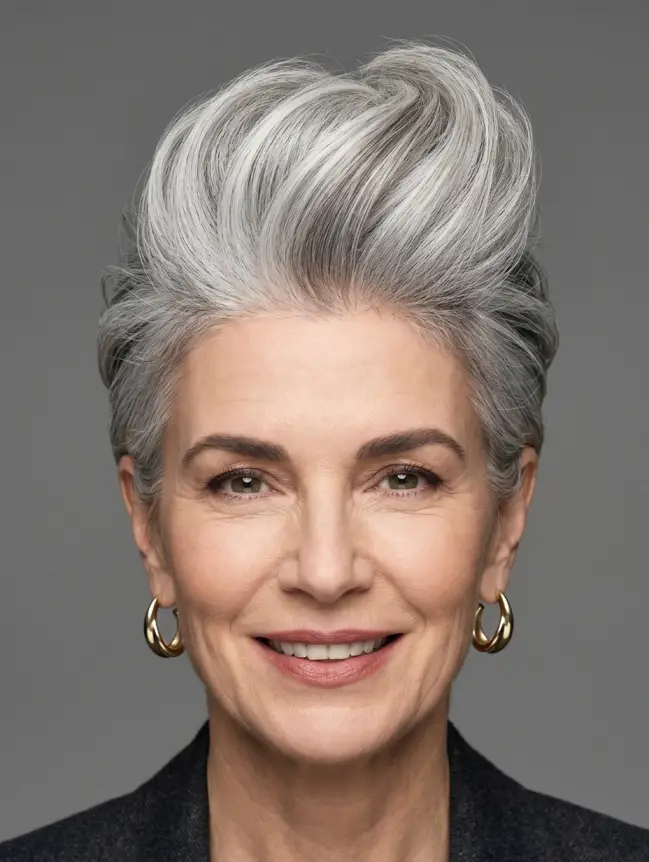
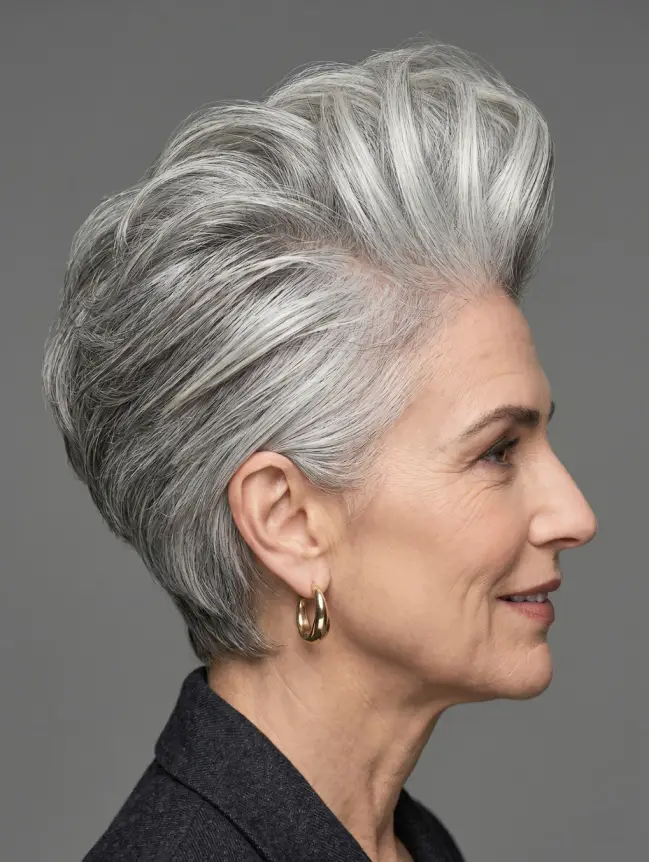
Inspired by classic Hollywood glamour but modernized for the 2020s, the Pompadour Pixie focuses almost all the hair volume on the front and center of the head.
- Why it works: It’s the ultimate “2X thickness” illusion. By sweeping the hair up and back from the forehead, you create a massive amount of height. This is particularly effective for women who find their hair thinning most prominently at the part or the crown.
- Styling Tip: This style lives and dies by its volume. Use a volumizing root-lift spray on damp hair before styling to ensure the “pomp” doesn’t fall flat by lunchtime.
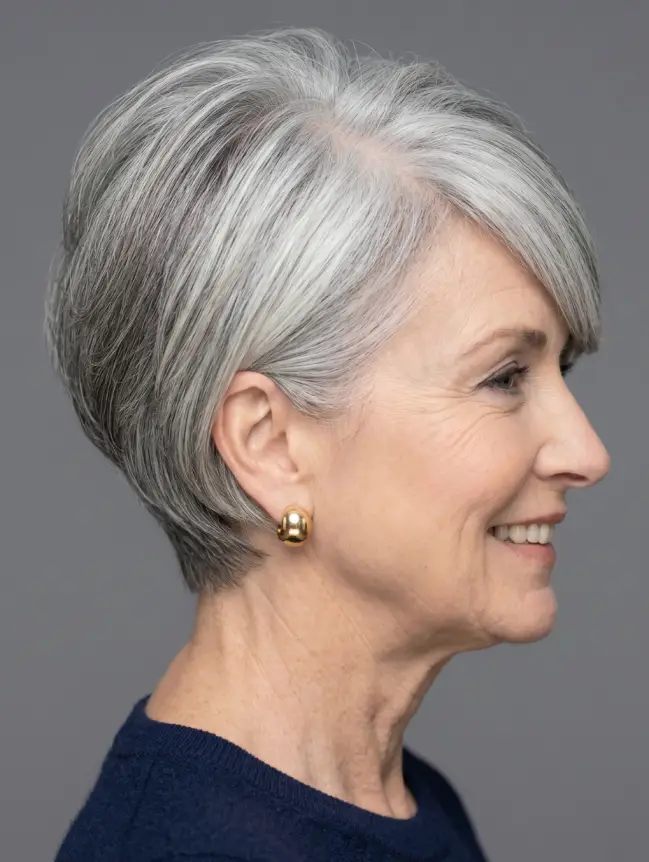
9. The Side-Swept Crop
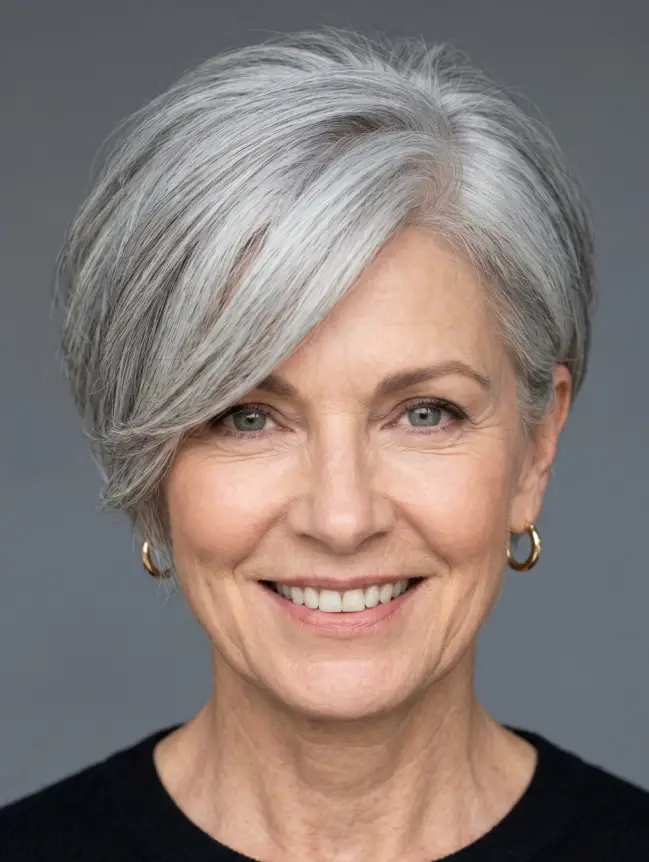
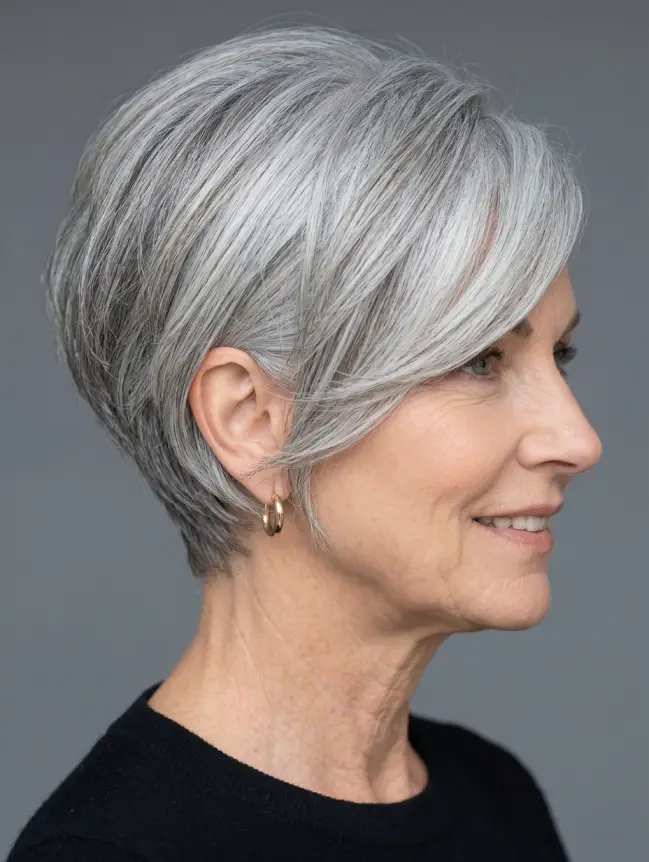
This cut features a deep, dramatic fringe that sweeps across the forehead, blending into the rest of the short cut.
- Why it works: Many women over 60 experience thinning at the temples or a receding hairline. The side-swept fringe acts as a stylish camouflage, covering those areas with the densest part of your hair while adding a sophisticated frame to your eyes.
- Styling Tip: Avoid heavy hairsprays. Instead, use a light “working spray” that allows the hair to move naturally while holding its shape.
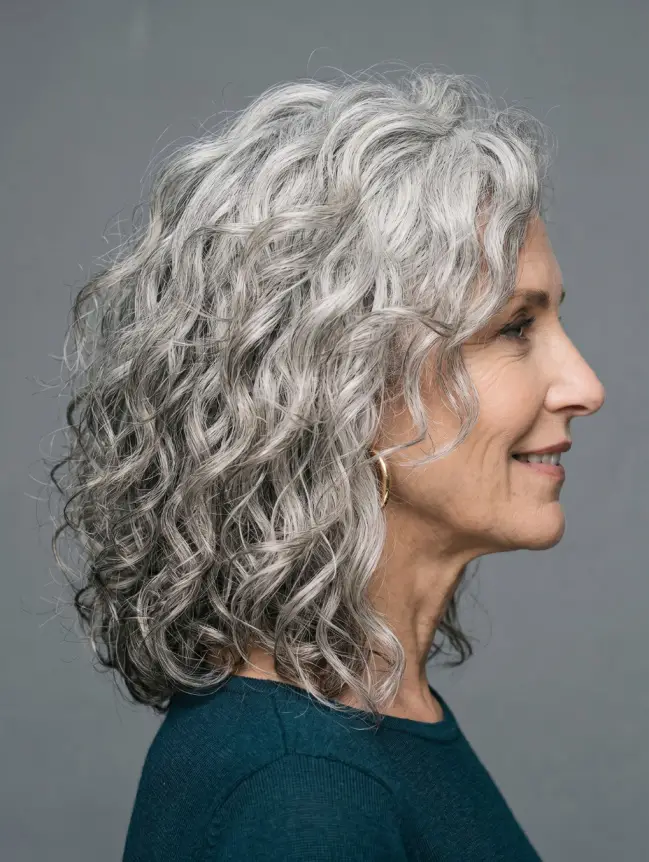
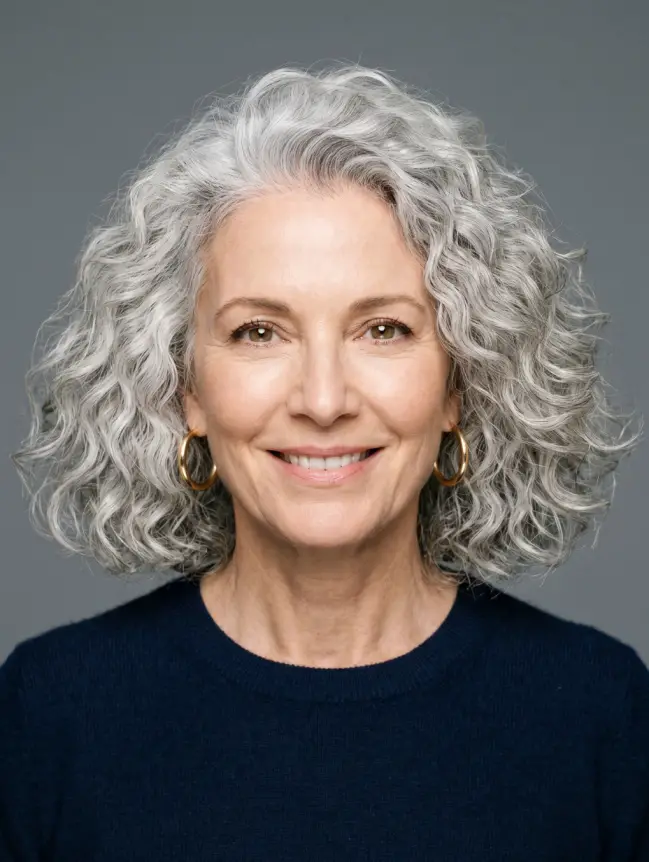
10. The Curly Cropped Cut
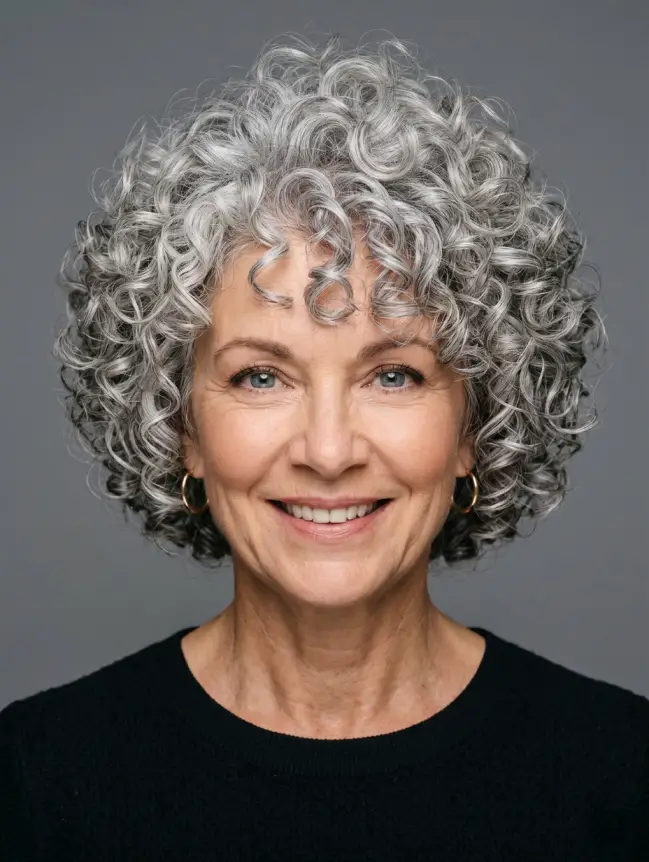

If you have any natural wave or curl left in your hair, now is the time to embrace it. A short crop designed to let curls “clump” and bounce is a secret weapon for volume.
- Why it works: Straight hair lies flat; curly hair occupies space. By cutting the hair short enough to support the curl’s structure, you create natural air pockets between the strands. This physically makes the hair take up more “real estate” on your head.
- Styling Tip: Use a curl-defining cream rather than a crunch-inducing gel to keep the texture soft and touchable.
Category C: Mid-Length & Shoulder-Grazing Styles
For many women, the shoulder-length range is the “danger zone” for thinning hair. If left unstyled, this length often reveals where hair is most sparse, as the strands separate and look “stringy” against the shoulders. However, when done correctly, mid-length styles offer the perfect balance of elegance and volume.
The secret here is movement. We want to avoid static, straight lines and instead focus on cuts that encourage the hair to “bounce” off the shoulders, creating an airy, full-bodied look.
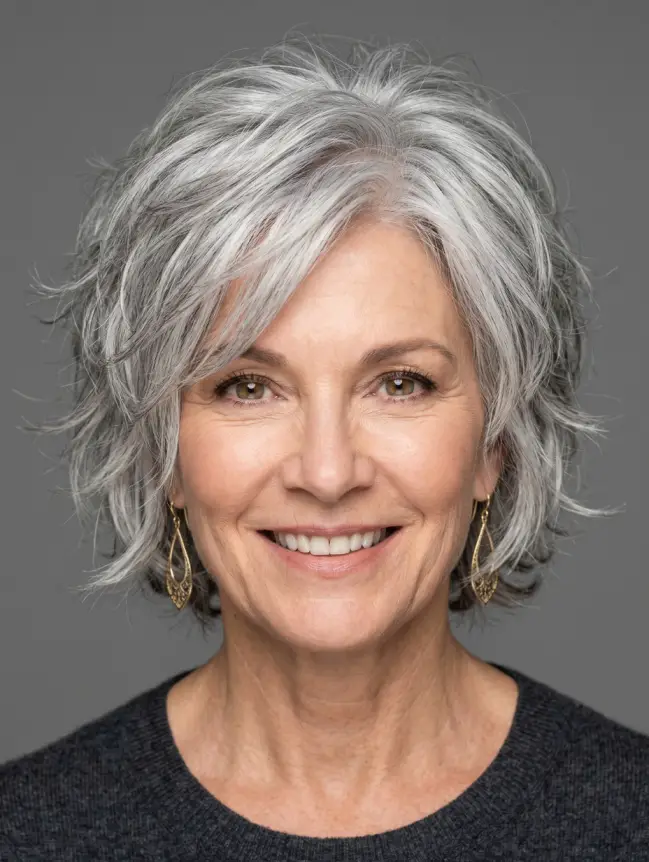
11. The Modern Shag
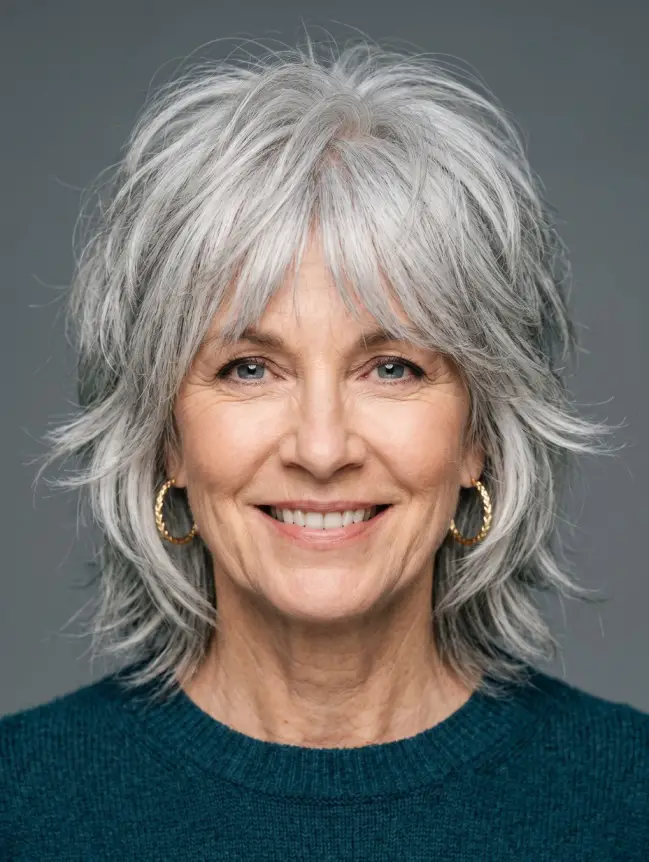
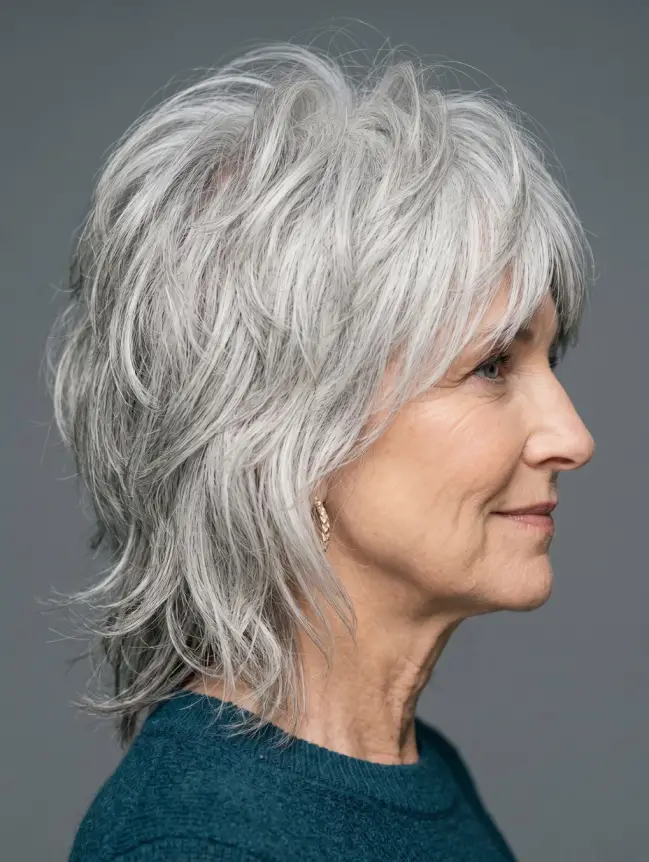
The 70s shag has made a massive comeback in 2026, but with a refined twist for the over-60 demographic. It features choppy layers and a lot of texture around the mid-shaft.
- Why it works: The shag is designed to look messy and full. By adding shorter layers throughout the length, you remove the weight that pulls the crown flat. The “shaggy” ends hide the fact that the hair might not be thick, as the unevenness is the actual style.
- Styling Tip: Use a sea-salt spray on damp hair and “scrunch” it to create those effortless, voluminous waves.
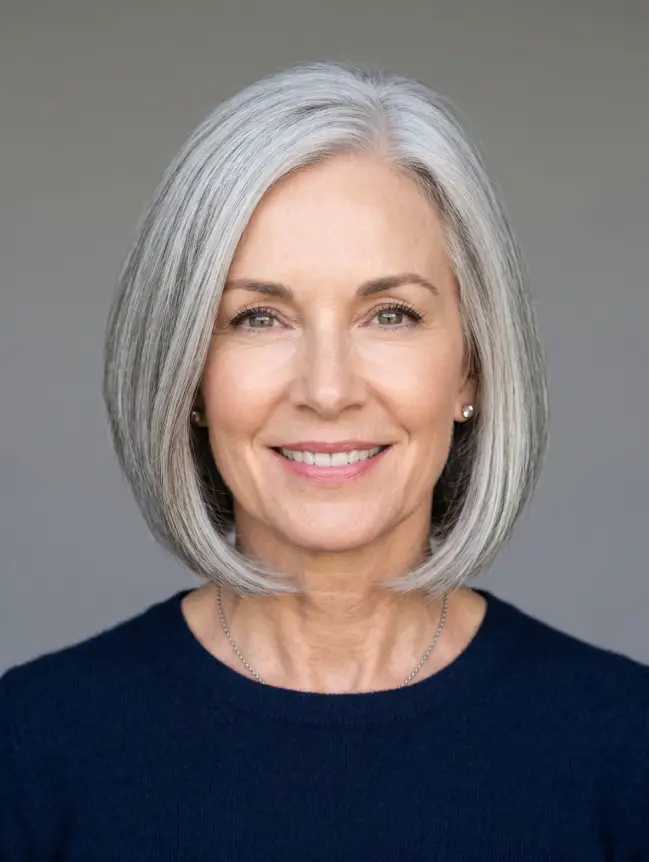
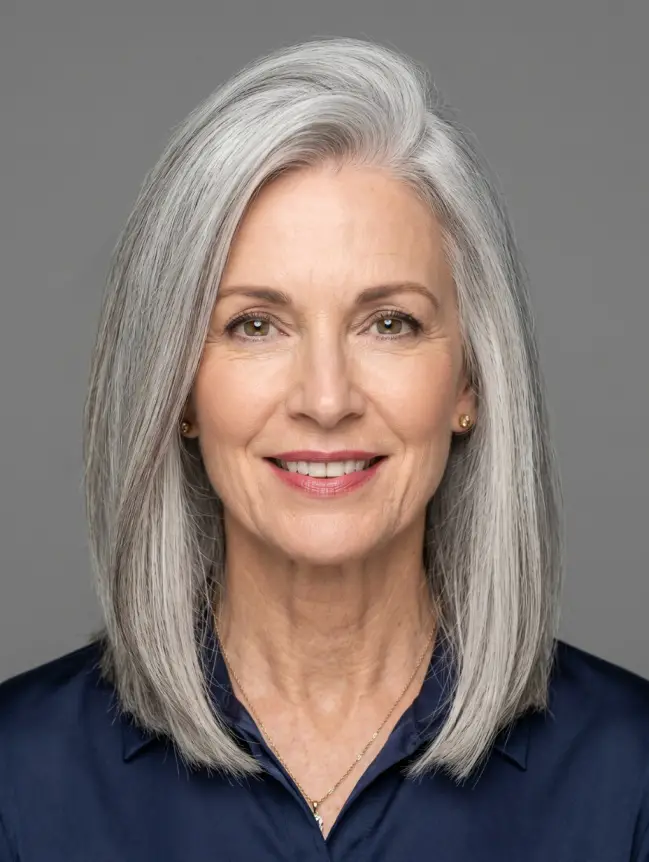
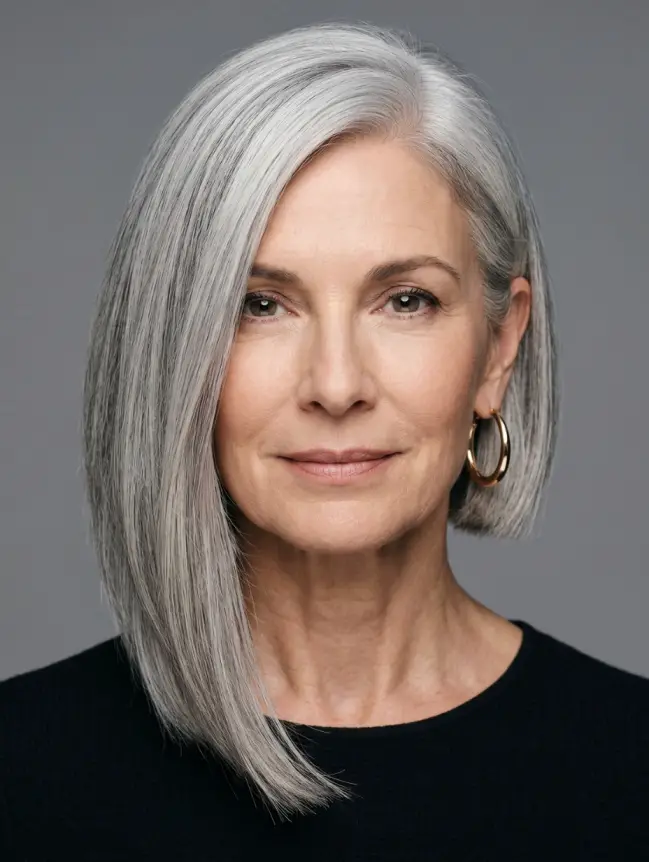
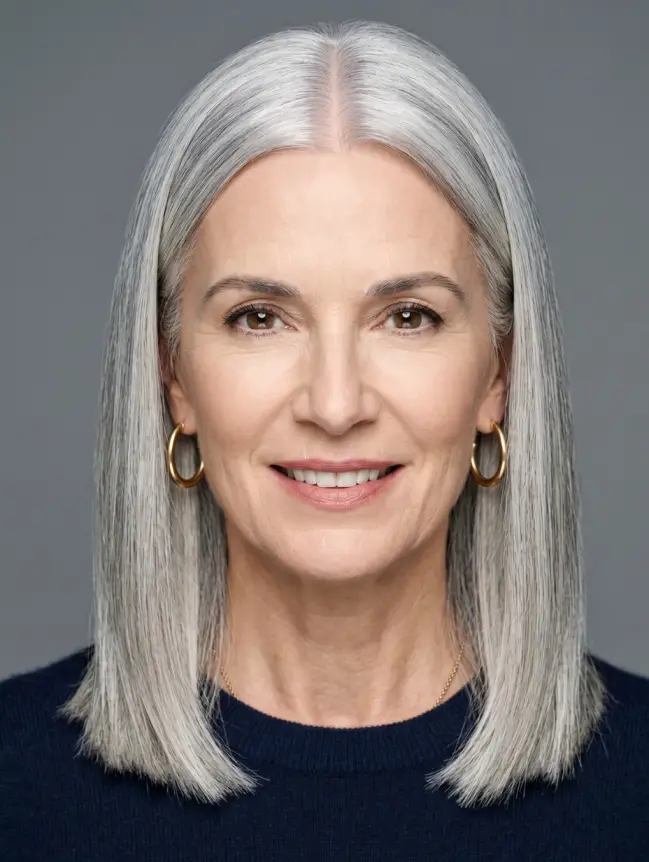
12. The “Collarbone” Blunt Cut
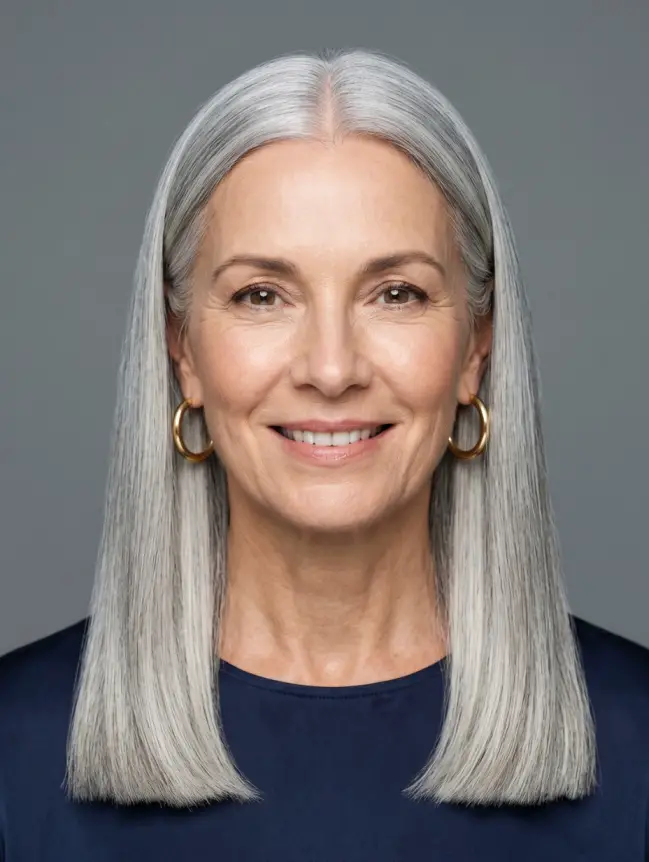
This is the most sophisticated option for those who want to keep some length. The hair is cut exactly at the collarbone in a sharp, crisp line.
- Why it works: By hitting the collarbone, the hair has a physical “base” to rest on. This prevents the hair from hanging limply. The blunt edge creates the illusion of a thick, healthy perimeter, making the overall mane look much more robust than a layered long cut would.
- Styling Tip: Keep the ends very hydrated with a tiny drop of hair oil so they look thick and polished rather than frayed.
13. Internal “Ghost” Layering
This is a high-end salon technique where the stylist cuts short, “invisible” layers underneath the top canopy of your hair.
- Why it works: It’s like a built-in support system. The shorter hairs underneath act as “pillars,” pushing the longer hair on top upward and outward. You get the volume of a layered cut with the sleek, clean appearance of a one-length style.
- Styling Tip: Blow-dry with a large round brush, focusing on lifting the hair away from the scalp at a 90-degree angle.
14. The U-Cut (The “V” Alternative)
While many people think a “V-cut” (where hair comes to a point in the back) looks good, it actually makes thin hair look like a “rat tail.” The U-cut keeps the back rounded.
- Why it works: By rounding the back into a “U” shape, the sides of your hair stay thicker for longer. It provides a more balanced distribution of hair density, ensuring that you don’t lose all your volume at the ends.
- Styling Tip: This cut looks incredible with “curtain curls”—using a large-barrel curling iron to curl the hair away from the face.
Category D: Banging Solutions (Fringe & Frames)
For women over 60, bangs (or “fringes”) are often the most misunderstood tool in the styling kit. Many avoid them, fearing they look too youthful or high-maintenance. However, a strategic fringe is essentially “filler” for your forehead and temples. It’s the fastest way to camouflage thinning at the hairline and refocus the viewer’s eye on your features rather than your scalp.
In this section, we look at how adding a “frame” to your face can instantly double the perceived density of your front-facing silhouette.
15. Bottleneck Bangs

A hybrid between a full fringe and curtain bangs, these are slim at the top and curve out around the eyes.
- Why it works: They mimic the shape of a glass bottle neck. By starting narrow and widening out, they cover the areas where hair often thins most—the temples and the upper corners of the forehead—while leaving the center of the face open.
- Styling Tip: Use a small round brush to blow-dry them forward, then “split” them slightly in the middle for a soft, effortless look.
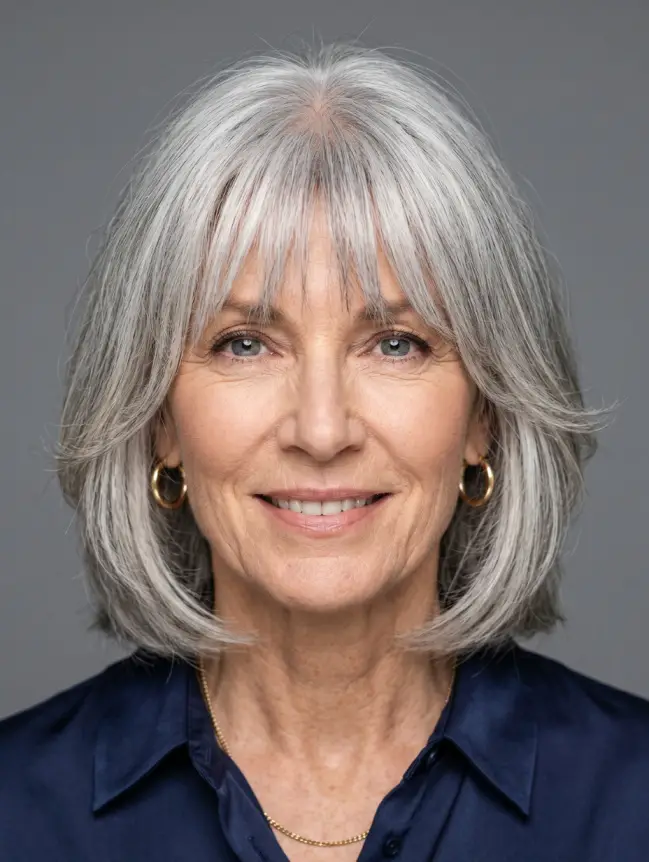
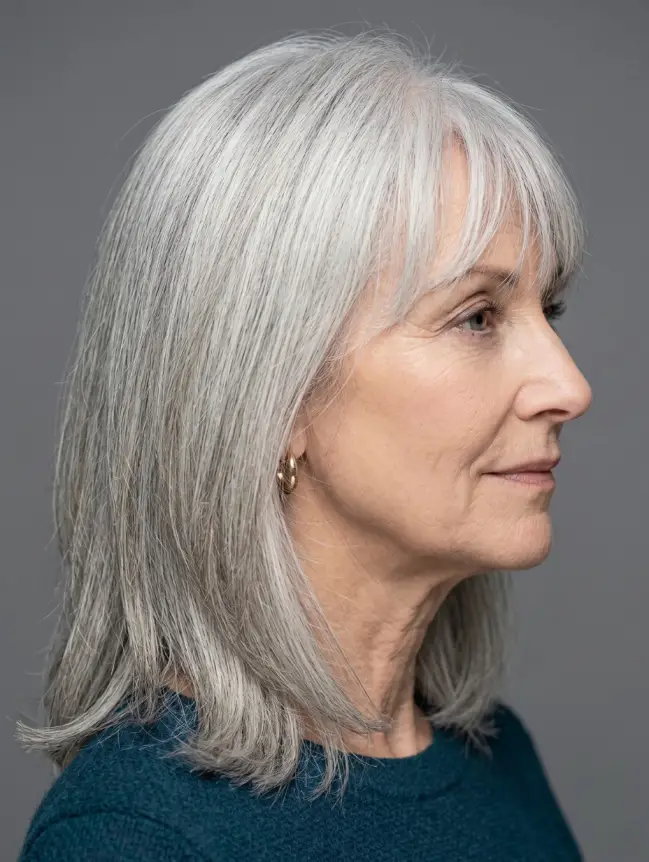
16. Wispy Curtain Bangs
Unlike the heavy, thick curtain bangs of the 70s, the “wispy” version is lighter and more separated.
- Why it works: If your hair is thin, trying to cut a thick, blunt fringe can actually take away too much hair from the rest of your style. Wispy curtain bangs use very little hair to create a massive impact, adding a “veil” of volume that frames the face and gives the illusion of a fuller head of hair.
- Styling Tip: These are best styled with a bit of dry shampoo at the roots to keep them from getting “stringy” throughout the day.
17. The Side-Swept Fringe
This is a classic for a reason. A long, diagonal fringe that sweeps from a deep side part across the forehead.
- Why it works: It’s all about the “diagonal line.” A horizontal line (blunt bangs) can sometimes highlight thinning, but a diagonal line draws the eye across the face, creating a sense of movement and “bulk” exactly where you need it. It also works perfectly to hide a widening part line.
- Styling Tip: Use a flat iron to gently “c-curve” the ends away from your face for a sophisticated, “wind-swept” finish.
Category E: Styles 18–30 (Focusing on Texture & Color)
In this final styling category, we move away from the structural cut and focus on the visual finish. For thin hair, the right “surface” texture can be the difference between a style that looks sparse and one that looks abundant. We also integrate the role of color—specifically “dimensional” color—which uses light and shadow to create the illusion of a thicker mane.
18. The Tousled Mediterranean Wave

This isn’t a tight, formal curl; it’s a soft, disorganized wave that looks like you’ve just stepped off a beach in Amalfi. It is the ultimate “anti-flat” remedy.
- Why it works: Straight hair has a habit of clumping together, which reveals the scalp. Tousled waves create “air pockets” between the strands. These pockets physically expand the space your hair occupies, making it look twice as thick by adding horizontal volume.
- Styling Tip: Use a large 1.5-inch curling iron, but leave the last inch of the ends straight. This prevents the “Shirley Temple” look and keeps the style modern and intentional.
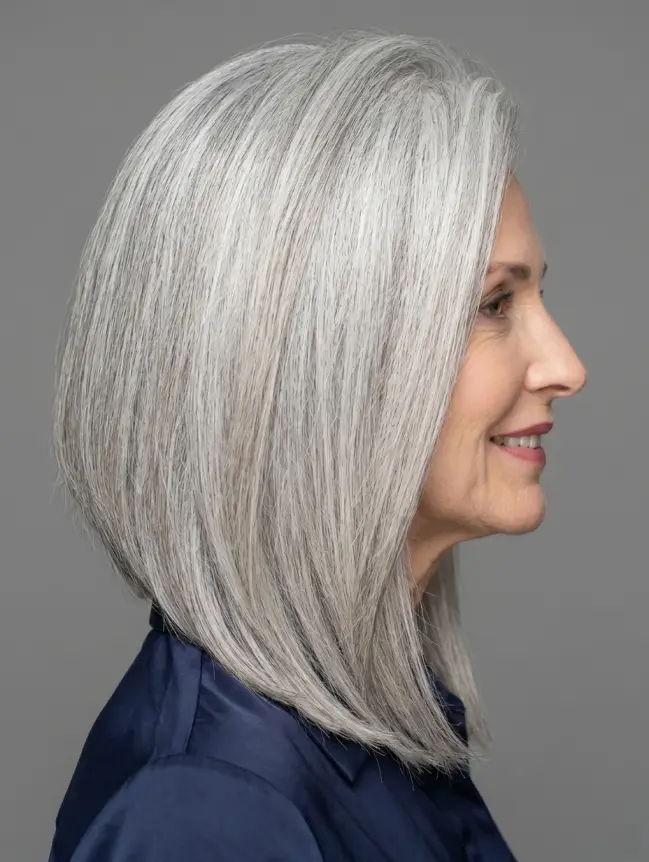
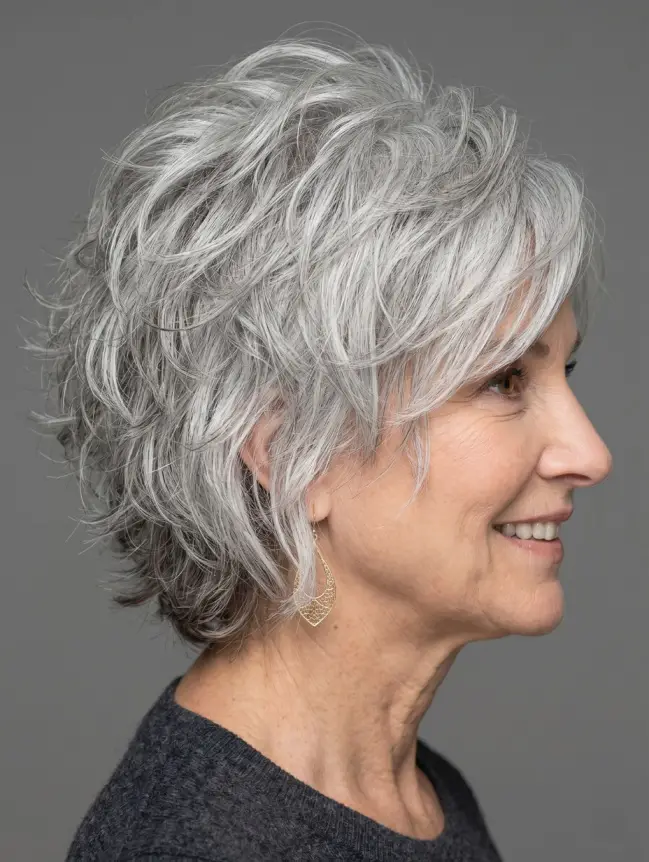
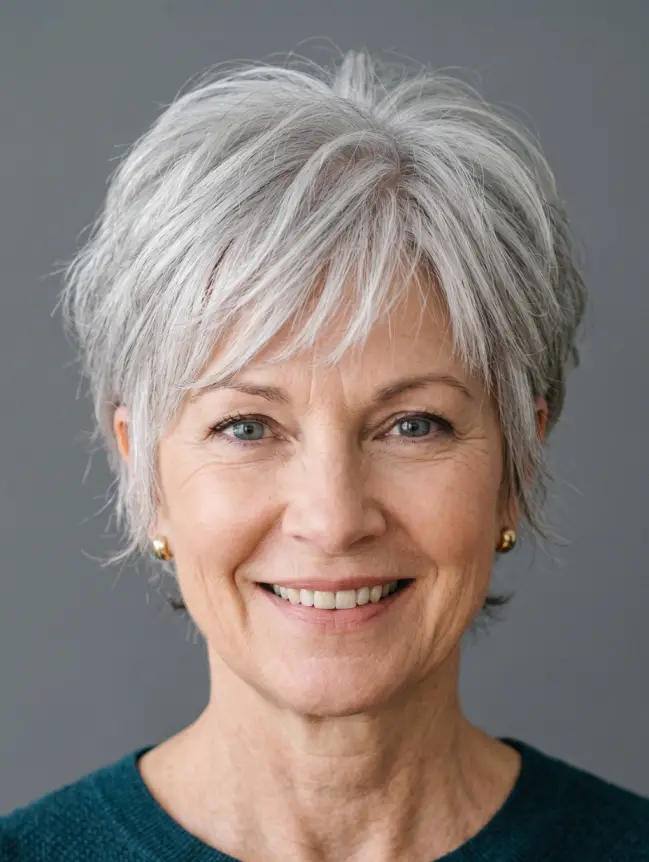
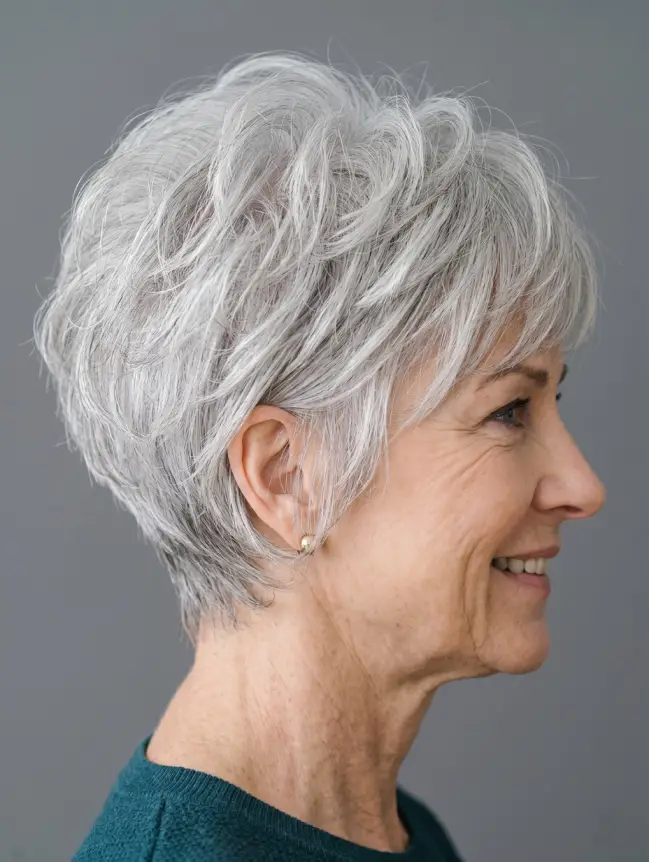
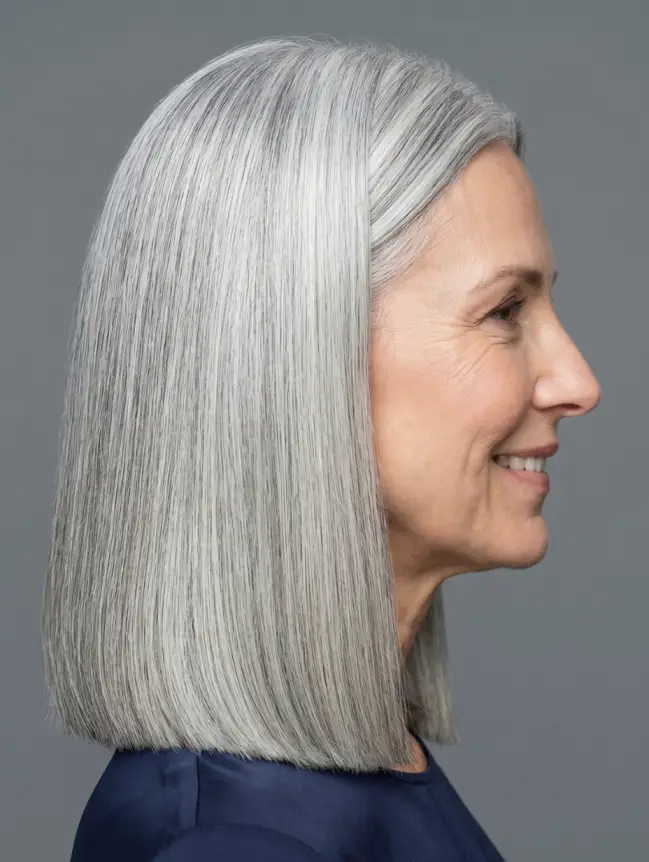
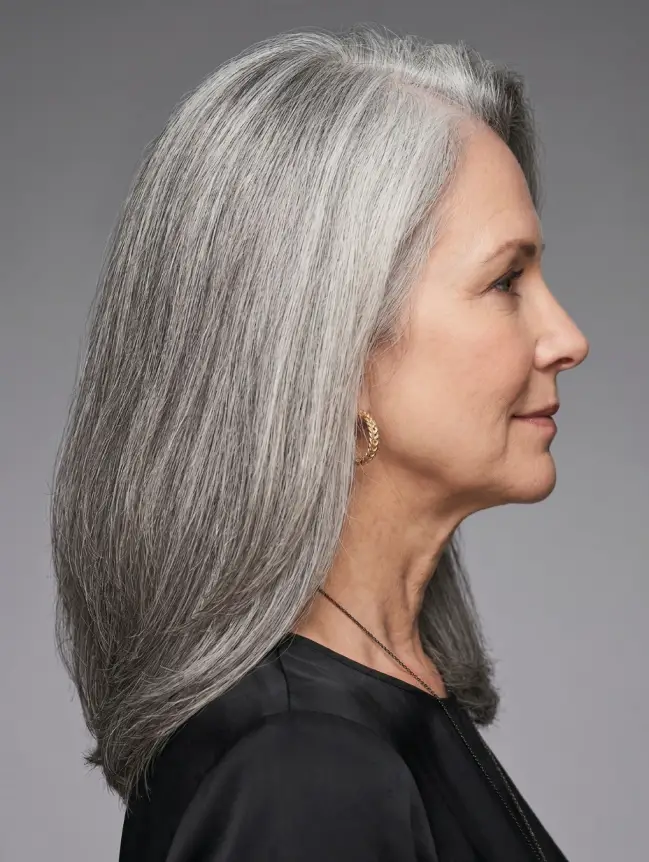
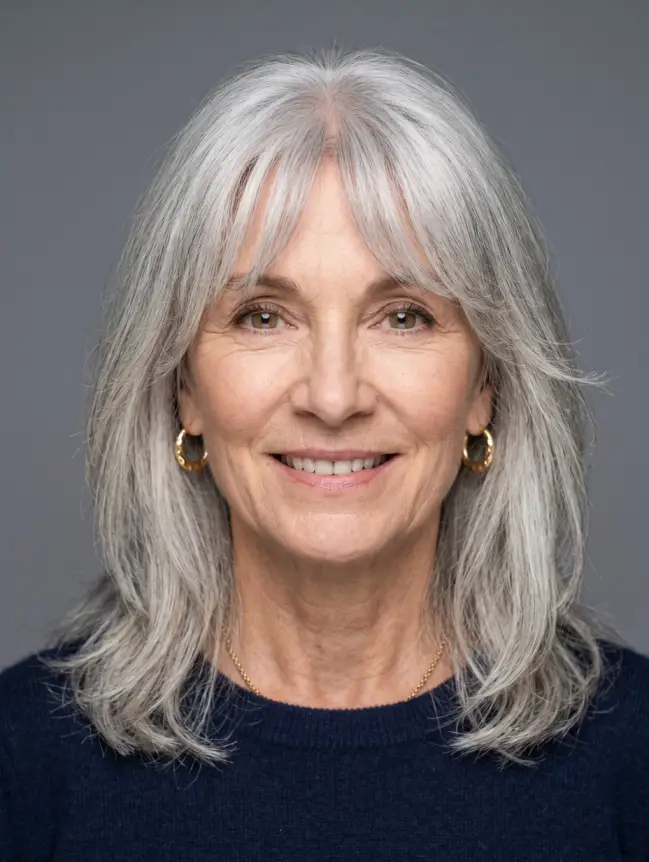
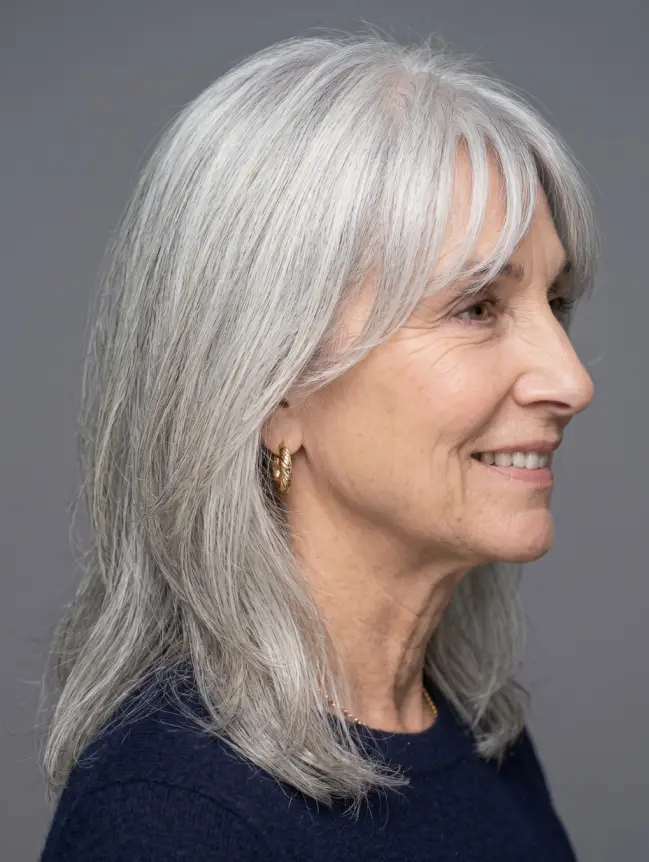
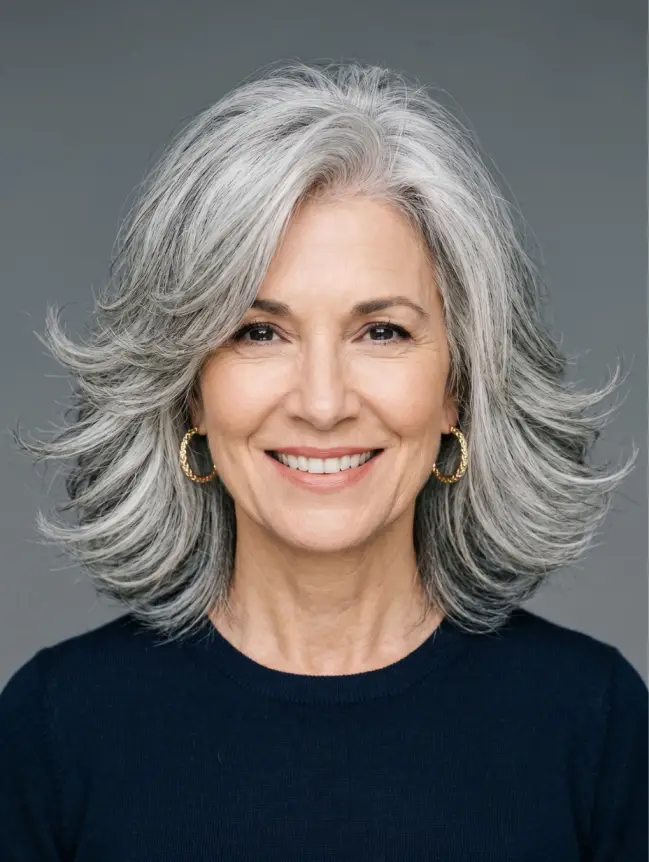
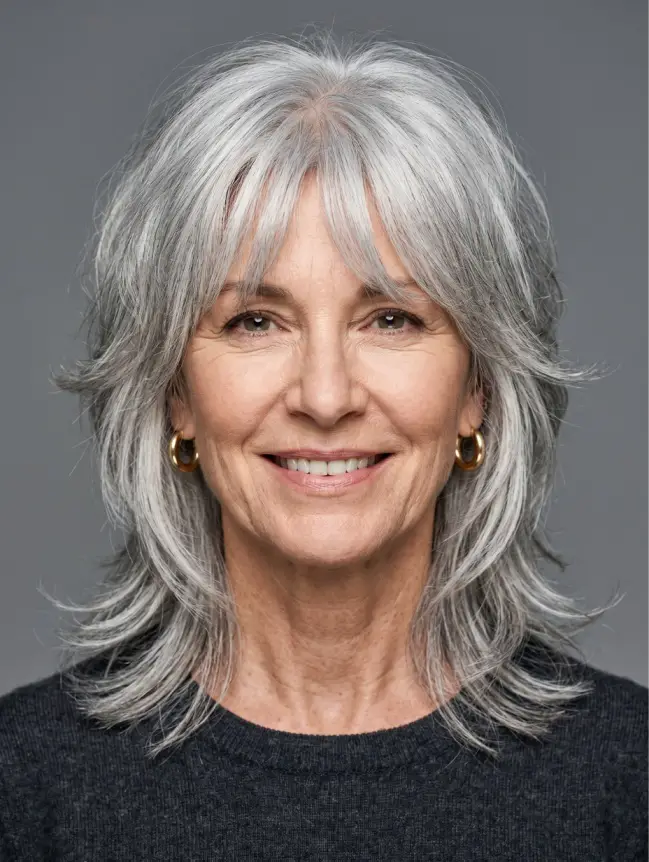
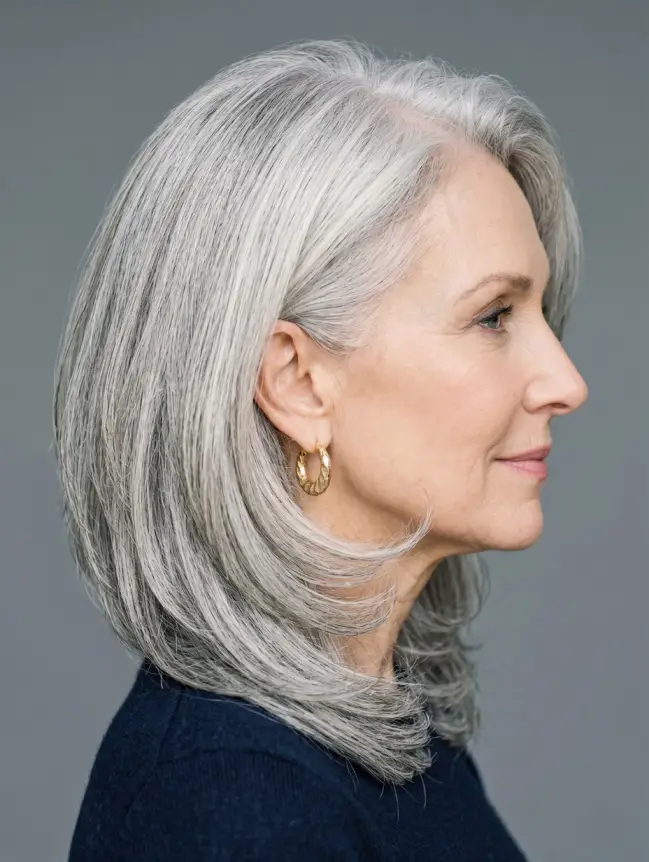
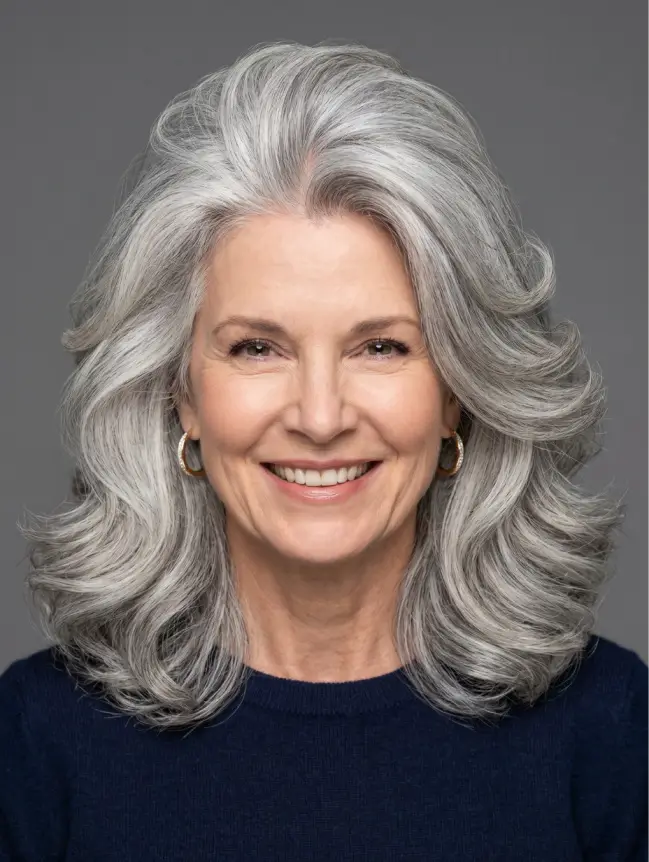
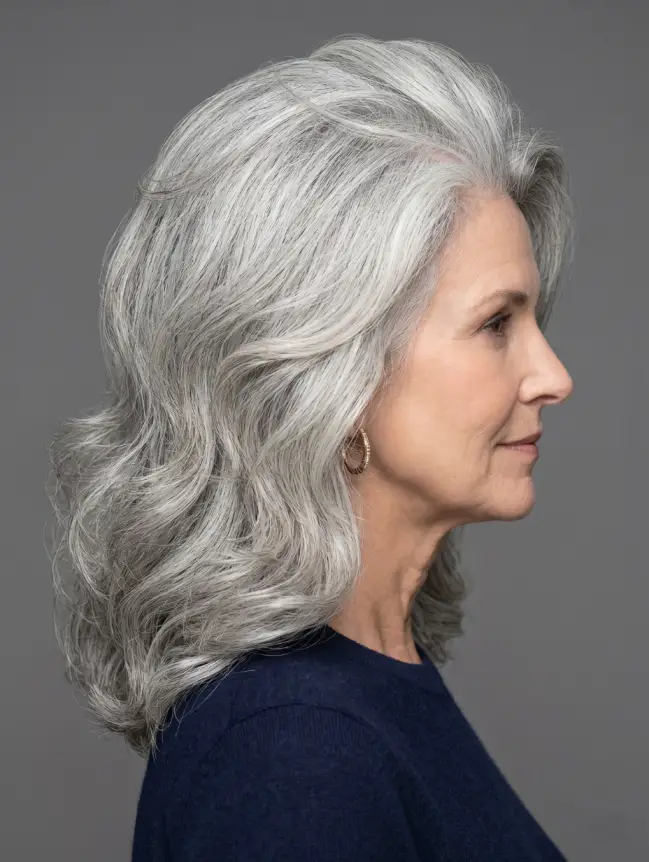
19. The “Silver Siren” Voluminous Grey
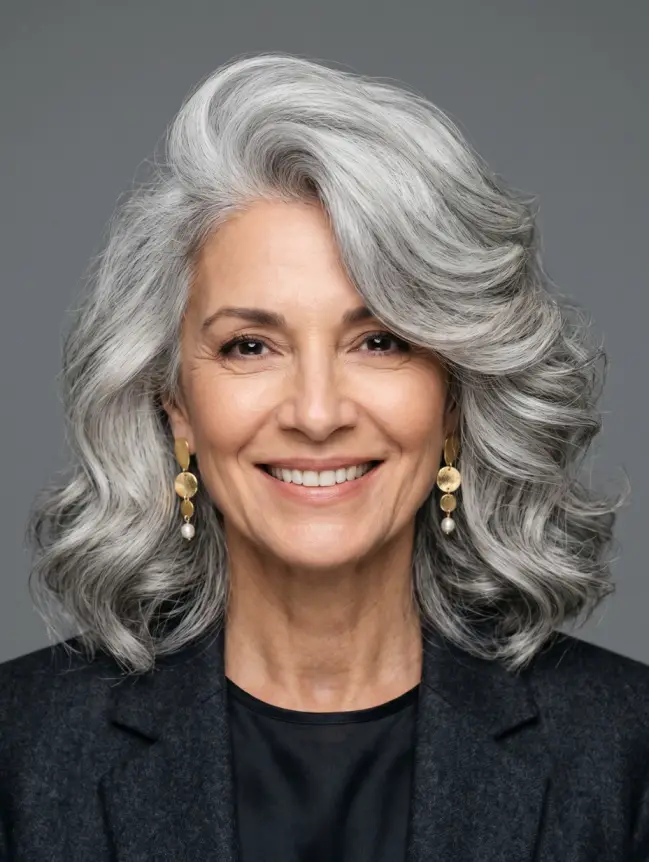
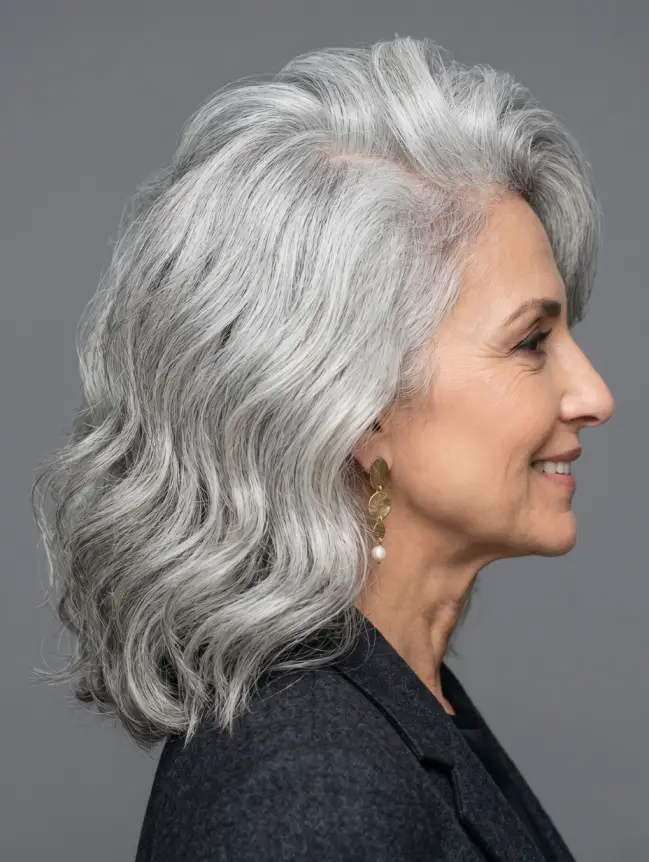
Embracing natural grey or silver is a major trend in 2026, but grey hair often has a different, sometimes wiry or very fine, texture. This style celebrates that brightness.
- Why it works: Natural silver hair reflects significantly more light than pigmented hair. When styled with “root-lift” products, that extra light reflection makes each individual strand appear “swollen” and larger than it actually is, creating a halo of density.
- Styling Tip: Use a purple-toning volumizing foam. It keeps the color from turning yellow while providing the “grit” needed to keep the roots standing tall.
20. The Deep Zig-Zag Part
This is a classic “pro-stylist” secret that is making a huge comeback for its practical, camouflage benefits.
- Why it works: A straight, clean part acts like a “highway” for the eye, leading it straight to the scalp. A zig-zag part breaks up that line, hiding thinning at the crown and forcing the hair on both sides to “mesh” together. This creates a messy, voluminous root area that looks naturally dense.
- Styling Tip: Use a tail comb to create a small “Z” shape at the crown. It takes ten seconds but can double the look of your hair’s volume at the top.
21. The Root-Shadowed Lob

This style relies on a specific coloring technique where the roots are kept 1-2 shades darker than the mid-lengths and ends.
- Why it works: It’s all about optical “depth.” The darker root mimics the natural shadow created by very dense hair, while the lighter ends catch the light and appear to “pop.” This contrast prevents the hair from looking “flat” or transparent against the scalp.
- Styling Tip: Ask your stylist for a “root smudge.” It’s low maintenance and grows out beautifully, perfect for a busy lifestyle.
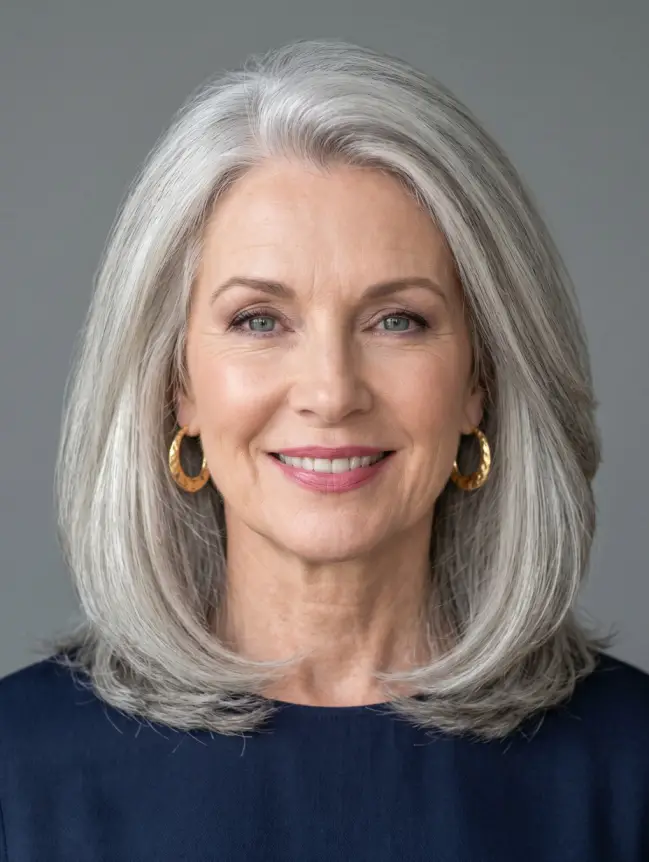
22. The “Feathered” Outward Flip
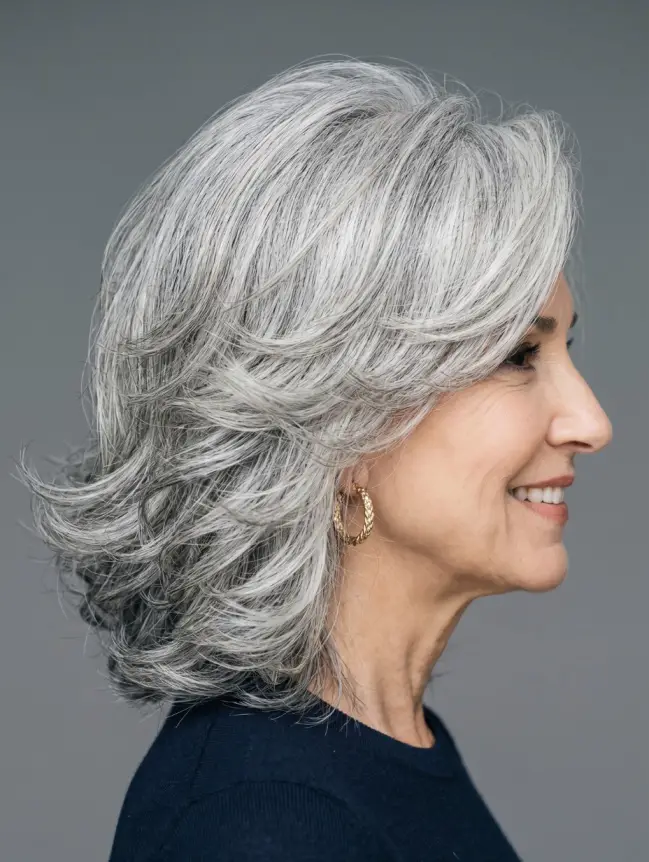
Inspired by the elegance of the late 70s but modernized with softer, disconnected edges. The hair is styled to curve away from the face at the ends.
- Why it works: By flipping the ends outward rather than under, you are pushing the hair away from the neck. This creates a much wider silhouette. A wider silhouette makes the hair appear more substantial and “bouncy” from a front-facing view.
- Styling Tip: Use a medium round brush while blow-drying and “flick” your wrist upward as you reach the ends of each section.
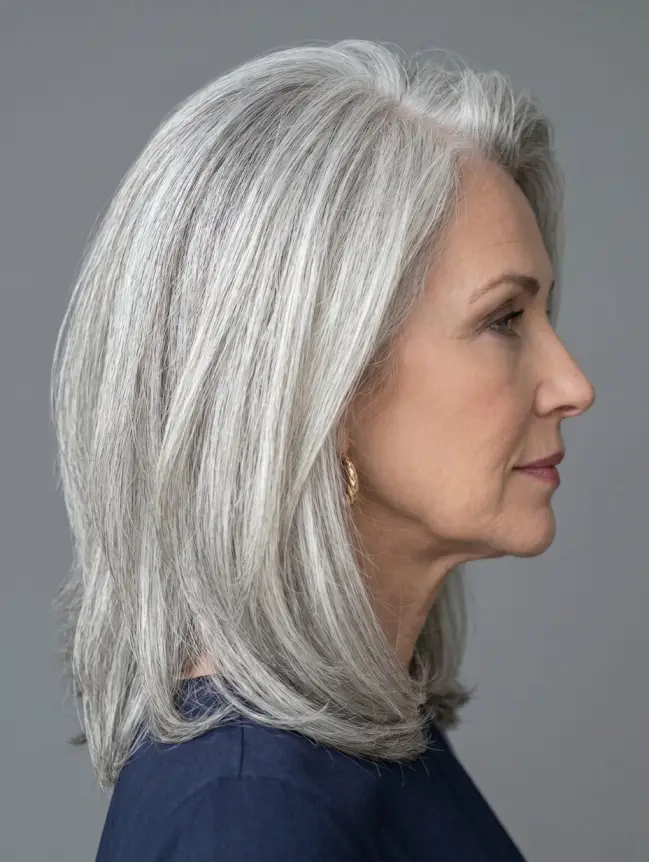
23. The “Scandi” Sleek with Hidden Lift
This is for the woman who loves a clean, polished look but hates how “flat” sleek hair usually makes her look.
- Why it works: This style uses “over-direction.” You blow-dry the hair in the opposite direction of how it will eventually lay. When you flip it back, it retains a “memory” of that lift at the root, allowing you to have a sleek, smooth surface with a hidden, voluminous foundation.
- Styling Tip: Finish with a high-shine serum, but only apply it from the ears down. Keeping the roots product-free ensures they don’t get weighed down and oily.
24. The Texturized “Wolf Cut” Lite

This is a softer, more sophisticated version of the trendy “Wolf Cut.” It features heavy layering around the crown and chin, tapering into thinner (but textured) ends.
- Why it works: By concentrating the “shagginess” at the top and middle, you create a top-heavy silhouette. This is perfect for women who find their hair is thinning at the bottom but still has some life at the roots. It gives a cool, effortless vibe that feels very “Tier 1 city” chic.
- Styling Tip: Use a texturizing paste to “pinch” the layers around your face to highlight your bone structure.
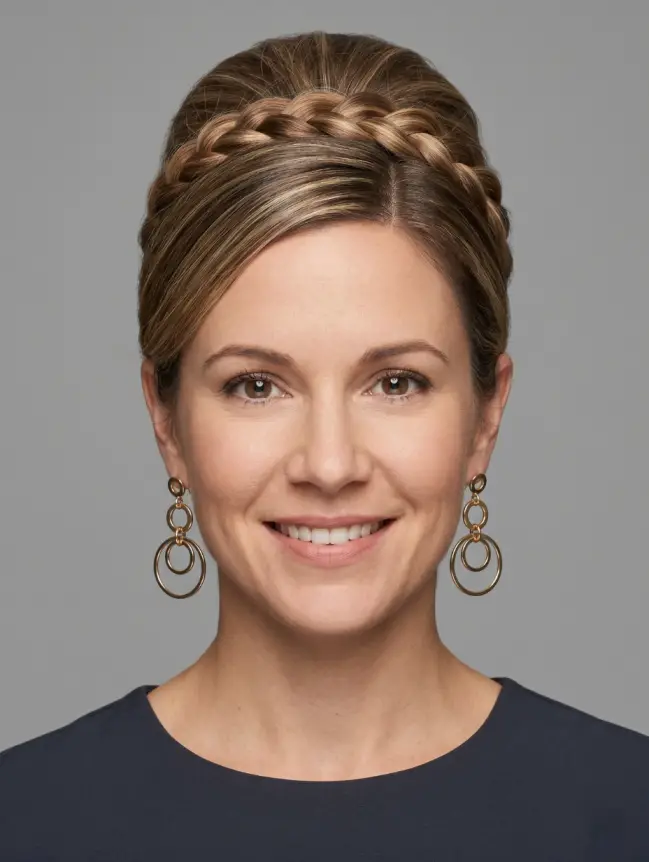
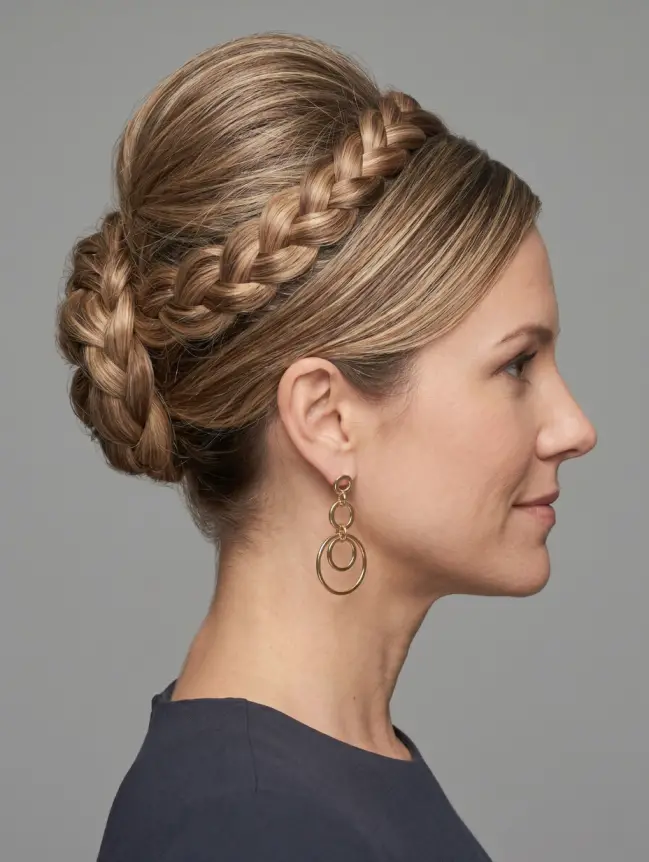
25. The “Half-Up” Crown Knot
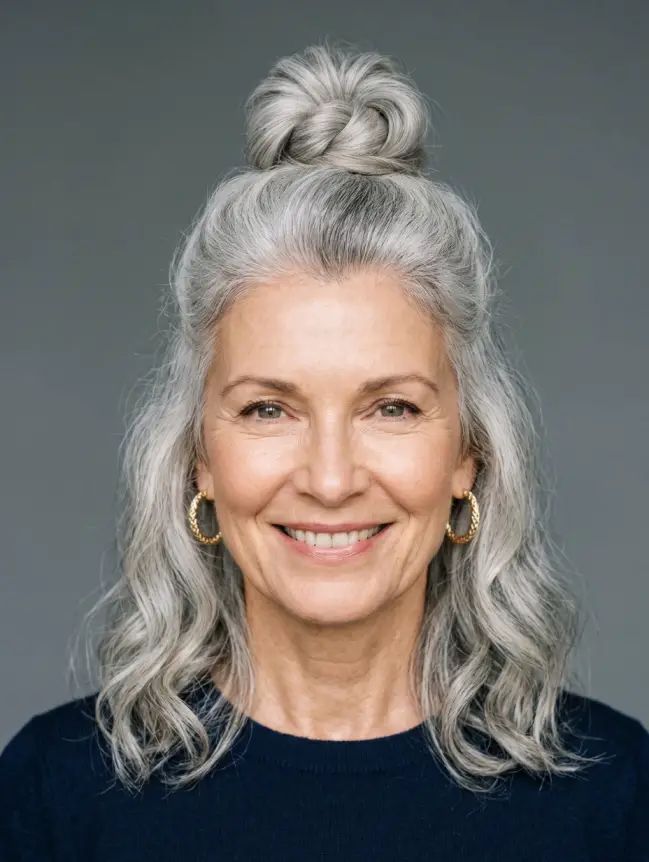
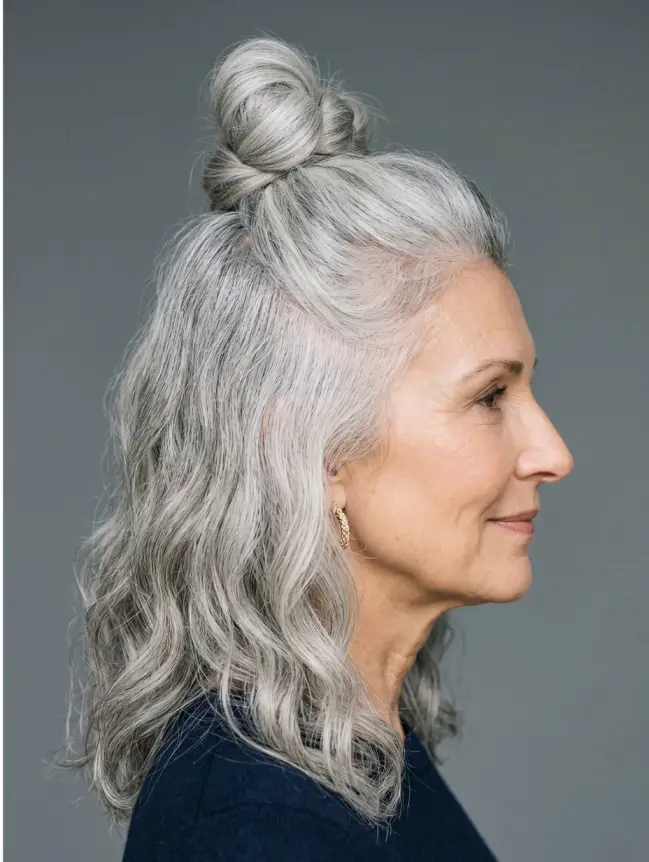
This isn’t just a hairstyle; it’s a structural hack. You pull the top third of your hair into a loose, stylish knot or clip at the back of the crown.
- Why it works: When you pull hair back and upward, you are physically lifting it off the scalp. This creates “instant height” that stays all day. It also gathers thinner side-strands into one concentrated area, making the “top” of your hair look incredibly thick.
- Styling Tip: Before tying it up, lightly tease the underside of the top section for even more “oomph.”
26. The Soft “C-Curve” Face Frame
Instead of straight layers, the hair is cut into long, sweeping curves that mimic the letter “C,” pointing toward the face.
- Why it works: Straight lines can look harsh on thinning hair. Curved lines, however, create the illusion of “bulk.” As the hair curves inward, it overlaps, creating layers of shadows that make the hair look much more dense than a flat, straight cut ever could.
- Styling Tip: Use a large-barrel curling iron to “roll” the front sections toward your face for 5 seconds, then brush them out.
27. The Botticelli Ripple
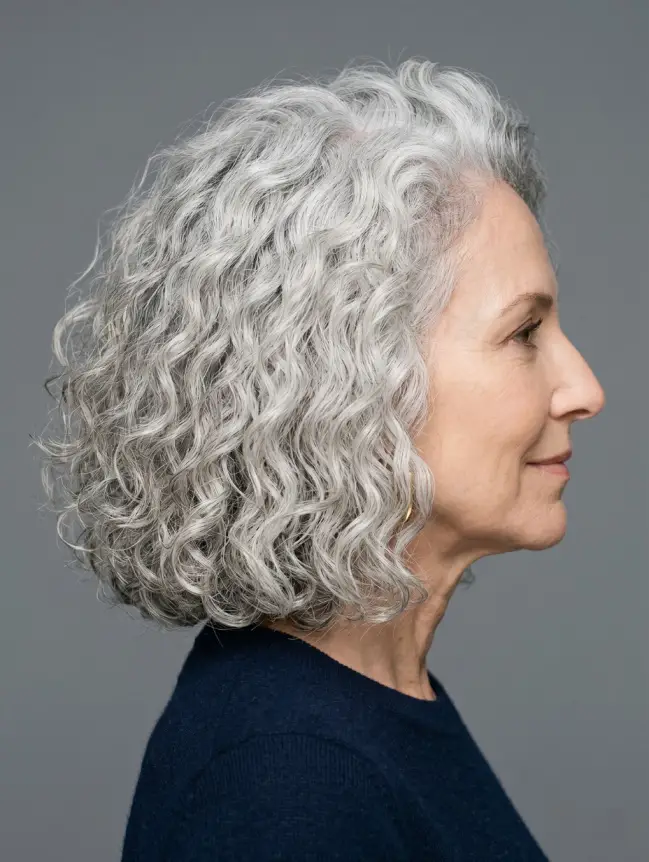
Inspired by the Renaissance “waves,” these are very small, tight ripples created throughout the length of the hair.
- Why it works: Unlike big waves, these small ripples create thousands of tiny “micro-shadows.” This maximizes the “Science of Illusion” we discussed earlier. It makes the hair look like a solid, textured fabric rather than individual strands.
- Styling Tip: Sleep in small, soft braids on slightly damp hair. In the morning, undo them and shake out the ripples—no heat required!
28. The “Tucked” Ear Silhouette

A simple but effective styling choice where one side of a bob or pixie is tucked firmly behind the ear.
- Why it works: This creates a “weighted” look. By tucking one side, you are essentially doubling the visual volume of the other side. It breaks up the symmetry and prevents the hair from looking like it’s just “hanging” there. It gives the hair a sense of purpose and “body.”
- Styling Tip: Use a decorative hair pin to secure the tucked side for an extra touch of elegance.
29. The “Ghost” Fringe (Ultra-Light)

These are bangs so thin you can almost see through them, but they are cut with blunt ends.
- Why it works: If you have very thin hair, a full bang is impossible. A “ghost” fringe gives you the look of a style without sacrificing the density of the rest of your hair. It breaks up the forehead line and adds a youthful “fuzziness” that mimics the look of a thick hairline.
- Styling Tip: Blow-dry these with a flat brush, not a round one, to keep them laying naturally against the forehead.
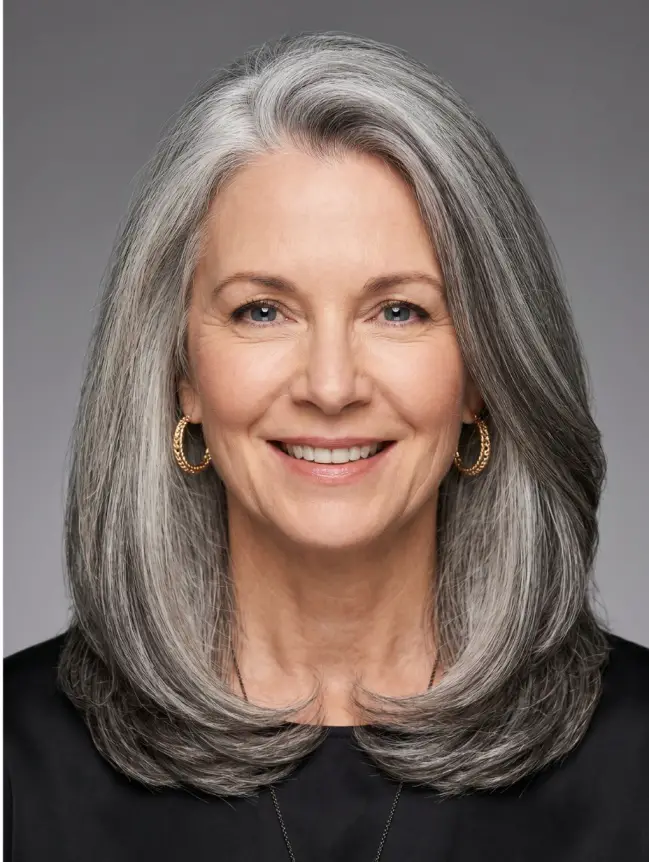
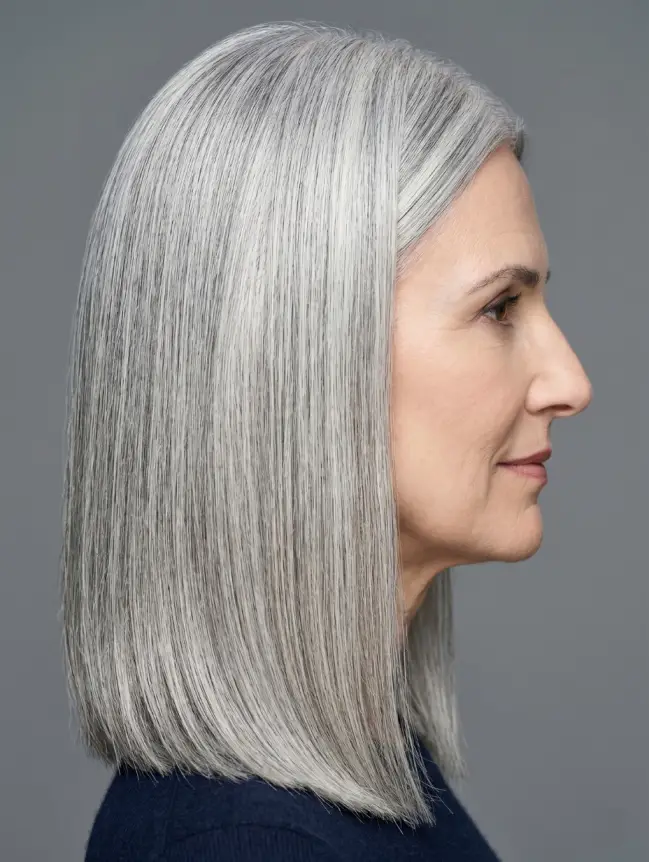
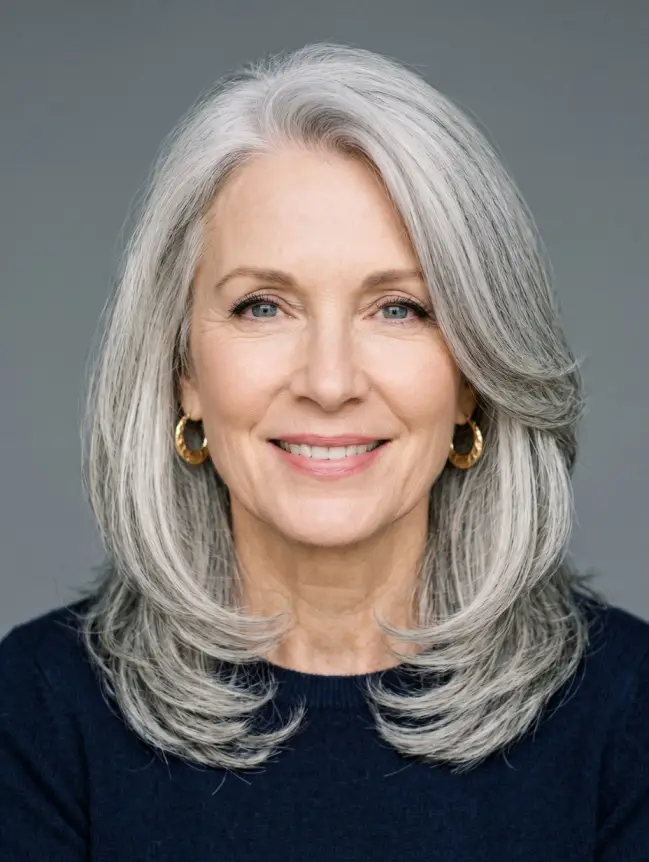
30. The Voluminous “U-Back” Blowout
A classic, high-end salon finish where the hair is rounded at the back and flicked inward at the shoulders.
- Why it works: By rounding the hair into a “U” shape at the back, you ensure that the densest part of your hair stays at the center. This prevents the “see-through” look that often happens at the corners of the hair near the arms. It’s the gold standard for “old money” elegance.
- Styling Tip: Use a “velcro roller” at the very top of your head for 10 minutes after blow-drying to keep that crown volume locked in.
Solution Corner: Styling Tips for 2X Volume
While the right haircut provides the foundation, how you handle your hair at home is what actually “activates” that 2X volume. For women over 60, the goal is to create “grip” and “lift” without using heavy products that turn thin hair into a sticky, flat mess.
Here is your professional toolkit for maximizing every single strand.
1. The “Reverse” Blow-Dry Technique
If you are still blow-drying your hair by brushing it straight down, you are essentially “ironing” the volume out of it.
- The Solution: Flip your head upside down until your hair is about 80% dry. This forces the roots to dry in an upright position.
- The Pro Move: Once you flip back over, use a cool-shot setting on your dryer. Heat shapes the hair, but cold air sets it. Giving your roots a blast of cold air while they are lifted will “lock” that height in place for the rest of the day.
2. Mousse is Your Best Friend (But Forget the 80s)
Modern volumizing mousses are not the crunchy, stiff foams of the past. They are now lightweight and “weightless.”
- The Solution: Apply a golf-ball-sized amount of mousse to damp (not soaking) hair. Focus only on the first two inches of the roots.
- Why it works: Mousse contains resins that coat the hair, physically increasing the diameter of each strand. It’s like putting a tiny “sleeve” around your hair to make it thicker.
3. The Dry Shampoo “Clean Hair” Hack
Most people wait until their hair is oily to use dry shampoo. If your hair is thin, that’s too late.
- The Solution: Apply dry shampoo to clean, dry hair immediately after styling.
- Why it works: Dry shampoo adds “grit” and friction. Normally, thin hair strands are so smooth they slide past each other and lay flat. Dry shampoo makes them “grab” onto one another, creating a scaffolding of volume that lasts much longer.
4. Avoid Heavy Silicones and Oils
Many “anti-aging” hair products are loaded with heavy oils and silicones to add shine. On thin hair, these act like lead weights.
- The Solution: Look for “Weightless” or “Volumizing” labels. If you must use an oil for frizz, only apply it to the very tips of your hair (the last half-inch). Never let oils touch your scalp or mid-lengths.
5. Velcro Rollers: The “Old School” Secret
There is a reason your stylist uses these. They are the most effective, heat-free way to get crown volume.
- The Solution: Take three large velcro rollers and place them at the very top of your head (the mohawk section) while your hair is still warm from the dryer. Leave them in while you do your makeup or have your coffee.
- The Result: When you take them out, you’ll have a “bump” of volume that looks like a professional salon blowout.
Beyond the Cut: Lifestyle & Supplements
In Tier 1 countries, we are seeing a massive shift toward “Scalpcare as Skincare.” We now understand that the scalp is simply an extension of the face, and it needs just as much attention.
- The Protein Priority: Hair is made of a protein called keratin. As our metabolism shifts, many women inadvertently lower their protein intake. Ensuring you get enough lean protein (or a high-quality collagen supplement) provides the building blocks your follicles need to produce a sturdier strand.
- The Scalp Massage: It sounds simple, but five minutes of scalp massage a day can be transformative. It stimulates blood flow to the follicles, delivering oxygen and nutrients that can “wake up” sluggish hair growth.
- Targeted Supplements: In 2026, the focus has moved toward Biotin, Saw Palmetto, and Marine Collagen. Saw Palmetto, in particular, is frequently cited in clinical studies for its ability to help manage the hormonal shifts (specifically DHT) that lead to female pattern thinning after 60.
- The Silk Pillowcase: Cotton pulls moisture out of the hair and creates friction that can snap delicate, thinning strands. Switching to a silk or satin pillowcase allows your hair to glide, preventing the “morning breakage” that keeps your hair from looking full.
6. Conclusion: Confidence is the Best Volume
At the end of the day, hair thinning is a natural chapter in the story of aging, but it doesn’t have to be the end of your style. As we’ve explored, the “science of illusion” is a powerful tool. Whether you choose the structural strength of a Power Bob, the gravity-defying lift of a Pompadour Pixie, or the clever camouflage of Bottleneck Bangs, the goal is the same: to make you feel like you again.
You don’t need the thick mane of a 20-year-old to look sophisticated, modern, and beautiful. By choosing a cut that works with your texture rather than against it, and using a few “pro-only” styling hacks, you can achieve a look that feels twice as thick and ten times as confident.
The next step? Save your favorite style from this list, book a consultation with a stylist who specializes in thinning hair, and get ready to see a version of yourself that stands a little taller.
Which of these 30 styles caught your eye? Let us know in the comments—we’d love to hear how you’re reclaiming your volume!
Frequently Asked Questions (FAQ)
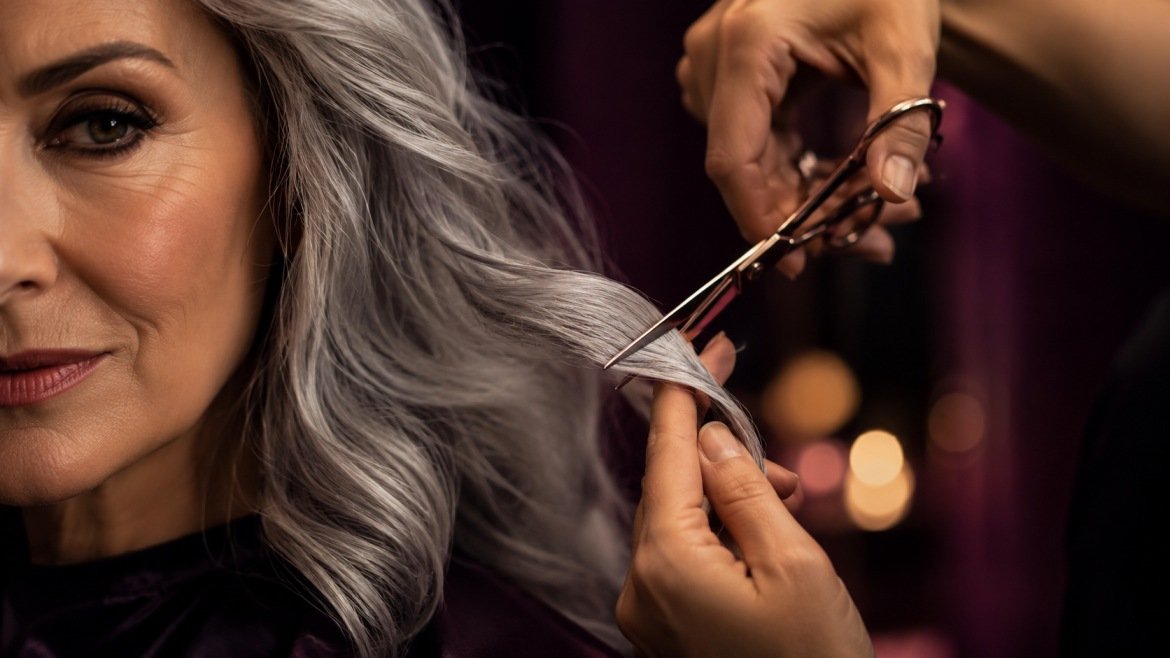
1. How often should I trim my hair if it’s thinning?
To keep thin hair looking its thickest, you should aim for a trim every 6 to 8 weeks. When hair is thin, the ends tend to fray and split faster. Even a quarter-inch “dusting” removes those transparent, “see-through” ends, instantly making the baseline of your hair look more solid and dense.
2. Does long hair make thinning more obvious after 60?
Generally, yes. Length adds weight, and weight pulls the hair down, which flattens the crown and exposes the scalp. Furthermore, because hair grows slower as we age, the ends of very long hair are often years old and significantly thinner than the hair at the roots, leading to a “stringy” appearance.
3. Is it better to air-dry or blow-dry thin hair for volume?
While air-drying is healthier for hair strength, blow-drying is superior for volume. Air-drying allows gravity to pull the hair flat against the scalp as it dries. Using a blow-dryer (especially the upside-down method) “sets” the roots in an upright position, which is essential for that 2X thickness look. Always use a heat protectant spray first!
4. Can hair color actually make my hair feel thicker?
Yes! Professional hair dye slightly swells the hair cuticle, which physically makes each strand take up more space. Additionally, techniques like “Root Shadowing” (keeping roots slightly darker) create a visual shadow that masks a sparse scalp, while multi-tonal highlights create “dimension” that tricks the eye into seeing more depth.
5. Which products should I absolutely avoid?
Stay away from heavy waxes, thick pomades, and high-silicone oils. These products are too heavy for fine strands and will cause them to clump together, making your hair look like it’s “separating” and revealing more of your scalp. Stick to lightweight mousses, “dry” texturizing sprays, and volumizing powders.