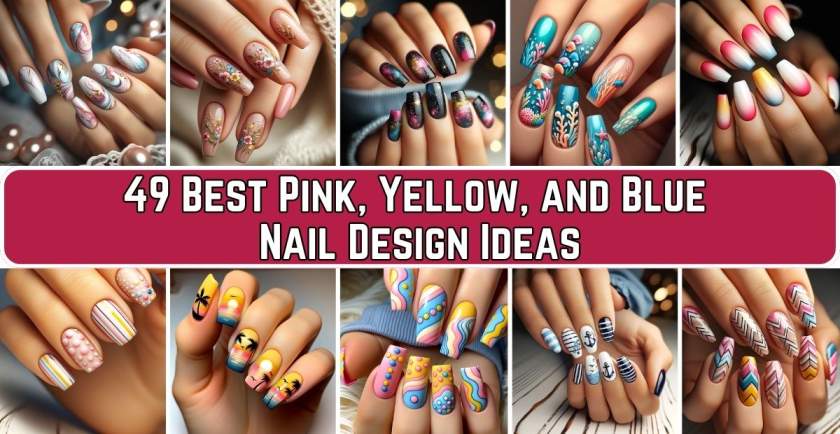
Welcome to our vibrant world of nail art where creativity knows no bounds! Today, we’re diving into the mesmerizing realm of pink, yellow, and blue nail design ideas. These three hues, each bold and beautiful in their own right, come together to offer a spectrum of styles that can transform your nails into a canvas of color and imagination.
From the subtle elegance of pastel gradients to the playful charm of polka dots and stripes, our blog will guide you through a variety of designs that cater to every mood and occasion. Whether you’re a nail art novice or a polished pro, these ideas are sure to inspire your next manicure adventure. Let’s embark on this colorful journey and explore the endless possibilities these delightful shades have to offer!
Pink, Yellow, and Blue Nail Design Ideas
1. Pastel Perfection
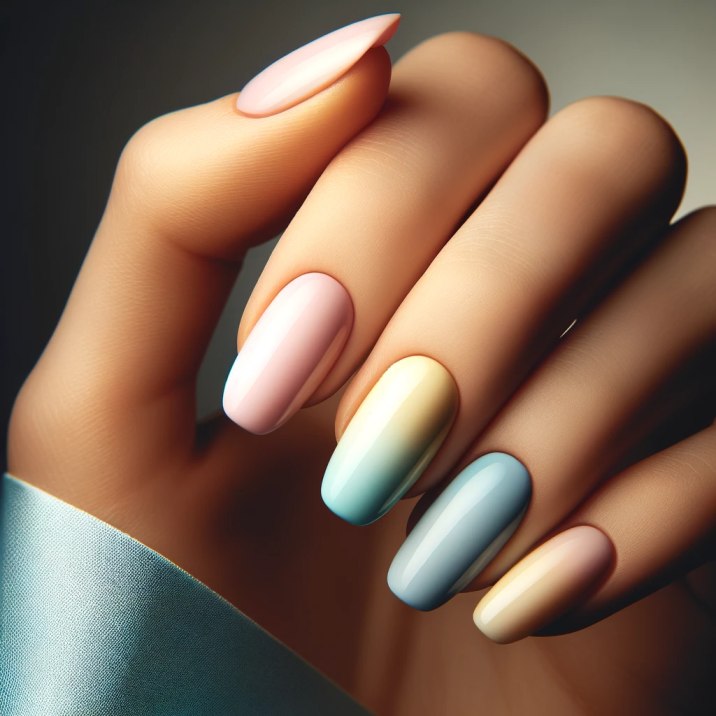
Pastel shades of pink, yellow, and blue create a soft, dreamy look. Try a gradient effect where each nail smoothly transitions from one color to the next, blending these hues together. This design is perfect for spring and summer, offering a subtle yet colorful statement.
How to Achieve It:
- Start with a clear base coat.
- Apply a light pink on your thumb, a pastel yellow on your index finger, and a baby blue on your middle finger.
- For your ring and pinky fingers, create a gradient effect by blending the adjacent colors.
- Finish with a top coat for lasting shine.
2. Bold Geometric Shapes
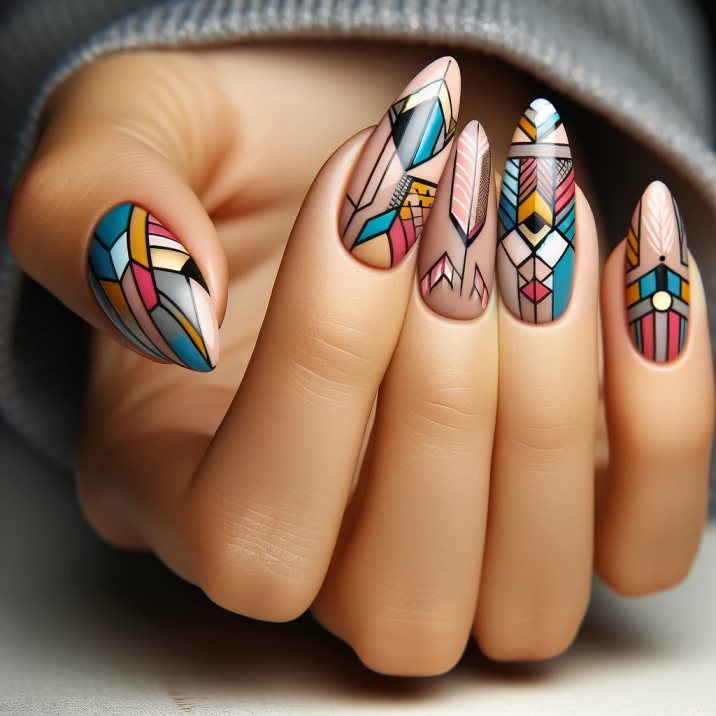
For a more daring look, opt for geometric shapes using bold shades of pink, yellow, and blue. Think sharp lines, triangles, and abstract patterns that make each nail a miniature piece of art.
How to Achieve It:
- Begin with a neutral base color.
- Use tape to create sharp lines and shapes on each nail.
- Fill in these shapes with alternating colors of pink, yellow, and blue.
- Seal your design with a top coat.
3. Floral Fantasy
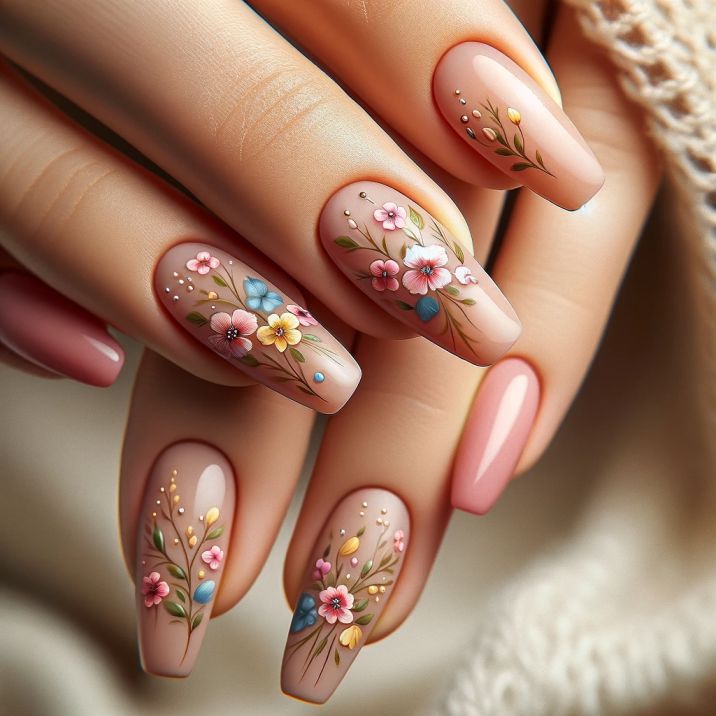
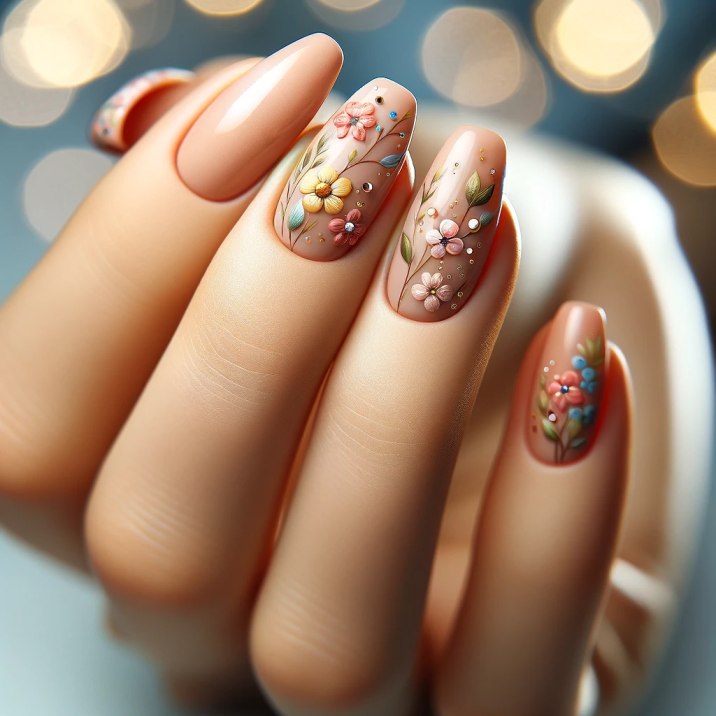
Incorporate tiny floral designs with these three colors for a feminine and intricate look. You can paint small flowers on a neutral base or go for a full floral explosion.
How to Achieve It:
- Use a nude polish as your base.
- With a fine brush, paint small flowers in pink, yellow, and blue.
- Add green for leaves and tiny dots for detail.
- Finish with a glossy top coat.
4. Polka Dots and Stripes
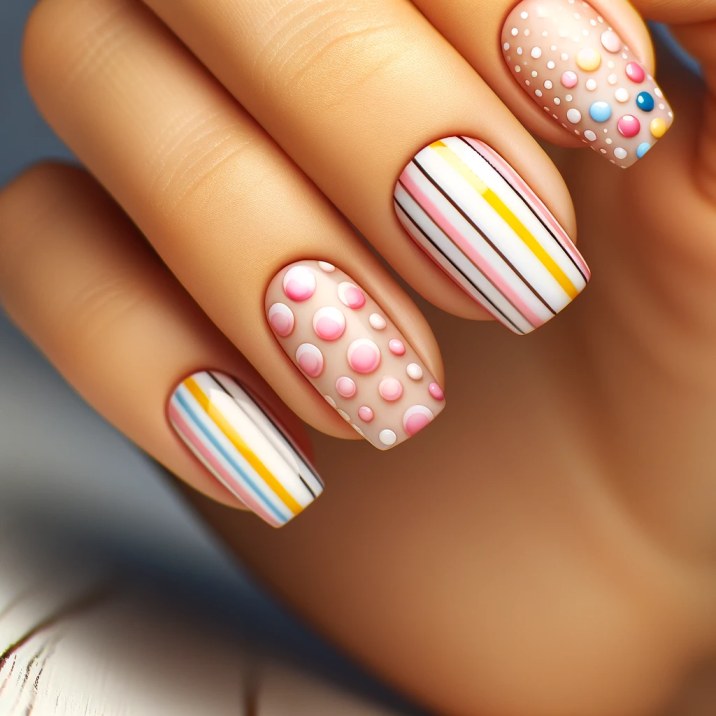
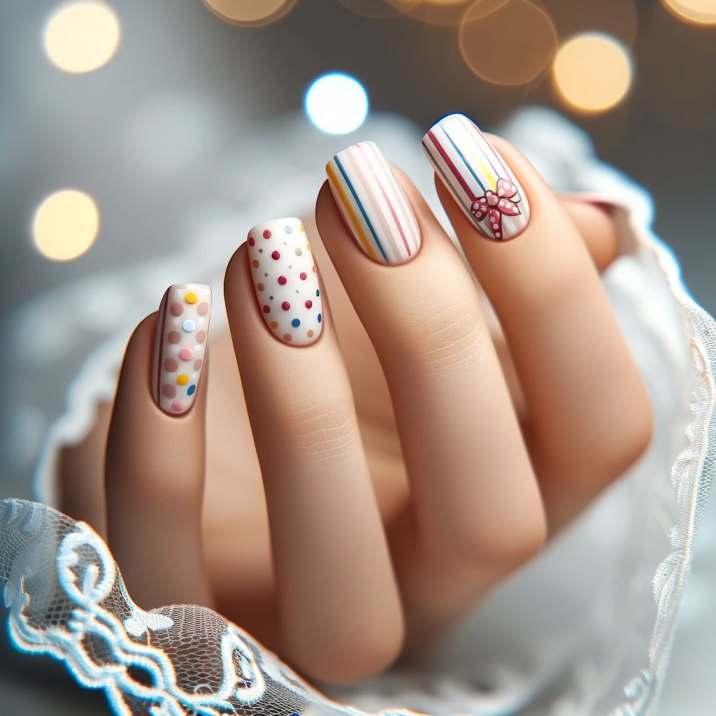
Polka dots and stripes never go out of style. Alternate between these patterns in pink, yellow, and blue for a playful and chic look.
How to Achieve It:
- Paint your nails with a white or light pink base.
- Create stripes on some nails and polka dots on others using the three colors.
- Use a fine brush or a dotting tool for precision.
- Apply a top coat to protect your design.
5. Ombre Artistry
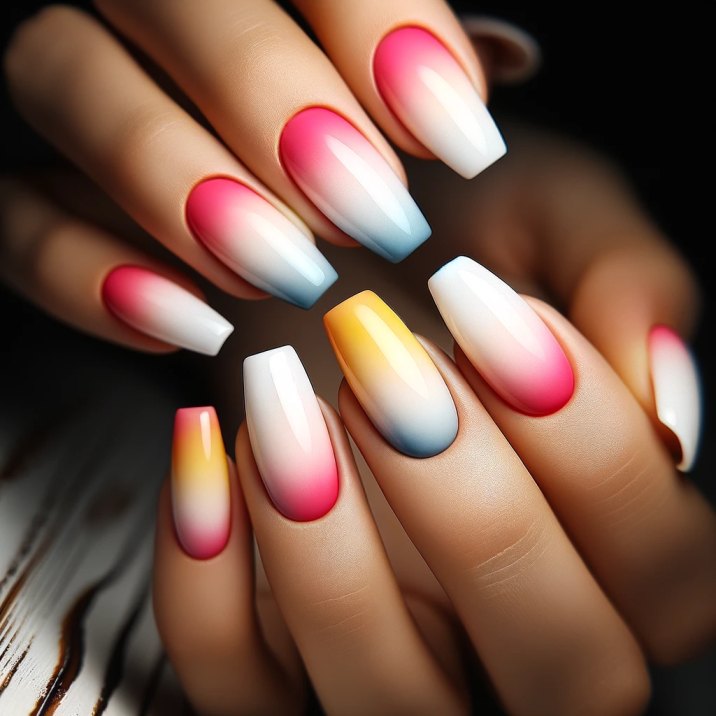
An ombre effect, where each color seamlessly blends into the next, can be a stunning look. You can choose to blend the colors on each nail or across your hand for a gradient effect.
How to Achieve It:
- Apply a white base coat.
- Sponge on pink, yellow, and blue in a gradient pattern.
- Repeat until you achieve the desired intensity.
- Finish with a clear top coat.
6. Marble Magic
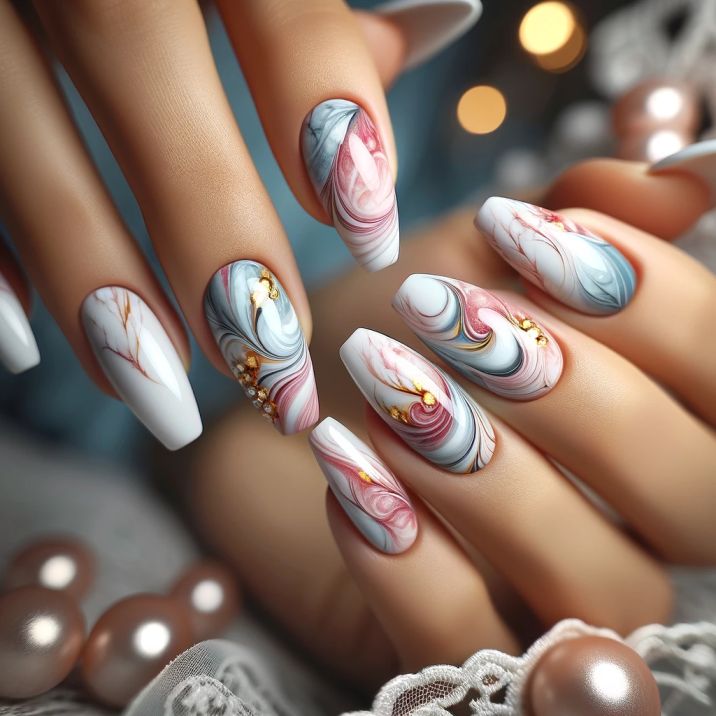
The marble effect is a luxurious and sophisticated choice, especially when incorporating pink, yellow, and blue. This design mimics the natural swirls of marble, creating an elegant and unique look on each nail.
How to Achieve It:
- Start with a white or light grey base coat.
- Drop small amounts of pink, yellow, and blue nail polish onto the nail.
- Use a thin brush or toothpick to swirl the colors gently, creating a marble effect.
- Apply a top coat for a glossy finish.
7. French Twist with a Color Pop
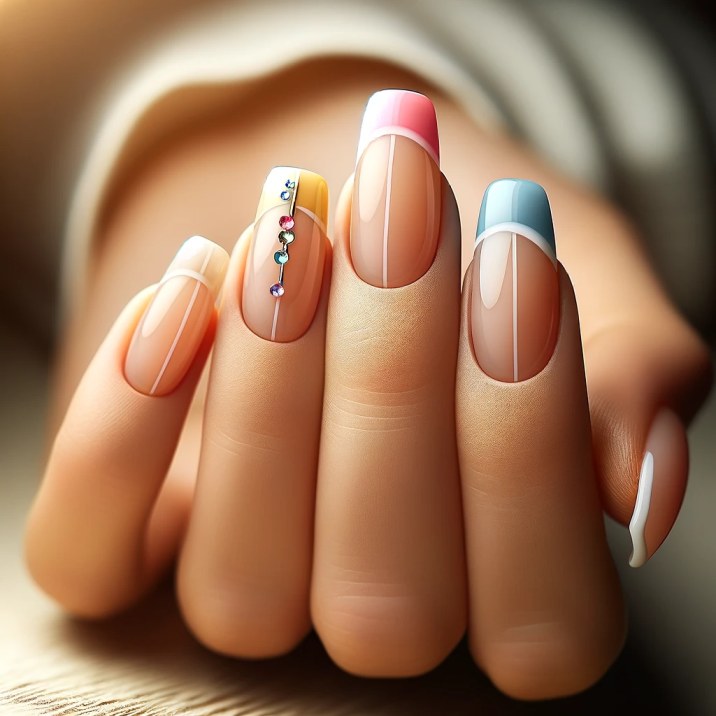
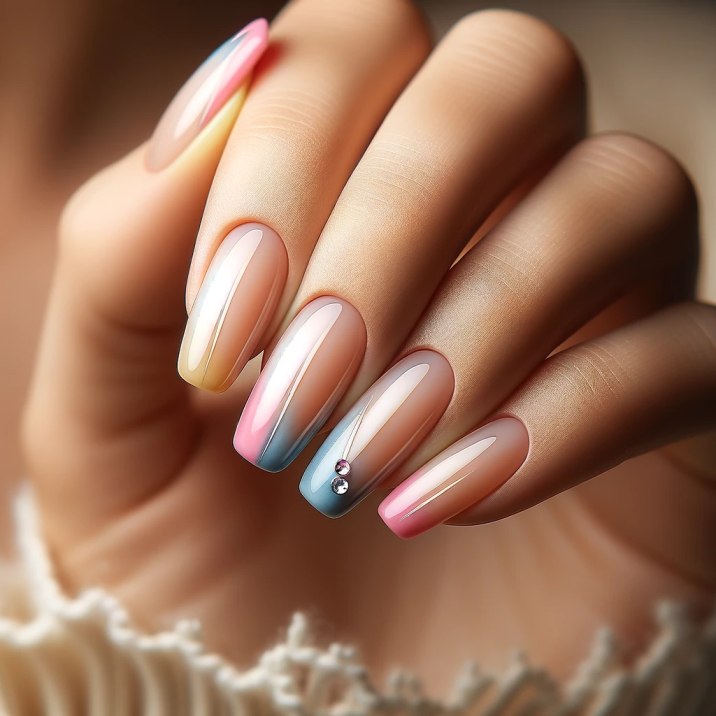
Revamp the classic French manicure by using pink, yellow, and blue on the tips instead of the traditional white. This adds a modern, playful twist to a timeless style.
How to Achieve It:
- Paint your nails with a clear or nude base coat.
- Carefully paint the tips of your nails with alternating colors of pink, yellow, and blue.
- For an extra flair, add a tiny rhinestone or dot where the colored tip meets the base.
- Seal the design with a top coat.
8. Galaxy Glitter
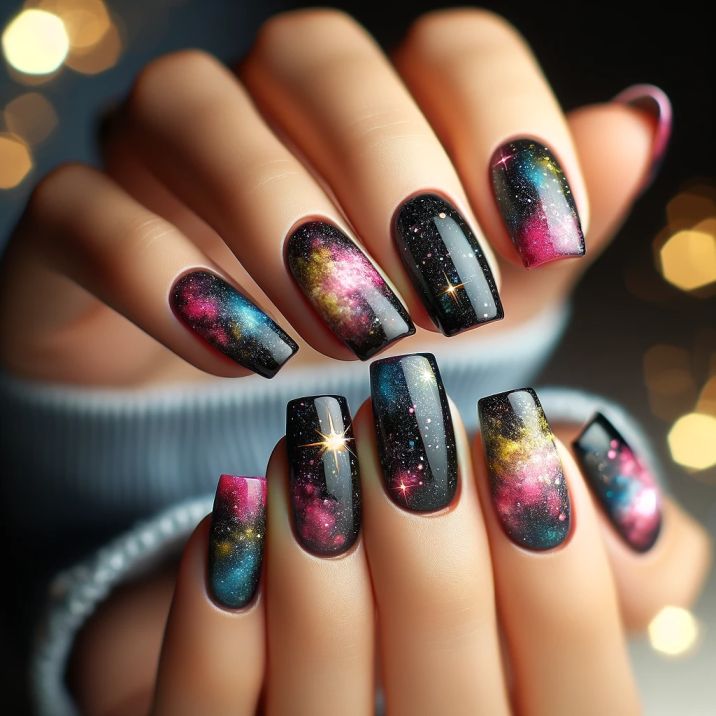
For a night out or a special event, try a glittery galaxy design using your three colors. This look is all about sparkle and depth, creating a stunning, starry effect.
How to Achieve It:
- Apply a dark base color, like navy or black.
- Sponge on small areas of pink, yellow, and blue.
- Add a layer of glitter polish over the colors to mimic stars in a galaxy.
- Finish with a high-gloss top coat.
9. Negative Space Art
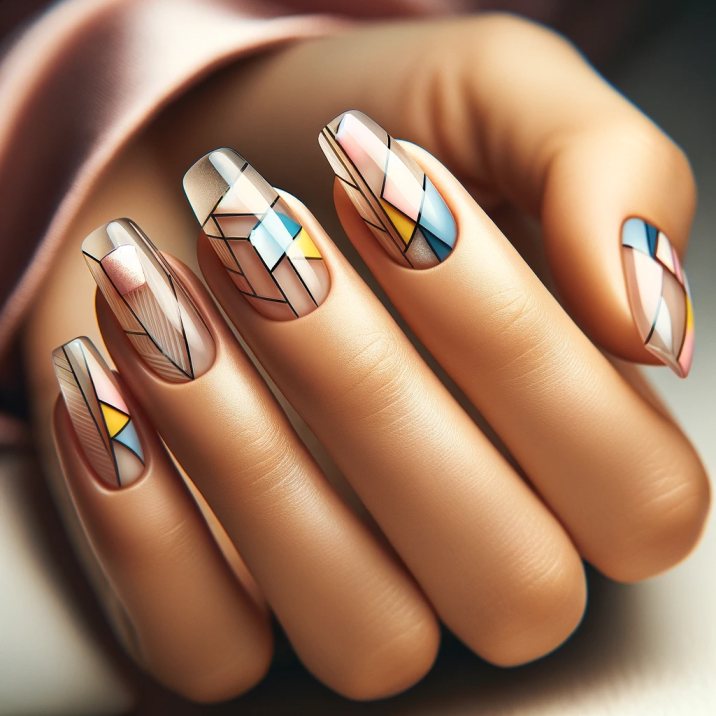
Use the negative space technique, where your natural nail is incorporated into the design. This modern approach looks exceptionally chic with geometric patterns in pink, yellow, and blue.
How to Achieve It:
- Apply a clear base coat.
- Use tape to create geometric shapes, leaving parts of the nail uncovered.
- Paint inside the shapes with your chosen colors.
- Remove the tape and finish with a top coat.
10. Retro Dots and Waves
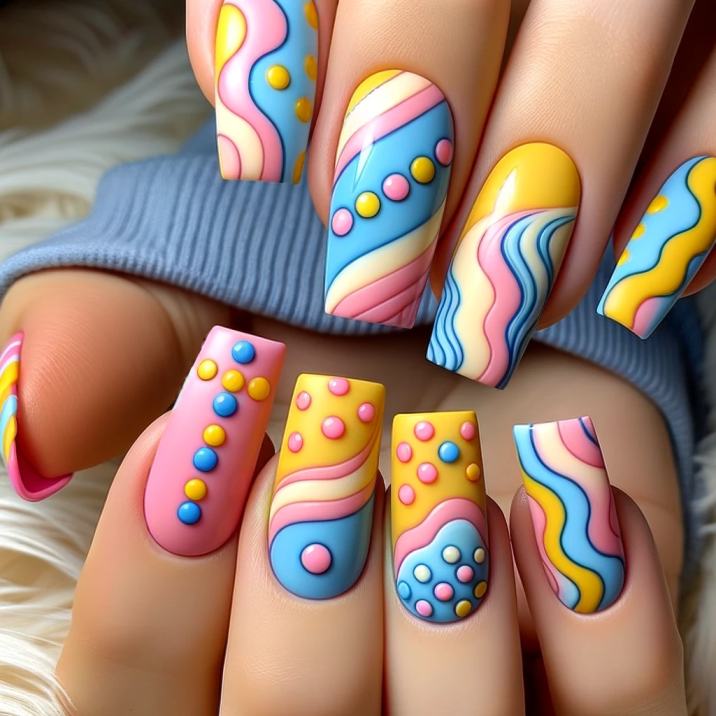
Inspired by retro patterns, create a fun and funky look with dots and waves in these bright colors.
How to Achieve It:
- Paint each nail with a different base color – pink, yellow, or blue.
- On the pink nails, add yellow and blue dots.
- On the yellow nails, draw blue and pink waves.
- On the blue nails, create pink and yellow stripes.
- Apply a clear top coat to seal your design.
11. Sunset Silhouettes
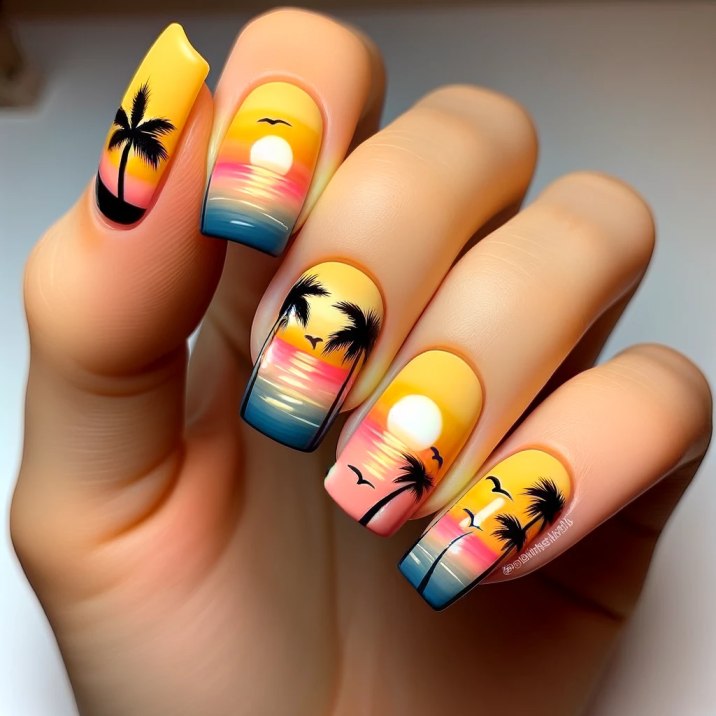
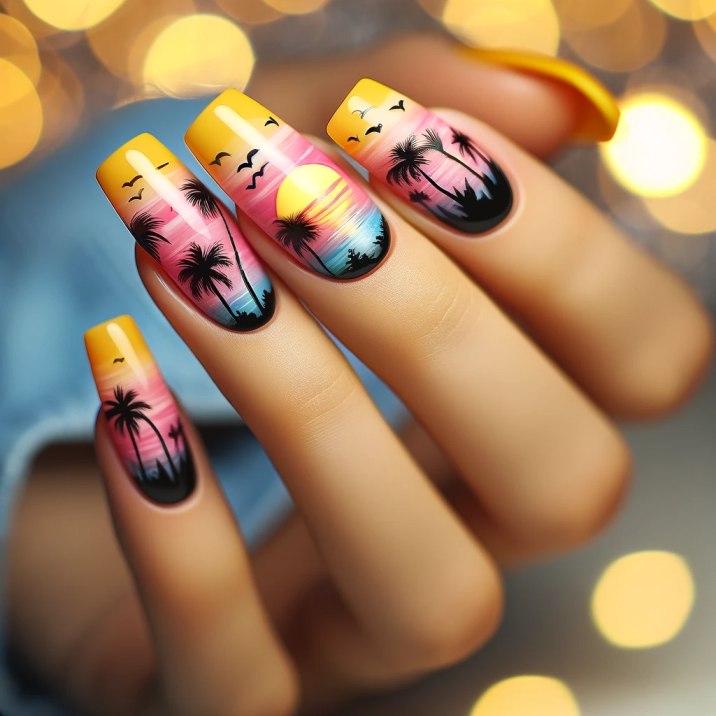
Capture the beauty of a sunset on your nails with a blend of pink, yellow, and blue, creating a perfect backdrop for silhouette designs.
How to Achieve It:
- Start with a yellow base coat.
- Sponge on pink and blue to create a sunset effect.
- Once dry, use a fine brush to paint silhouette designs like palm trees or birds in black.
- Finish with a clear top coat for a glossy look.
12. Chevron Chic
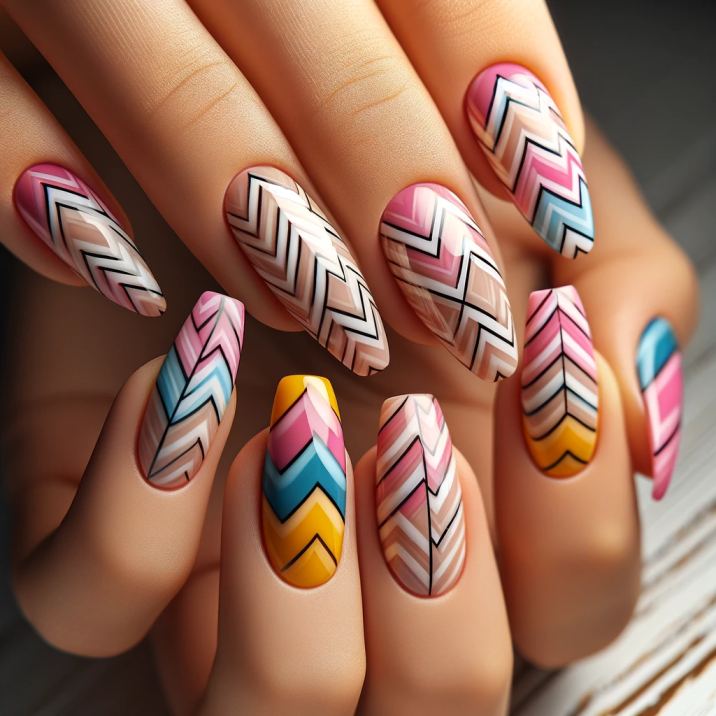
Chevron patterns are stylish and versatile. Using pink, yellow, and blue for a chevron design adds a vibrant and modern twist.
How to Achieve It:
- Paint your nails with a light base color.
- Use tape to create chevron patterns.
- Paint over the tape with alternating colors of pink, yellow, and blue.
- Carefully remove the tape and apply a top coat.
13. Watercolor Whimsy
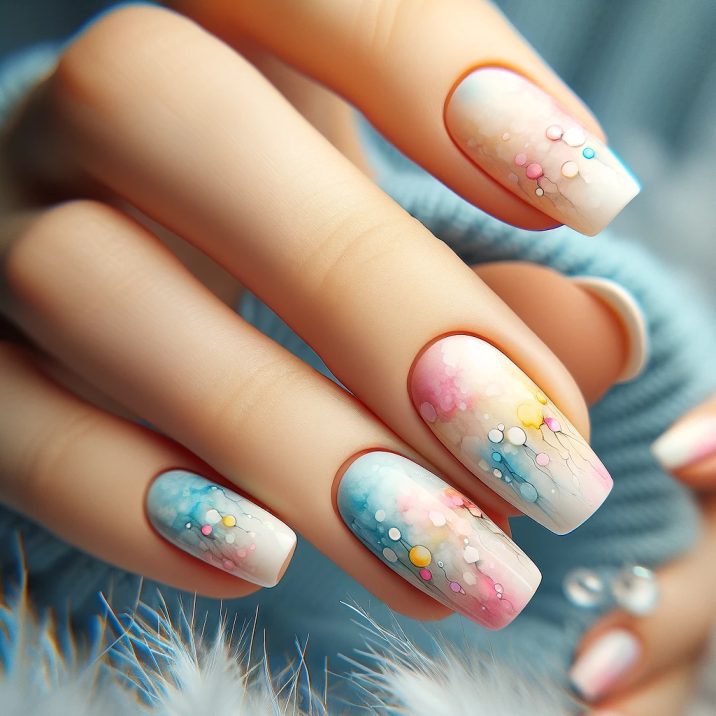
Create a soft, dreamy watercolor effect on your nails by blending the colors in a fluid, organic way.
How to Achieve It:
- Apply a white or pale base coat.
- While the base is still slightly tacky, dab small spots of pink, yellow, and blue polish.
- Use a small brush dipped in acetone or nail polish remover to lightly blend the colors, creating a watercolor effect.
- Seal with a clear top coat.
14. Lace Overlay
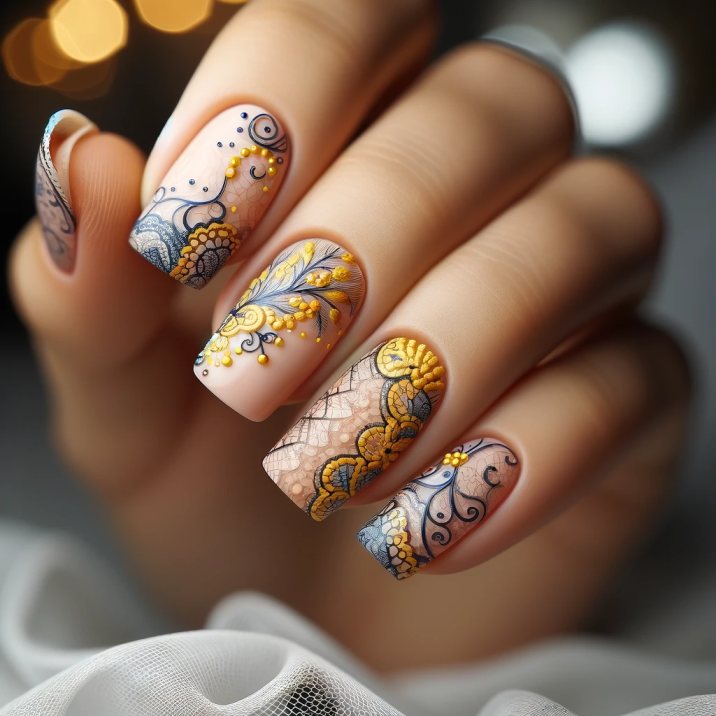
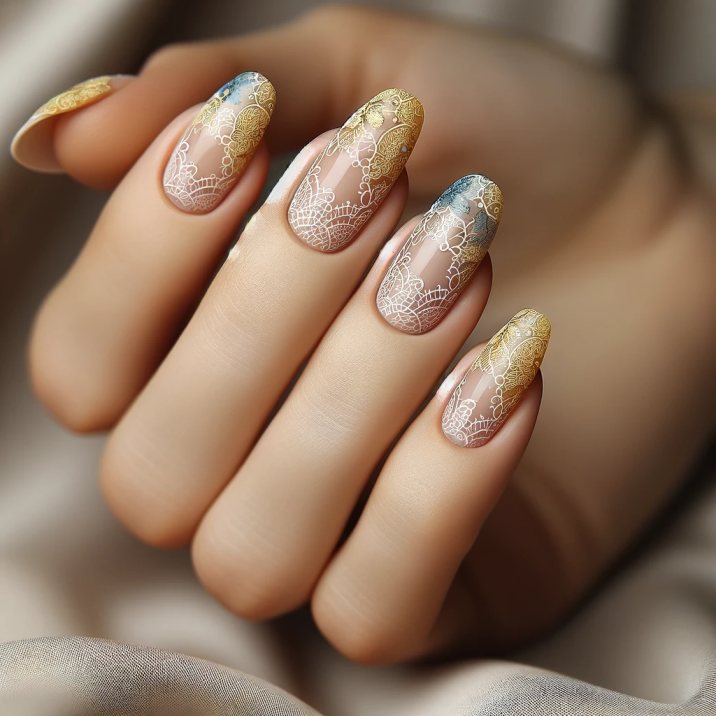
For a romantic and sophisticated look, create a lace overlay effect using these three colors.
How to Achieve It:
- Begin with a nude or light pink base coat.
- Use a thin brush to draw delicate lace patterns in yellow and blue.
- Add small dots and swirls to enhance the lace effect.
- Apply a clear top coat for protection and shine.
15. Animal Print Adventure
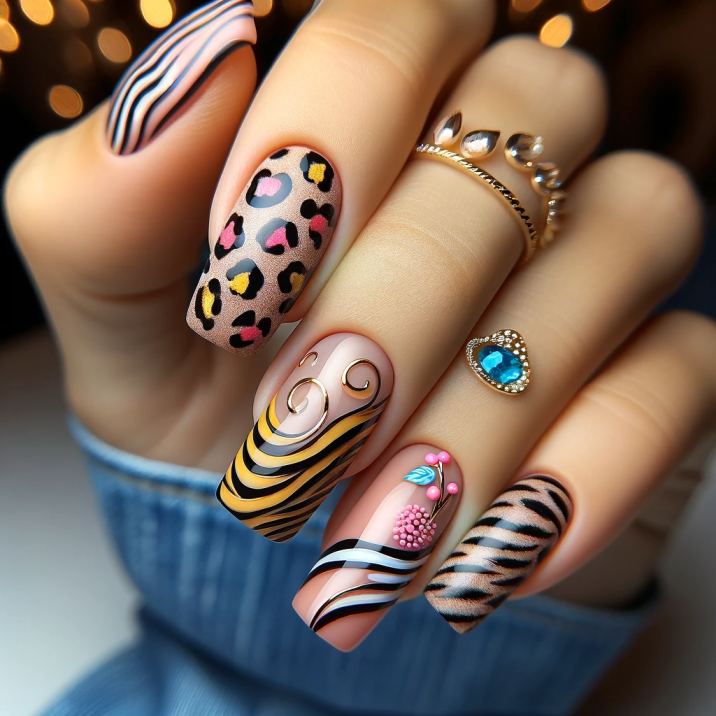
Animal prints like leopard or zebra stripes can be playful and chic, especially when rendered in unconventional colors like pink, yellow, and blue.
How to Achieve It:
- Start with a base color of your choice.
- For leopard spots, add irregular blobs of another color, and outline them partially with black.
- For zebra stripes, use a thin brush to create wavy lines across the nail.
- Apply a top coat for a smooth finish.
16. Ocean Waves
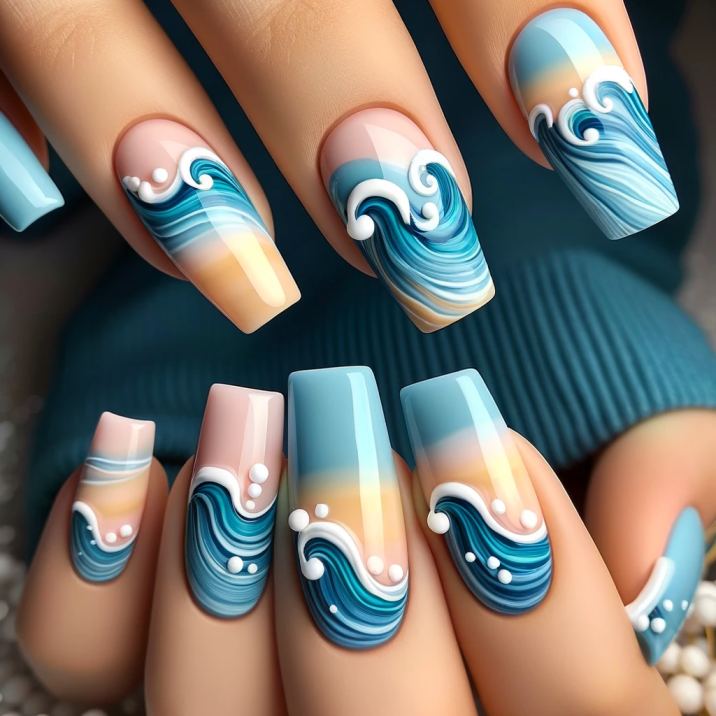
Embrace the beauty of the sea with a design that features the soothing waves of the ocean, using your color palette of pink, yellow, and blue.
How to Achieve It:
- Begin with a light blue base to represent the water.
- Add wavy layers of darker blue, pink, and yellow to create the effect of ocean waves.
- Use a fine brush or a dotting tool to add white foam at the tips of the waves.
- Seal with a glossy top coat for a water-like shine.
17. Mountain Sunset
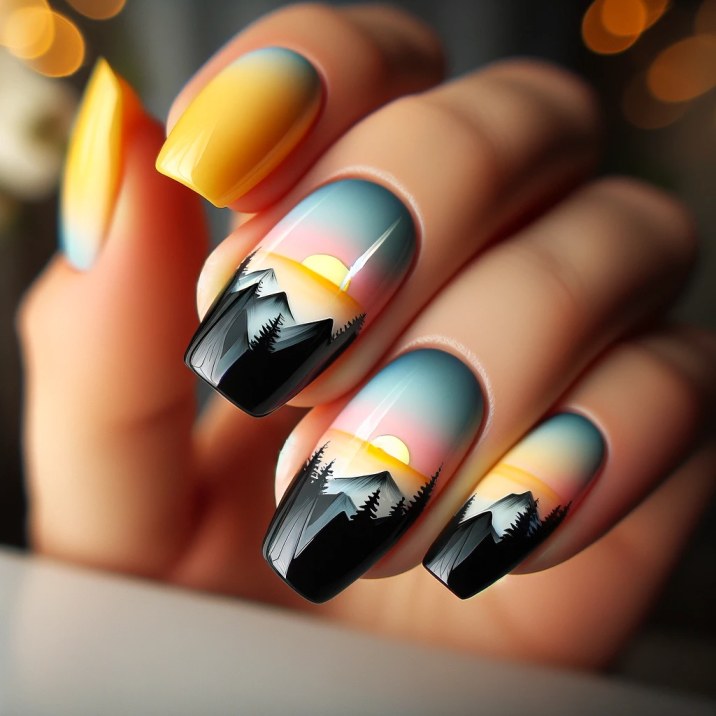
This design captures the serene beauty of mountains against a sunset sky.
How to Achieve It:
- Paint a gradient background using yellow at the base (for the sunset) blending into blue and then pink at the tips (for the sky).
- Once dry, use a fine brush to add silhouetted mountain peaks in black or dark grey at the nail base.
- Finish with a clear top coat to protect the design.
18. Floral Meadows
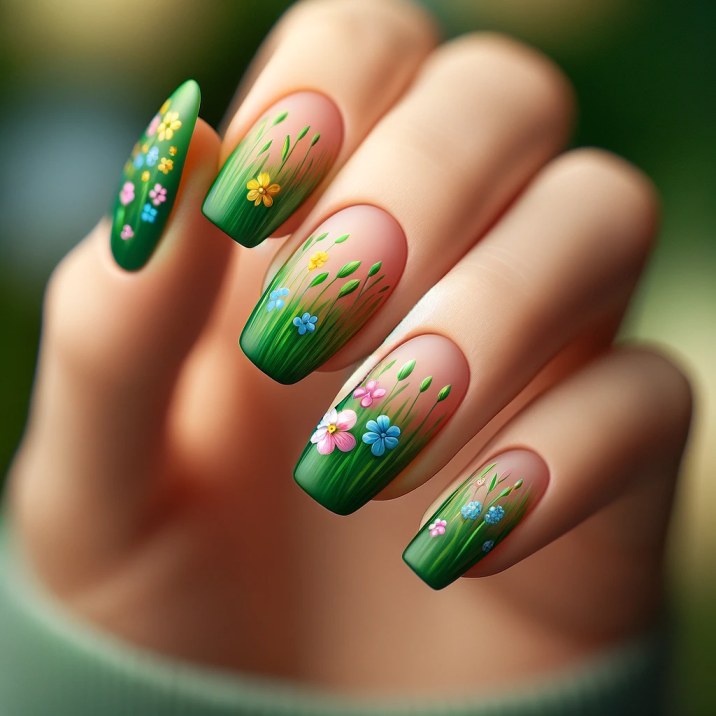
Create a scene of a blooming meadow with flowers in shades of pink, yellow, and blue.
How to Achieve It:
- Start with a green base to represent grass.
- Use a fine brush or a dotting tool to add small flowers in pink, yellow, and blue.
- Add tiny green strokes for stems and leaves.
- Apply a top coat to give the design a finished look.
19. Butterfly Wings
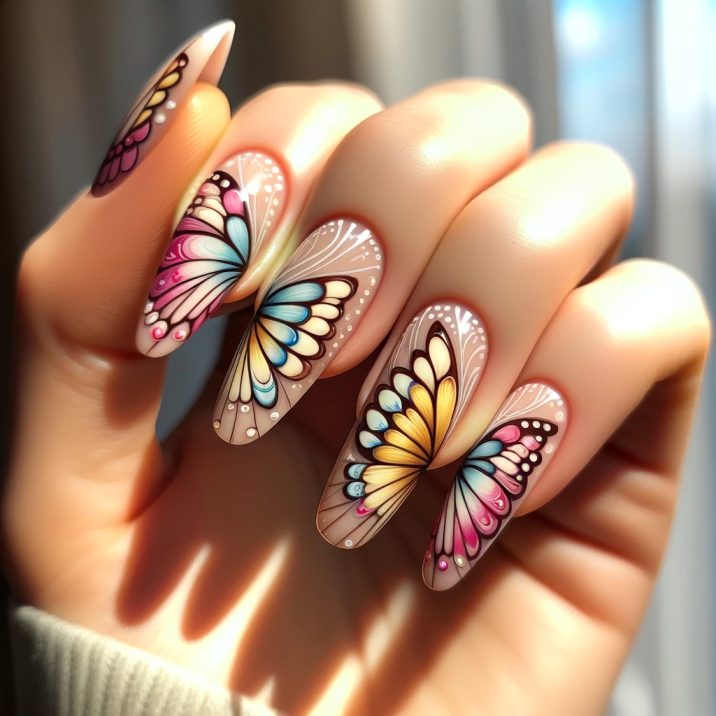
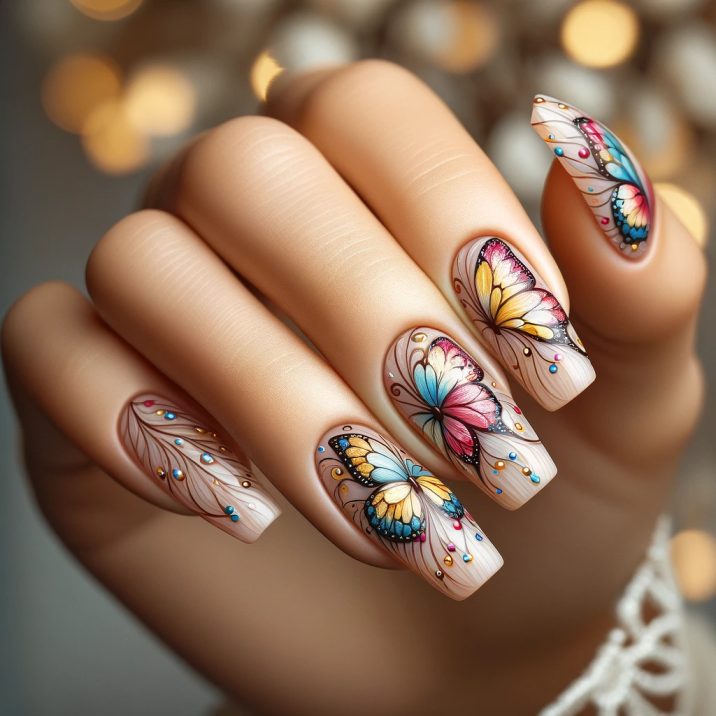
This design mimics the intricate patterns of butterfly wings, using your vibrant color palette.
How to Achieve It:
- Paint your nails with a light base color.
- Add intricate wing patterns using pink, yellow, and blue, mimicking the symmetry and designs of butterfly wings.
- Use a fine brush for detailed lines and dots.
- Finish with a clear top coat to enhance the details.
20. Autumn Leaves
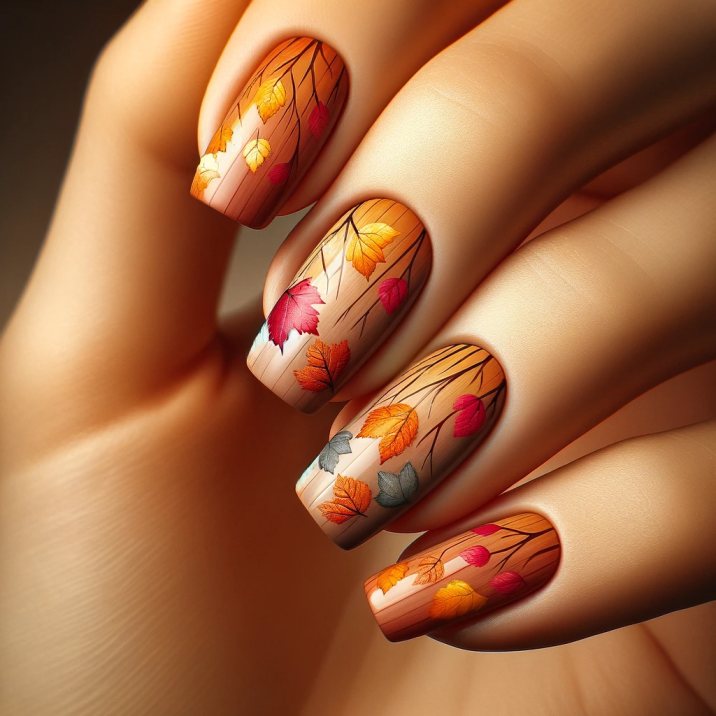
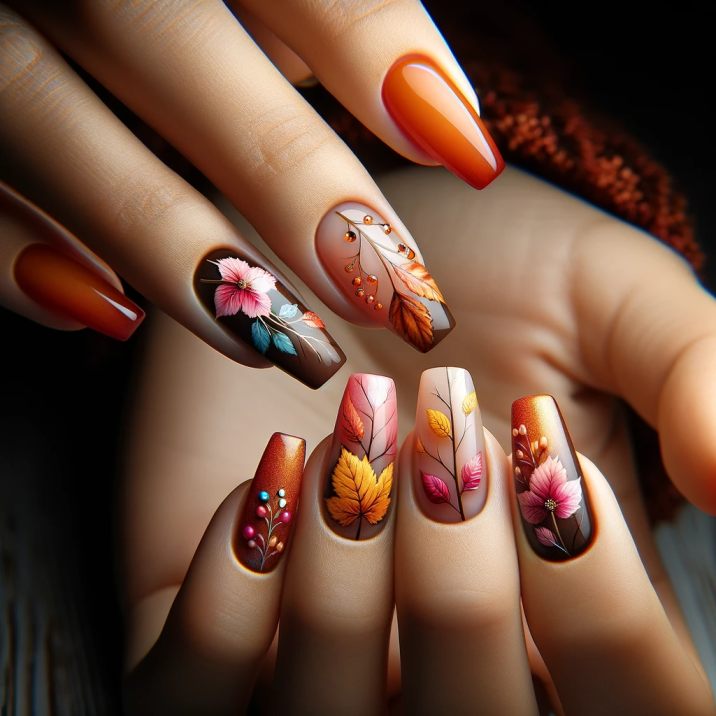
Capture the essence of autumn with a design featuring falling leaves in a mix of your chosen colors.
How to Achieve It:
- Begin with an orange or brown base to represent the autumnal earth.
- Paint falling leaves in shades of pink, yellow, and blue using a fine brush or stencil.
- Add small strokes to create the veins of the leaves.
- Seal with a top coat for a glossy finish.
21. Starry Night Sky
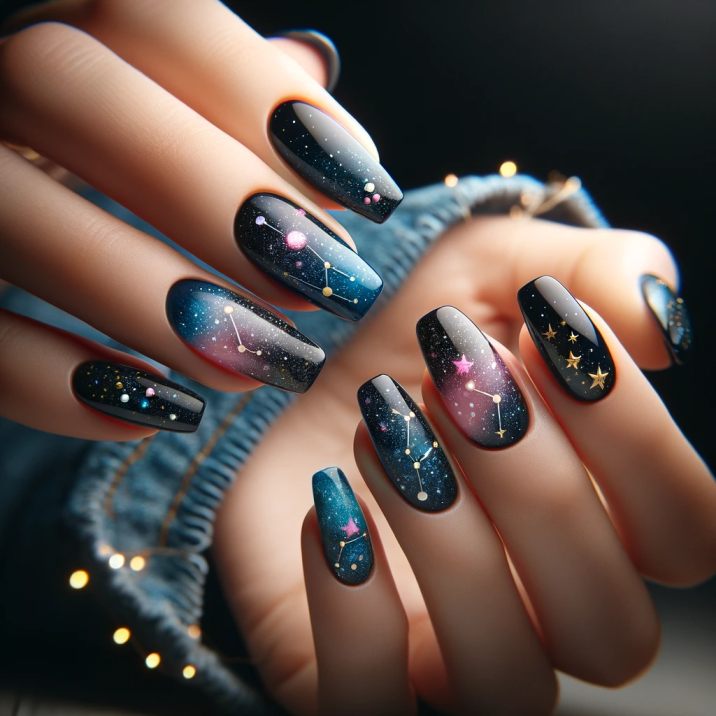
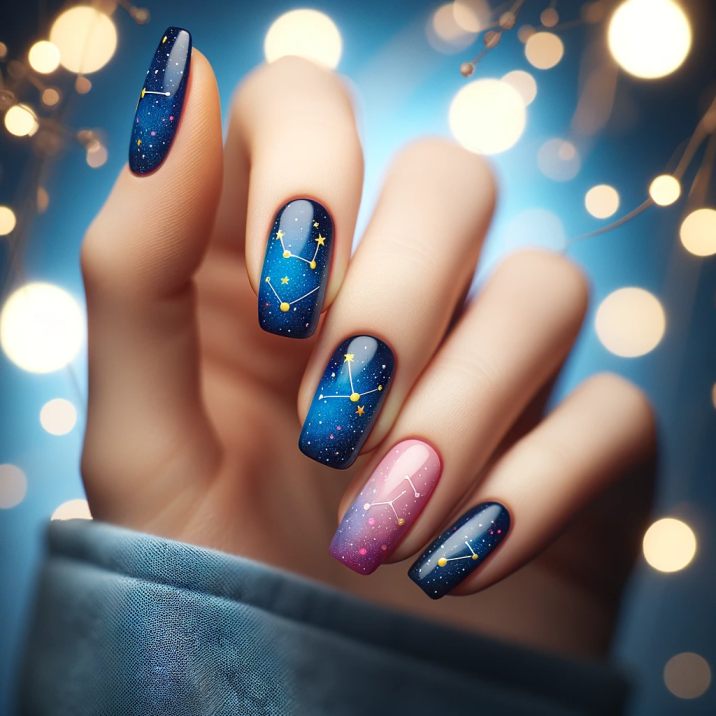
Inspired by a clear night sky, this design incorporates a dark blue base with pink and yellow stars.
How to Achieve It:
- Apply a dark blue base coat to represent the night sky.
- Use a small dotting tool or brush to add tiny stars and constellations in pink and yellow.
- Optionally, add a few tiny dots of white or silver for additional stars.
- Finish with a top coat for a starry shine.
22. Cherry Blossom Elegance
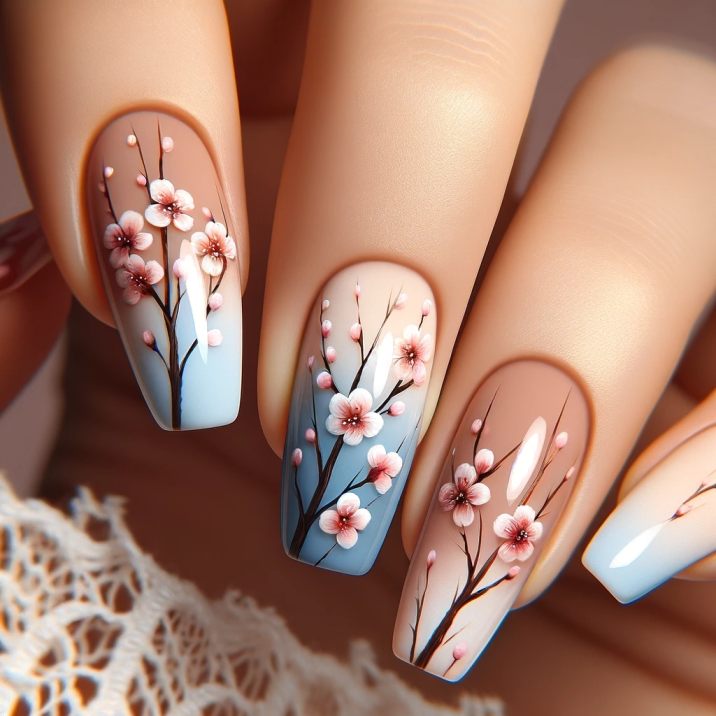
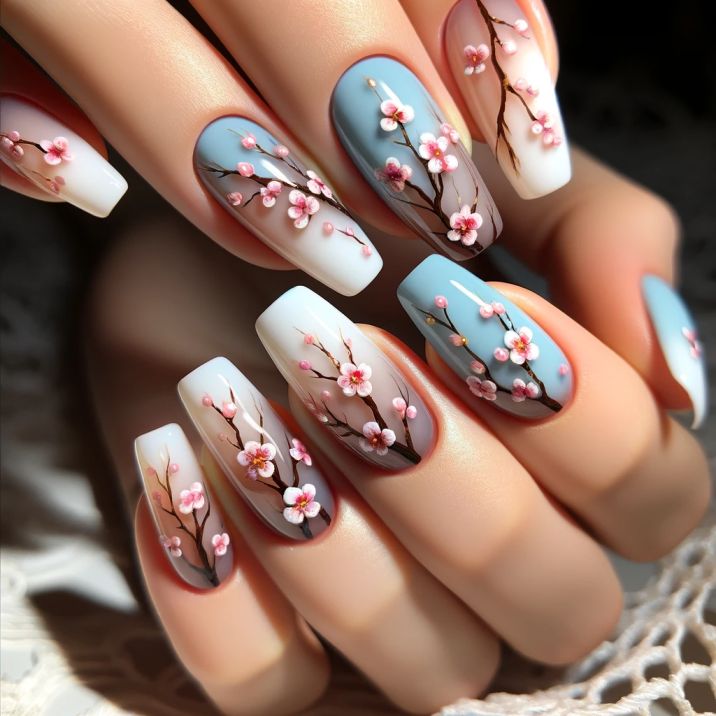
Cherry blossoms are a symbol of spring and beauty, and their delicate pink petals can inspire a gorgeous nail design.
How to Achieve It:
- Paint your nails with a pale blue or white base to represent the sky.
- Use a fine brush to paint small cherry blossom flowers in shades of pink on each nail.
- Add tiny brown or black branches that meander across your nails.
- Finish with a clear top coat for a glossy and protective layer.
23. Tropical Hibiscus Fantasy
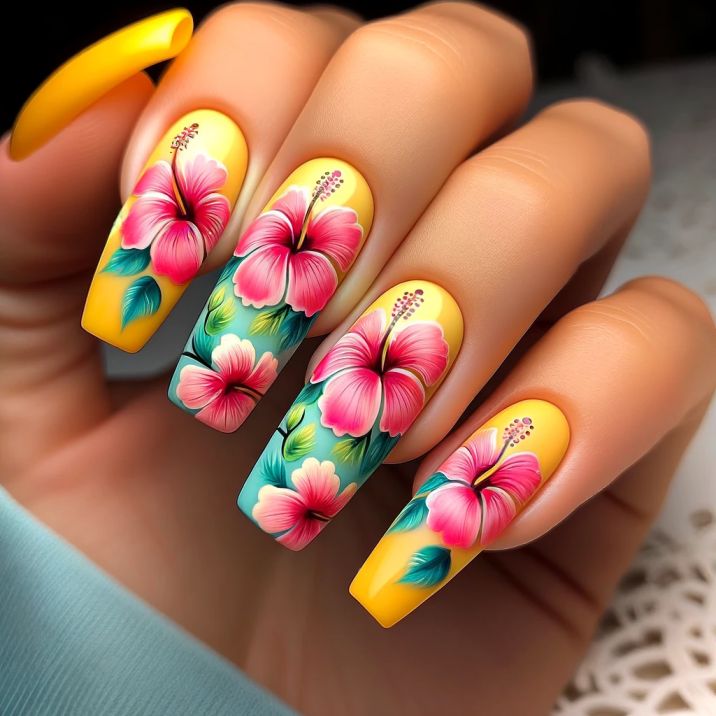
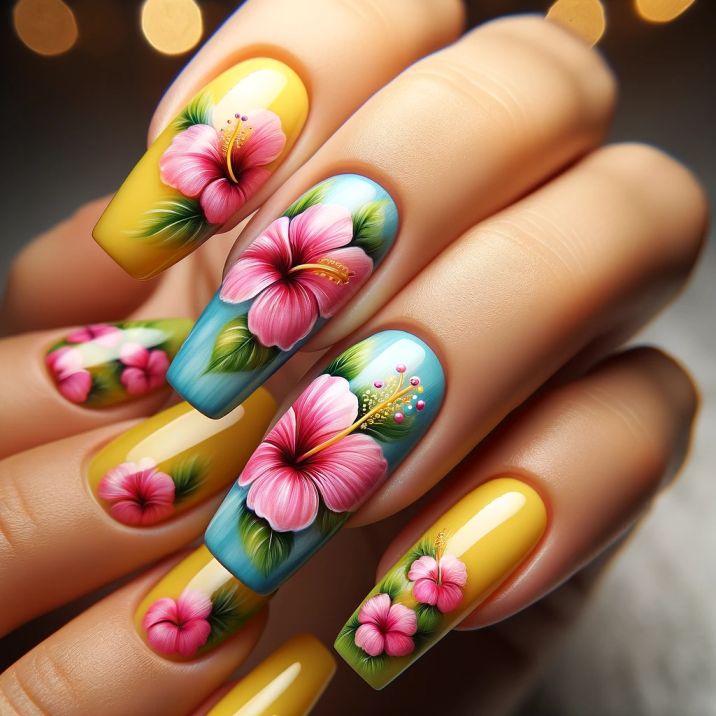
The vibrant colors of hibiscus flowers can create a bold and tropical look on your nails.
How to Achieve It:
- Start with a bright yellow base.
- Paint large hibiscus flowers in striking pink and blue, using a fine brush for the petals.
- Add subtle green leaves to complete the tropical theme.
- Seal with a top coat for durability and shine.
24. Lavender Fields
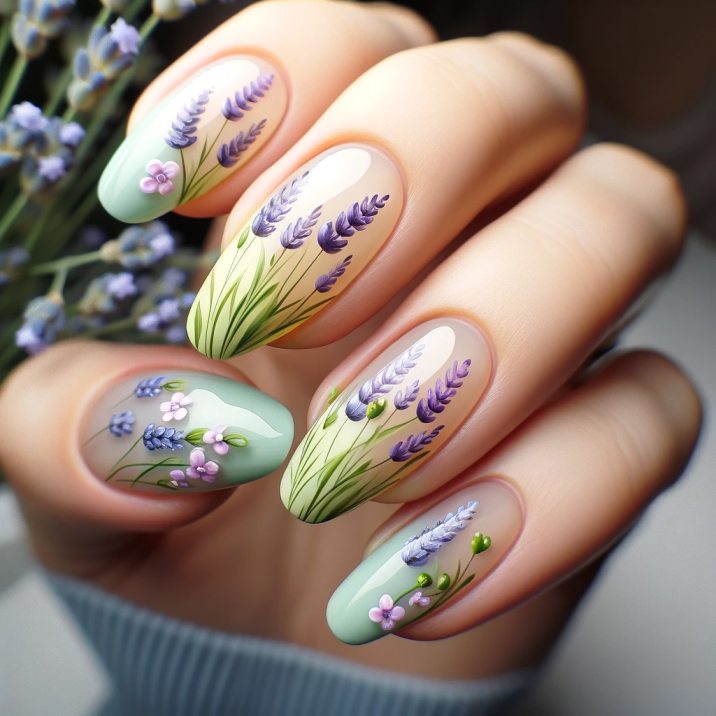
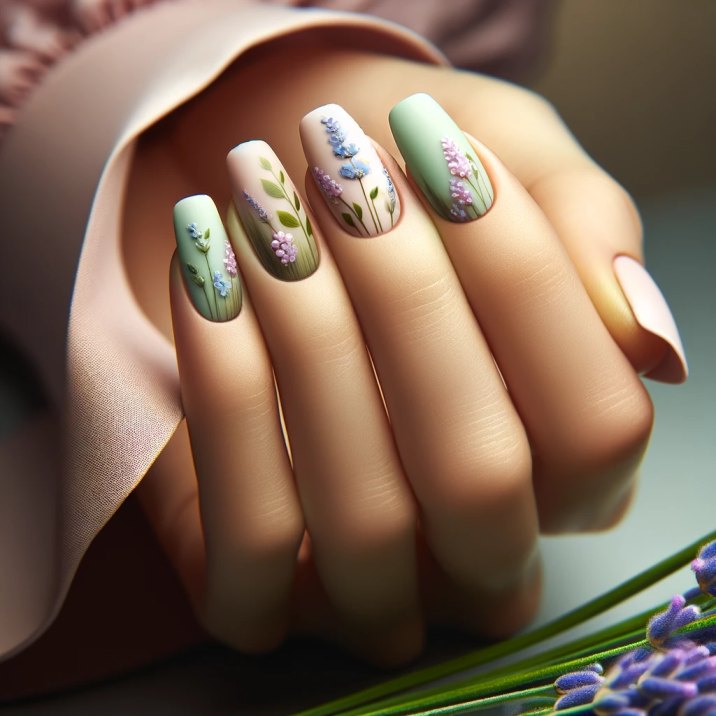
Capture the soothing and aromatic essence of lavender fields with this floral design.
How to Achieve It:
- Apply a light green or pastel yellow base coat to represent the fields.
- Paint thin, delicate lavender flowers in shades of pink and blue, adding small green leaves for detail.
- Arrange the lavender sprigs in a way that they seem to gently sway across your nails.
- Finish with a clear top coat to protect your artwork.
25. Daisy Delight
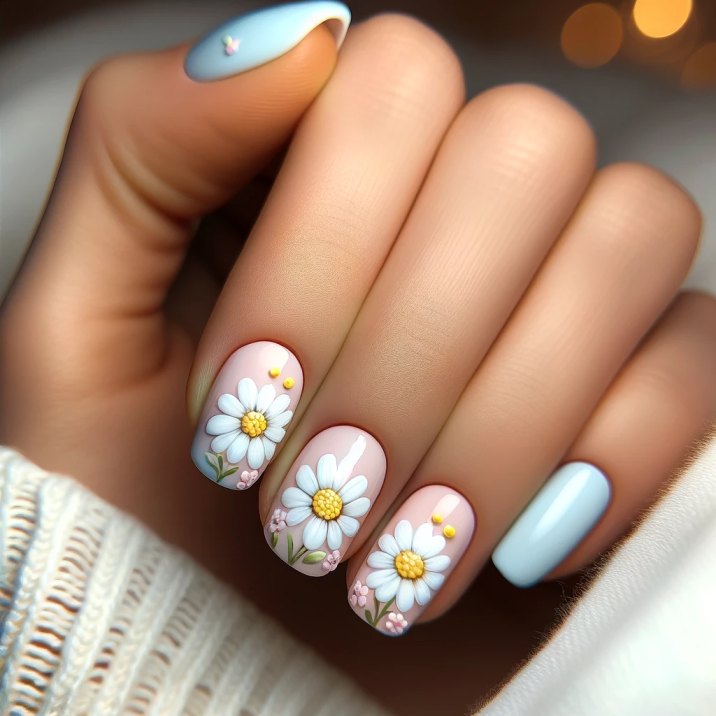
Simple yet charming, daisies can create a fresh and clean nail design perfect for any casual occasion.
How to Achieve It:
- Paint your nails with a soft pastel base color.
- Use a dotting tool or a fine brush to create small daisies in white with yellow centers.
- Add subtle pink and blue accents to the daisy petals for a touch of color.
- Apply a top coat to keep the design bright and chip-free.
26. Sunflower Spark
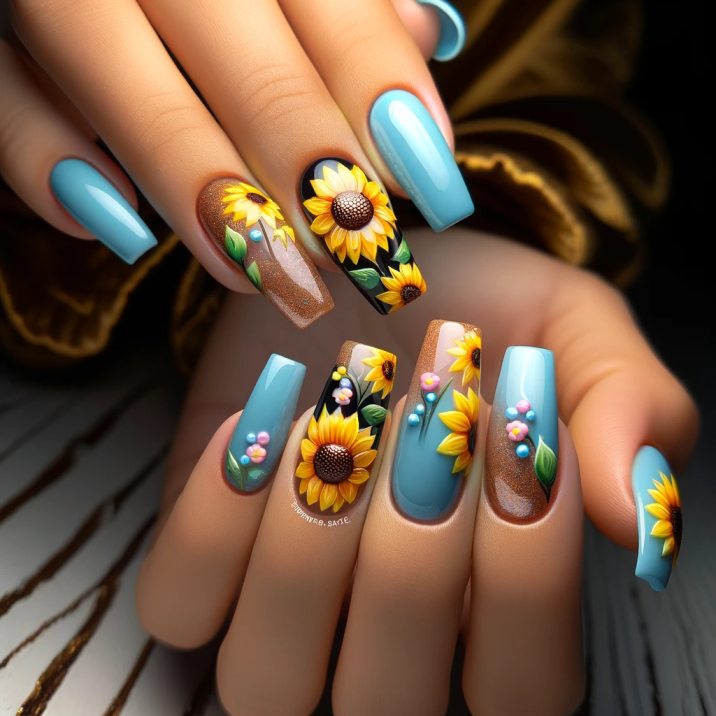
Sunflowers are cheerful and bold, making them a perfect inspiration for a lively nail design.
How to Achieve It:
- Choose a bright blue or clear base to start.
- Paint large, striking sunflowers in yellow, with rich brown centers, on each nail.
- Add small pink and blue details to the petals for a unique twist.
- Seal the design with a glossy top coat for a lasting finish.
27. Rose Romance
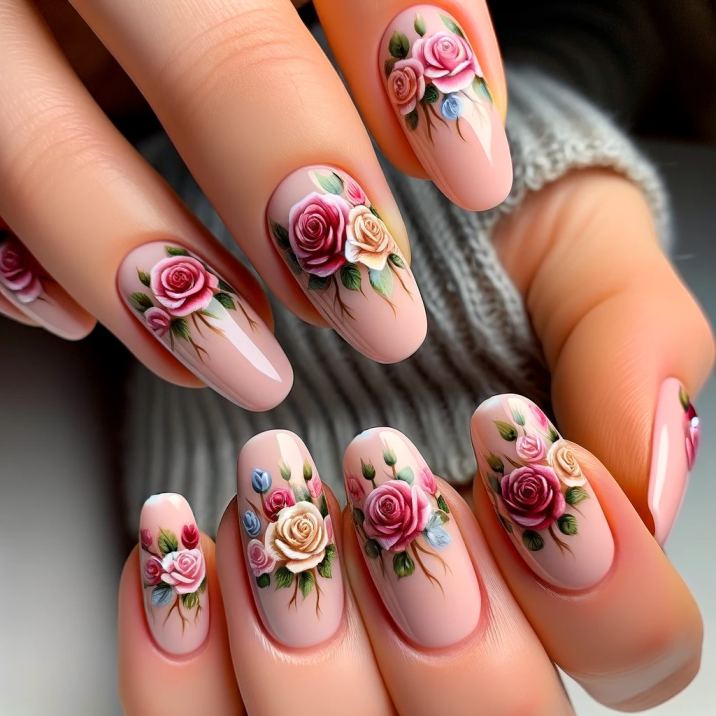
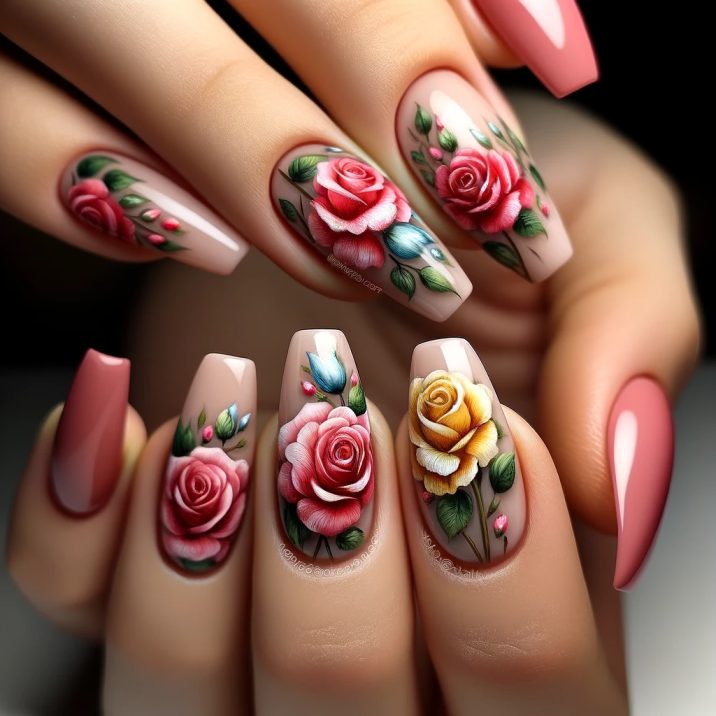
Roses are classic and timeless, and their intricate petals can be beautifully rendered in nail art.
How to Achieve It:
- Opt for a soft pink or neutral base coat.
- Paint detailed roses in varying shades of pink, yellow, and blue, using fine brush strokes for the petals.
- Include small green leaves for a natural touch.
- Apply a clear top coat for a smooth and elegant look.
28. Wildflower Whimsy
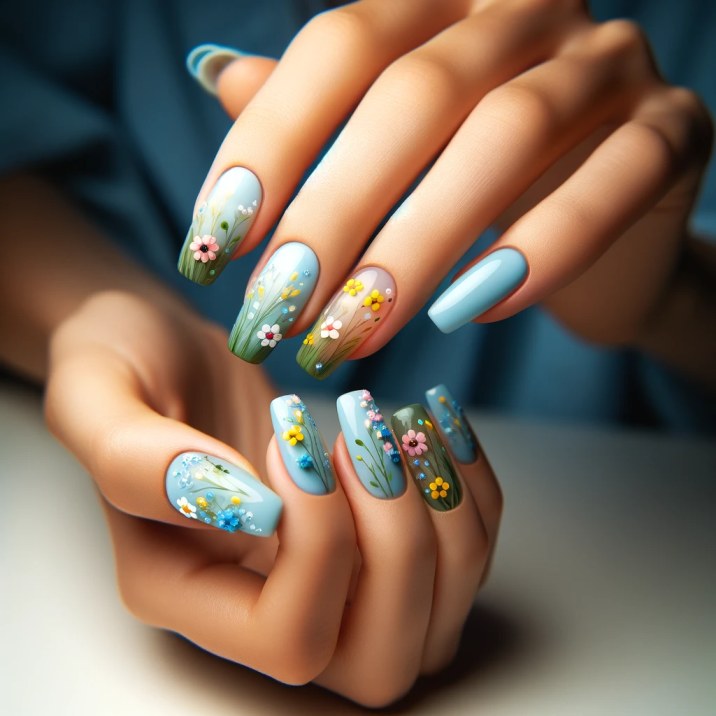
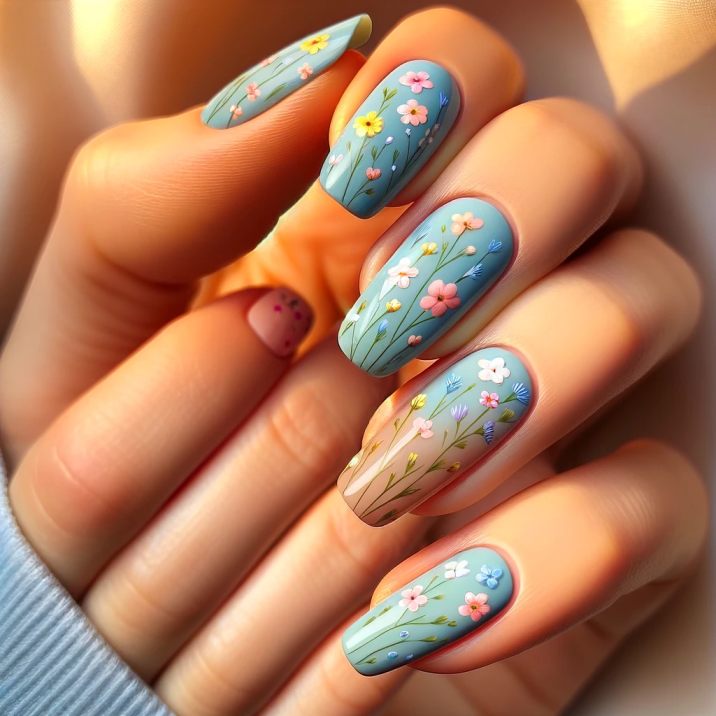
A wildflower design can capture the essence of a meadow, with a mix of different flowers in a variety of colors.
How to Achieve It:
- Start with a sky blue or light green base.
- Use a fine brush to paint an assortment of small, wildflowers in pink, yellow, and blue across your nails.
- Create a random and organic pattern to mimic the natural growth of wildflowers.
- Finish with a top coat to enhance and protect your nail art.
29. Galactic Exploration
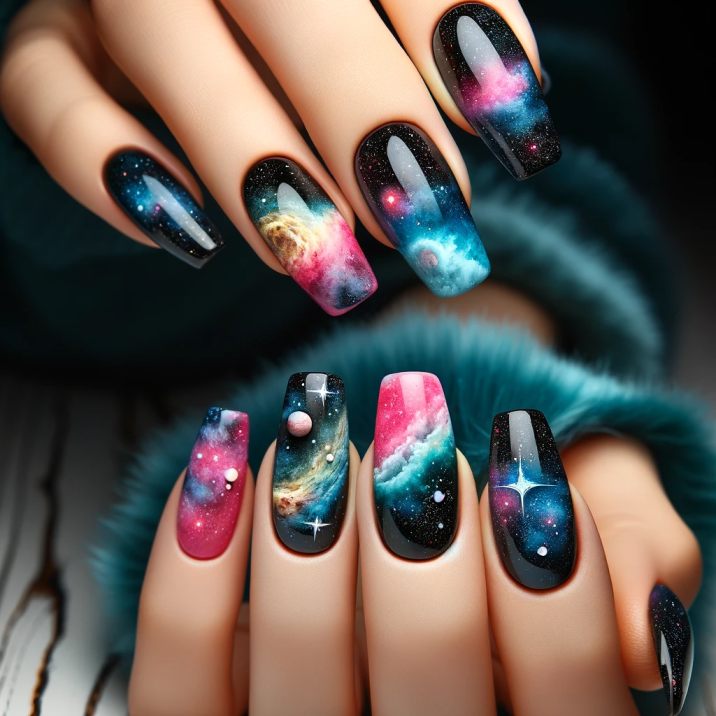
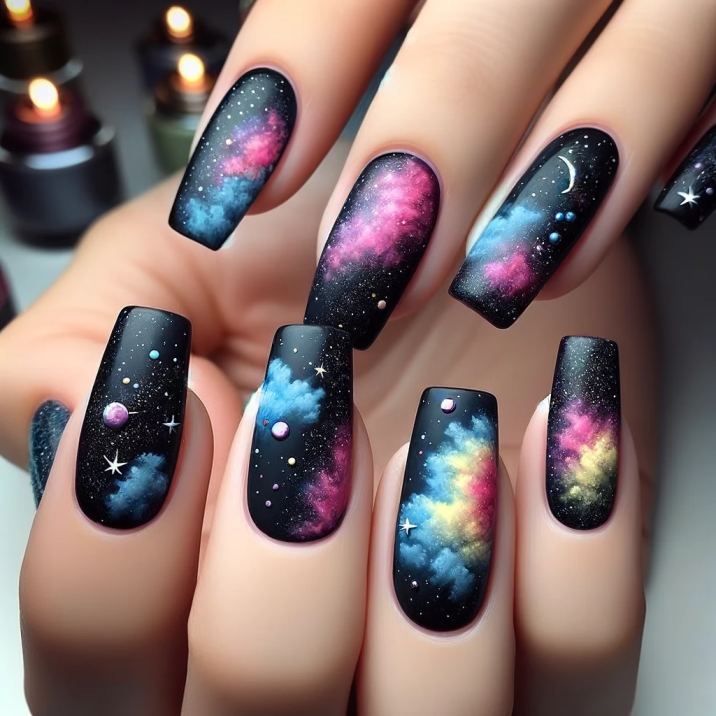
Dive into the vastness of space with a nail design inspired by distant galaxies and nebulae.
How to Achieve It:
- Start with a black or deep blue base coat to represent outer space.
- Sponge on shades of pink, yellow, and blue to create a nebula-like effect.
- Dot tiny white or silver stars and maybe a small planet or two.
- Apply a glitter top coat for an extra cosmic touch.
30. Futuristic Circuitry
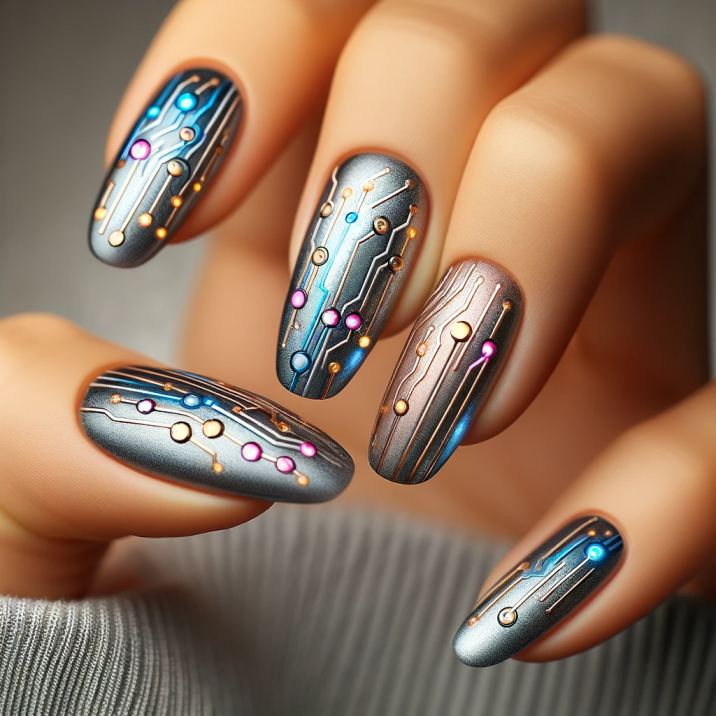
Incorporate elements of futuristic technology with a circuit board design.
How to Achieve It:
- Paint your nails with a metallic silver or grey base.
- Use a thin brush to draw intricate circuit patterns in blue, with accents of pink and yellow LED-like dots.
- Add a high-gloss top coat for a sleek, futuristic look.
31. Alien Landscapes
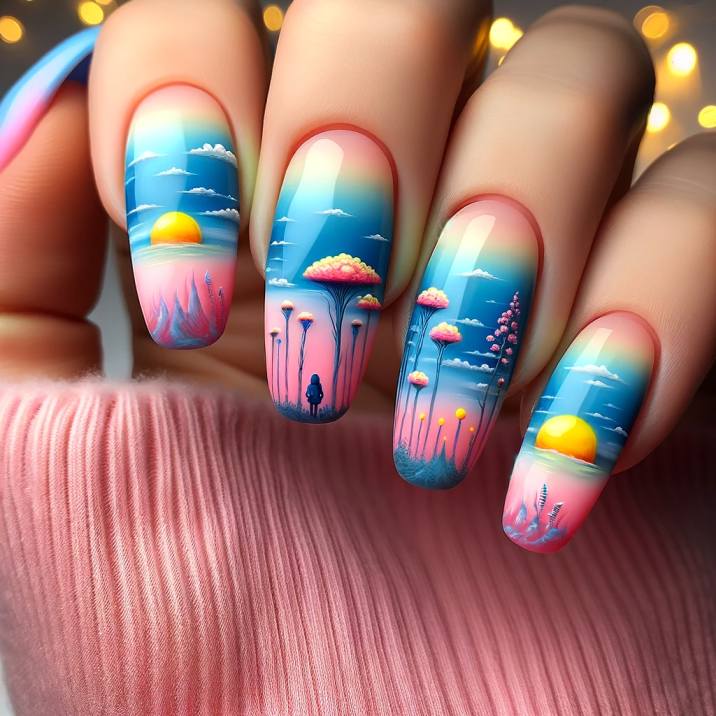
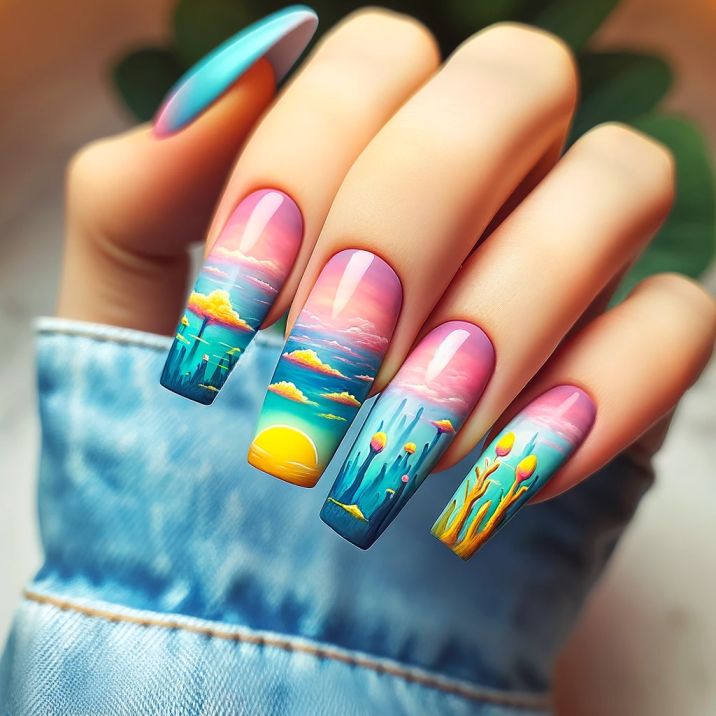
Create an otherworldly scene with imaginative landscapes that might exist on alien planets.
How to Achieve It:
- Begin with a gradient base of blue and pink, mimicking an alien sky.
- Paint imaginative landscapes, such as floating mountains or unusual plant life, in yellow and contrasting shades.
- Finish with a clear top coat to give the scene depth and shine.
32. Robotics and Gears
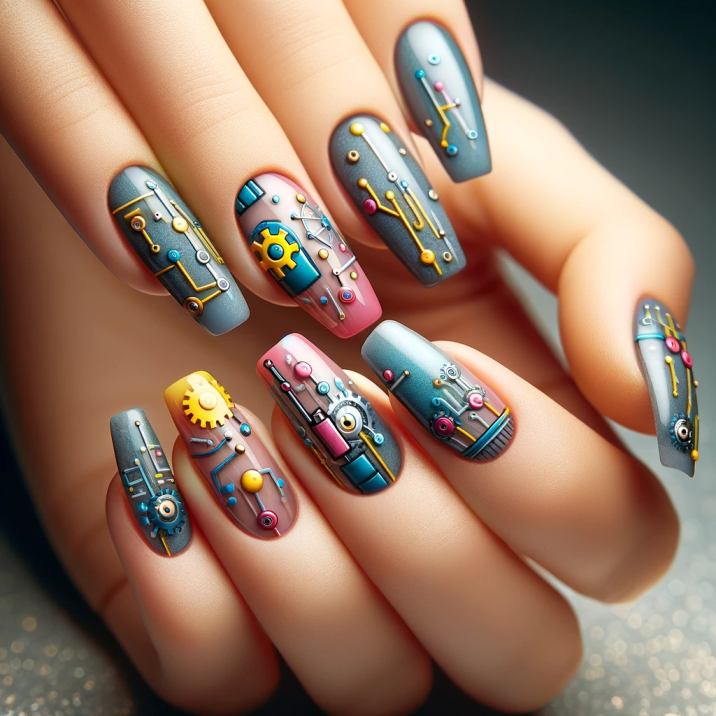
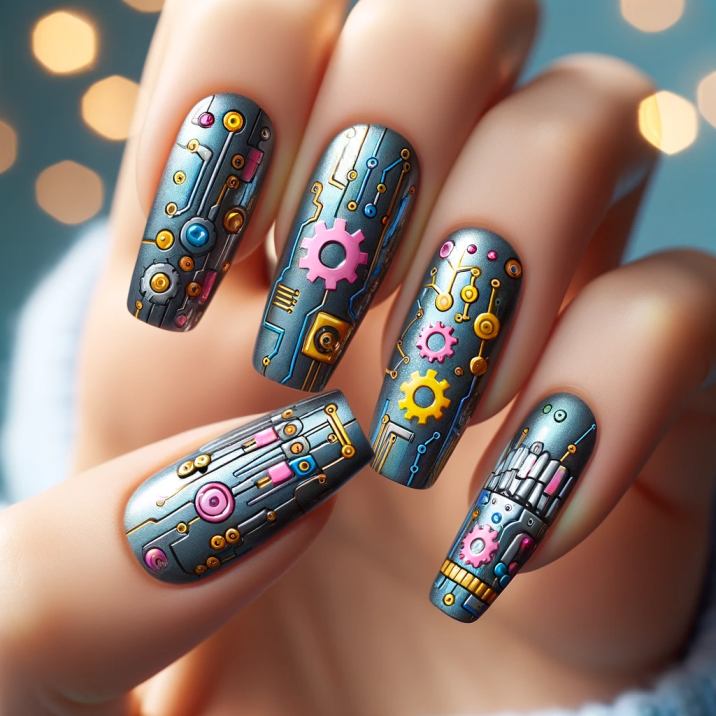
Embrace the mechanical side of sci-fi with a design featuring robotic elements and gears.
How to Achieve It:
- Use a grey or metallic base coat for a metallic effect.
- Paint small gears, circuits, and robotic motifs in pink, yellow, and blue.
- Add fine details with a thin brush or a toothpick.
- Seal with a glossy top coat for protection.
Read More-
- 35 Light Pink Nails with Flower Designs
- 26 Cute Sunflower and Butterfly Nail Designs for Short Nails
33. Sci-Fi Characters
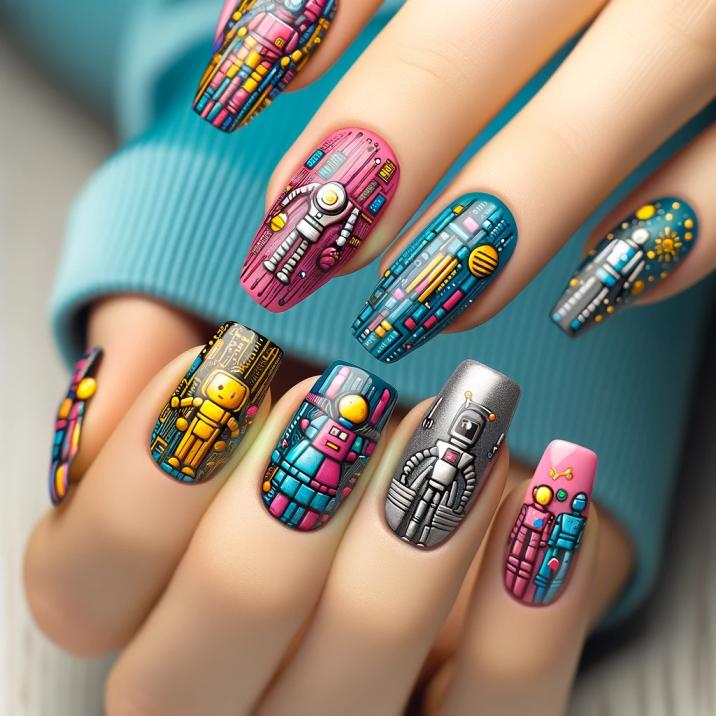
Draw inspiration from your favorite science fiction characters or symbols, reimagined in your color palette.
How to Achieve It:
- Choose a base color that complements your character or symbol.
- Carefully paint simplified versions of the characters or symbols in pink, yellow, and blue.
- Use a fine brush for details and clean lines.
- Apply a clear top coat to enhance the design.
34. Stellar Constellations
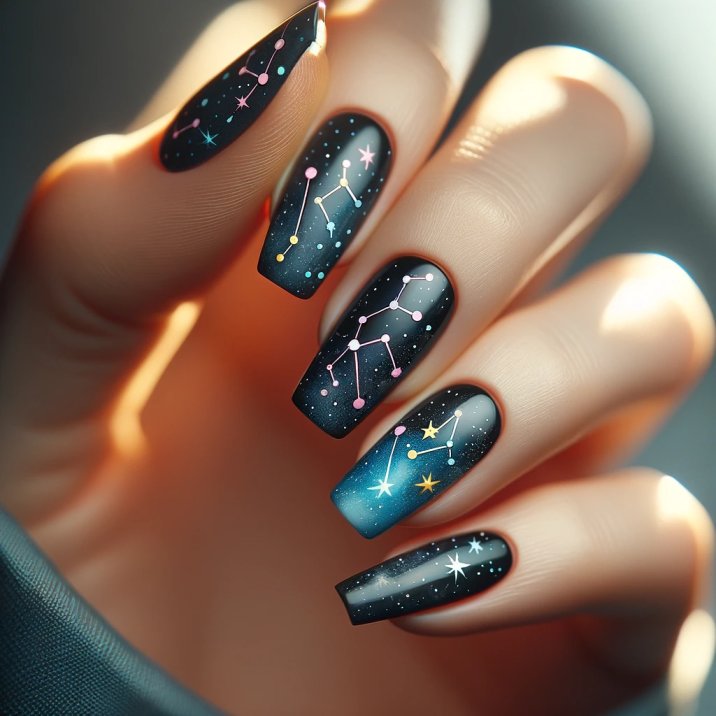
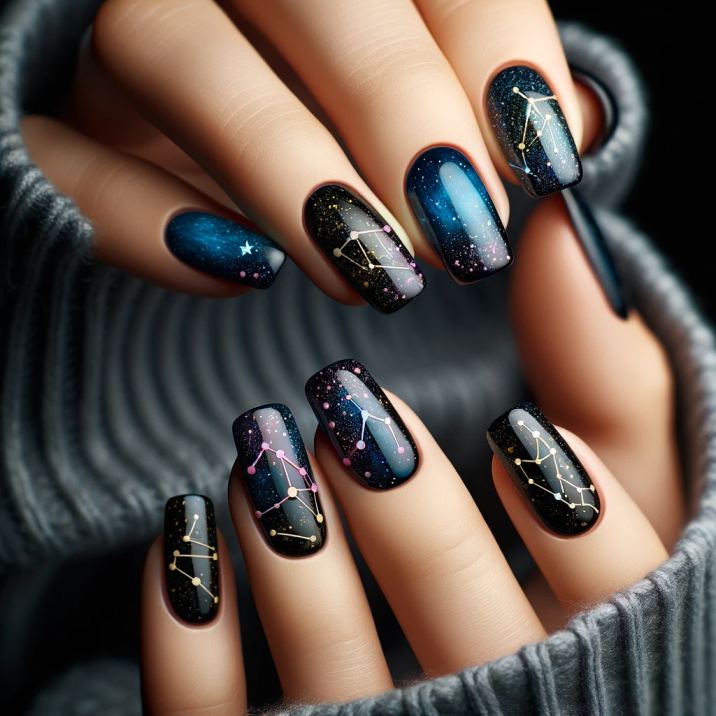
Bring the beauty of the night sky to your nails with constellations and stellar formations.
How to Achieve It:
- Paint a dark blue or black base coat for the night sky.
- Use a dotting tool or fine brush to create constellations and stars in pink, yellow, and blue.
- Connect some stars with thin lines to form constellations.
- Finish with a top coat for a starry effect.
35. Holographic Horizons
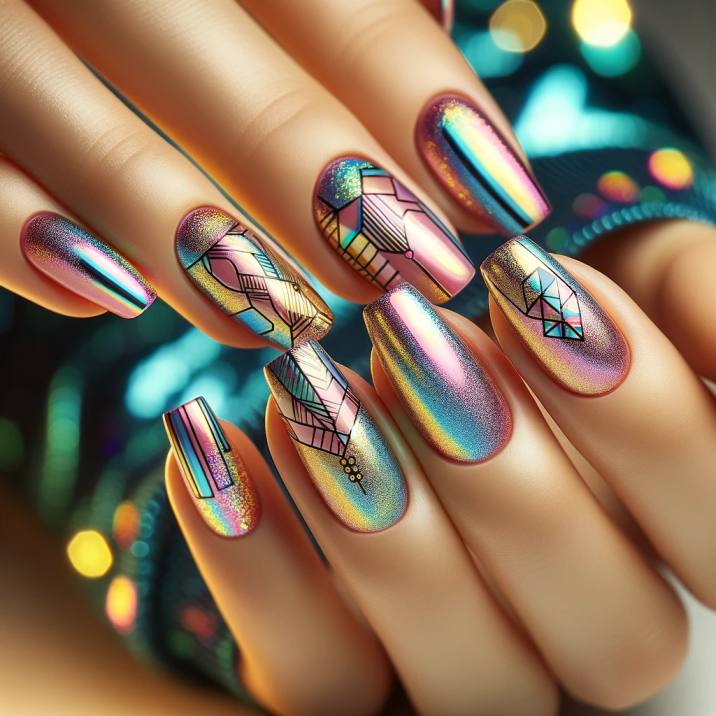
Capture the futuristic essence of holographic technology with a shimmering, iridescent design.
How to Achieve It:
- Apply a holographic polish as the base.
- Over this, paint geometric patterns or abstract shapes in pink, yellow, and blue.
- Use a fine brush for precision in your designs.
- Cover with a high-gloss top coat to enhance the holographic effect.
36. Art Deco Elegance
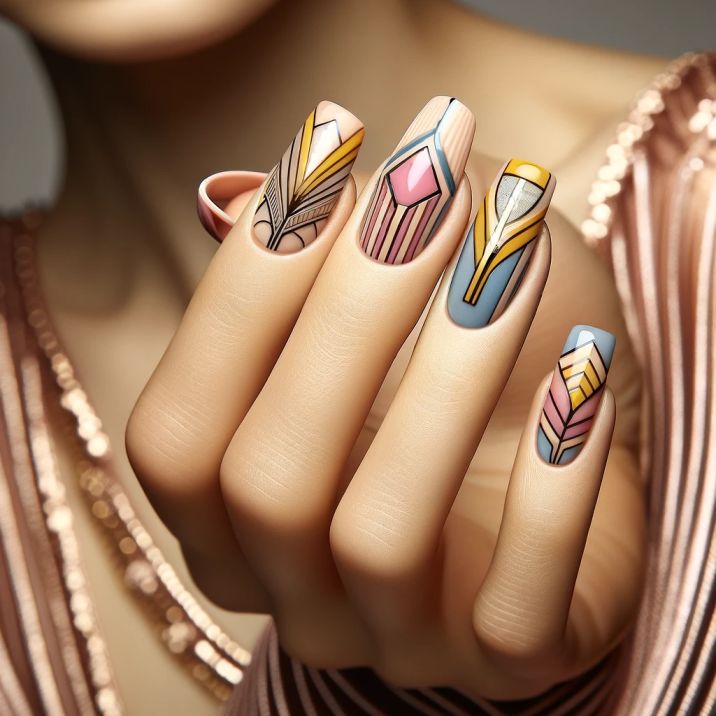
Inspired by the bold and geometric shapes of Art Deco, this design combines sophistication with a modern twist.
How to Achieve It:
- Start with a nude or pastel base color.
- Use a fine brush to paint sharp, geometric patterns in pink, yellow, and blue.
- Include elements like triangles, zigzags, and curved lines to capture the Art Deco style.
- Finish with a glossy top coat for a sleek look.
37. Bohemian Rhapsody
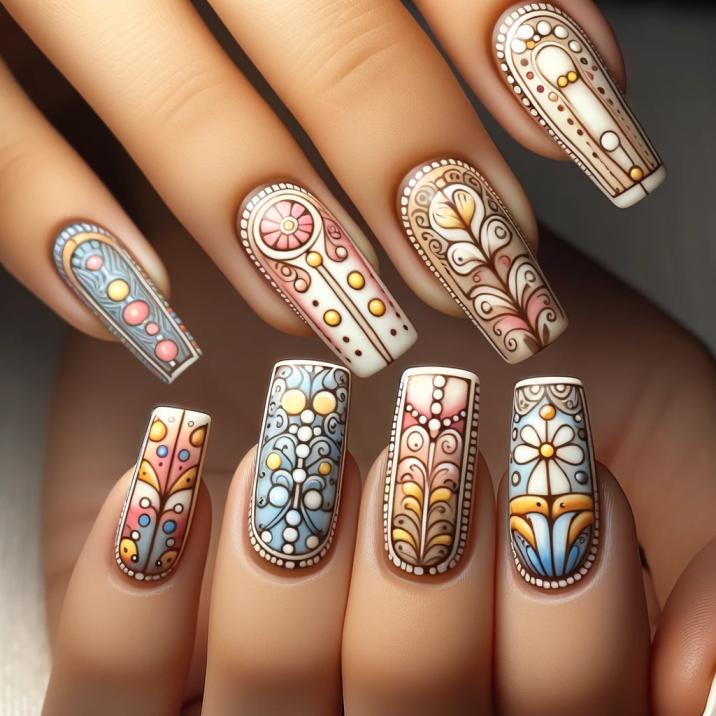
Embrace a bohemian vibe with intricate patterns, combining florals, paisleys, and abstract shapes.
How to Achieve It:
- Choose a light base color like white or cream.
- Paint a mix of small, detailed patterns in pink, yellow, and blue, using a thin brush or dotting tool.
- Create a harmonious yet eclectic mix on each nail.
- Apply a clear top coat to protect your bohemian art.
38. Optical Illusions
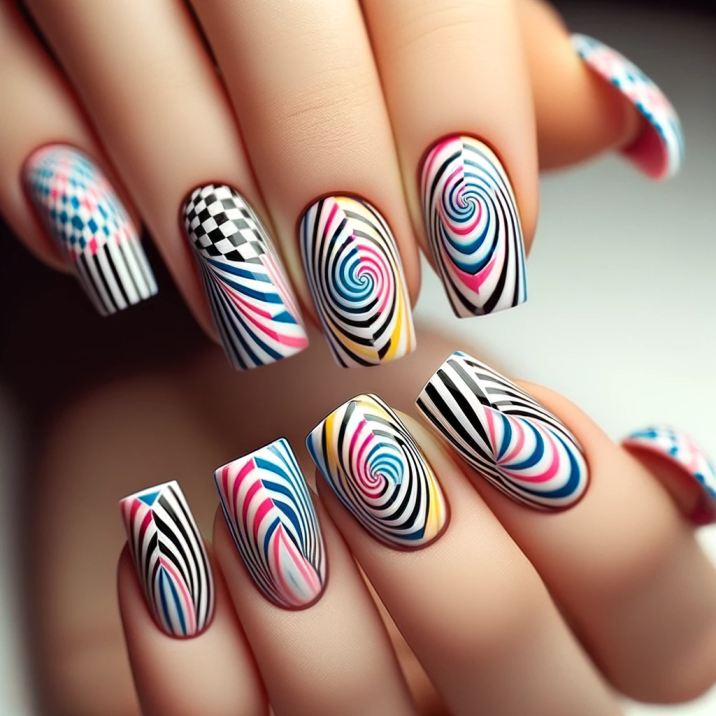
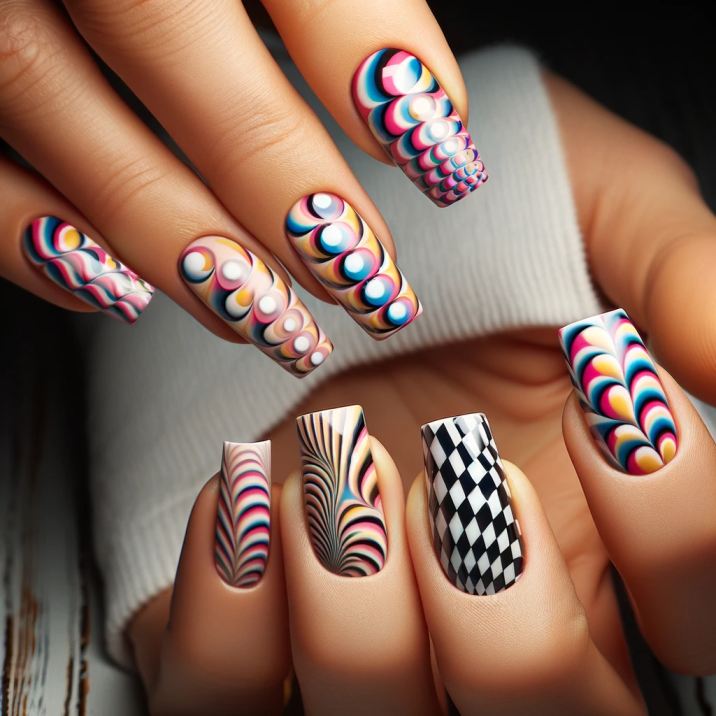
Create a playful and eye-catching design with optical illusions using sharp lines and contrasting colors.
How to Achieve It:
- Paint your nails with a white or light-colored base.
- Use pink, yellow, and blue to create patterns like stripes, checkerboards, or spirals that play tricks on the eye.
- Focus on precision to make the optical illusion effective.
- Seal with a top coat for a smooth finish.
39. Abstract Artistry
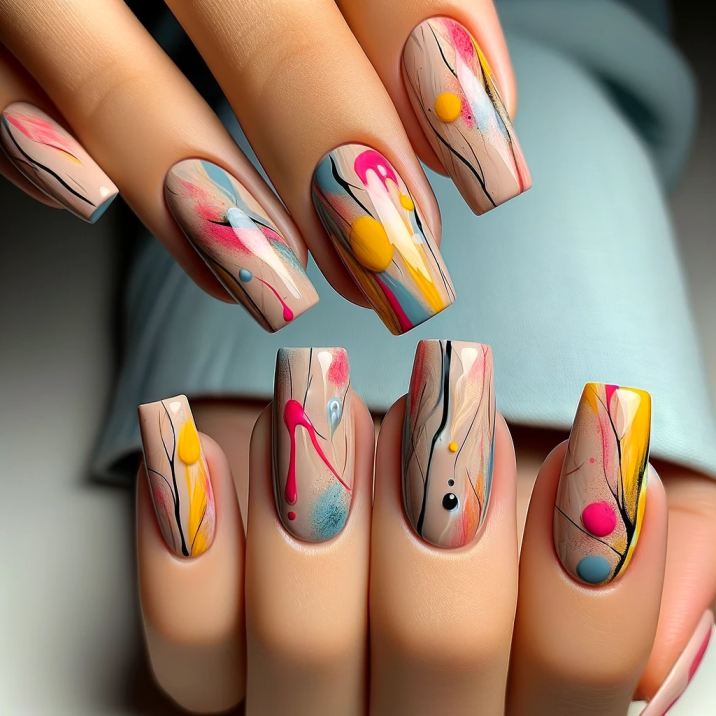
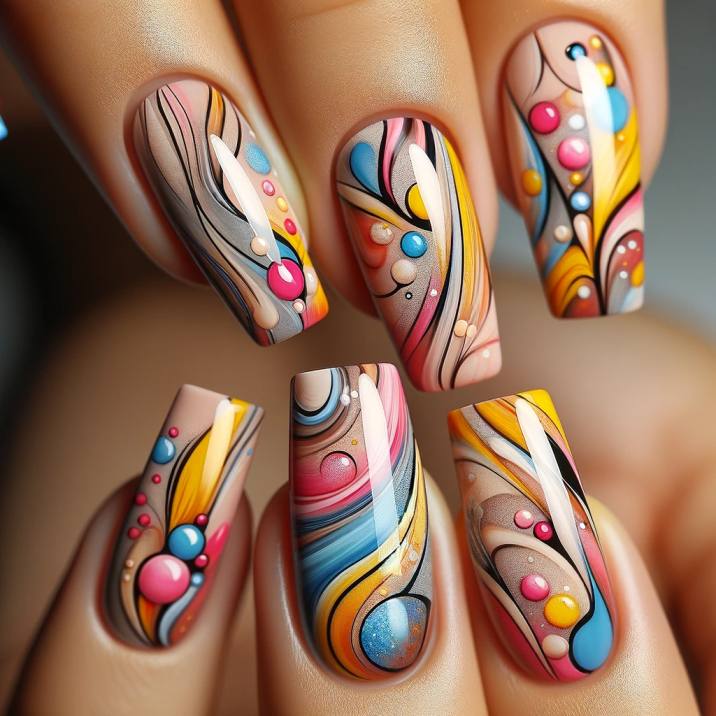
Let your imagination run wild with abstract designs that are open to interpretation.
How to Achieve It:
- Begin with a simple base color.
- Splash, drip, or streak pink, yellow, and blue in an abstract manner, like a canvas.
- Each nail can be a different expression of abstract art.
- Complete with a top coat for a glossy, artistic look.
40. Mosaic Magic
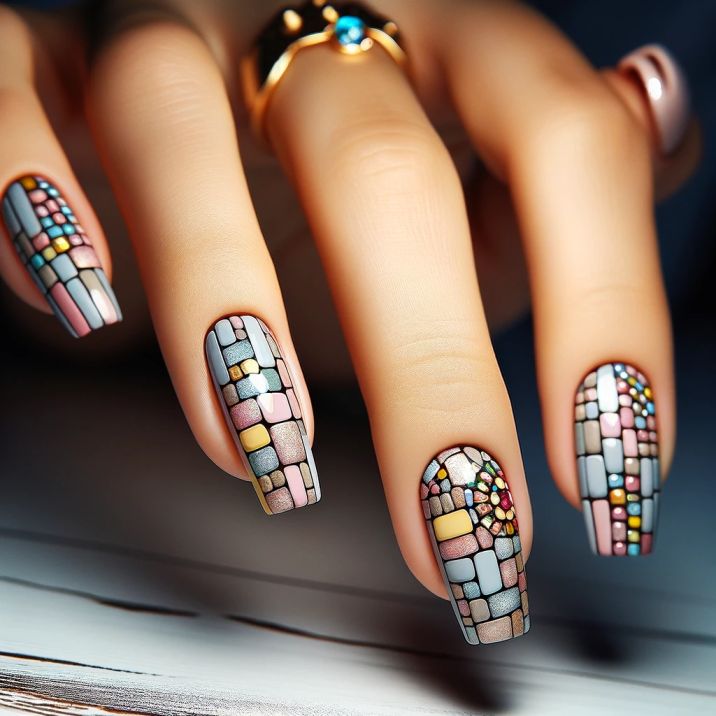
Mimic the look of a colorful mosaic using small, carefully placed tiles of color.
How to Achieve It:
- Use a light grey or beige base to mimic grout.
- Paint small squares or rectangles in pink, yellow, and blue, arranging them close together like tiles.
- Apply a shiny top coat to give the effect of glossy mosaic tiles.
41. Retro Polka Dots and Stripes
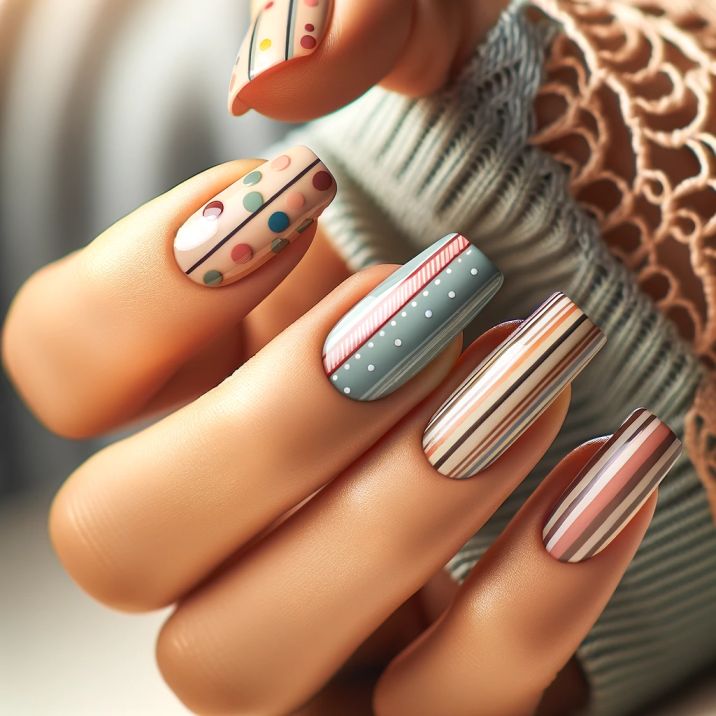
Combine polka dots and stripes in a retro-inspired design, reminiscent of vintage fashion.
How to Achieve It:
- Choose a pastel or muted base color for a vintage feel.
- Add polka dots in one color and stripes in another, using tape for straight lines.
- Alternate the patterns across different nails for variety.
- Finish with a clear top coat for durability.
42. Puzzle Pieces
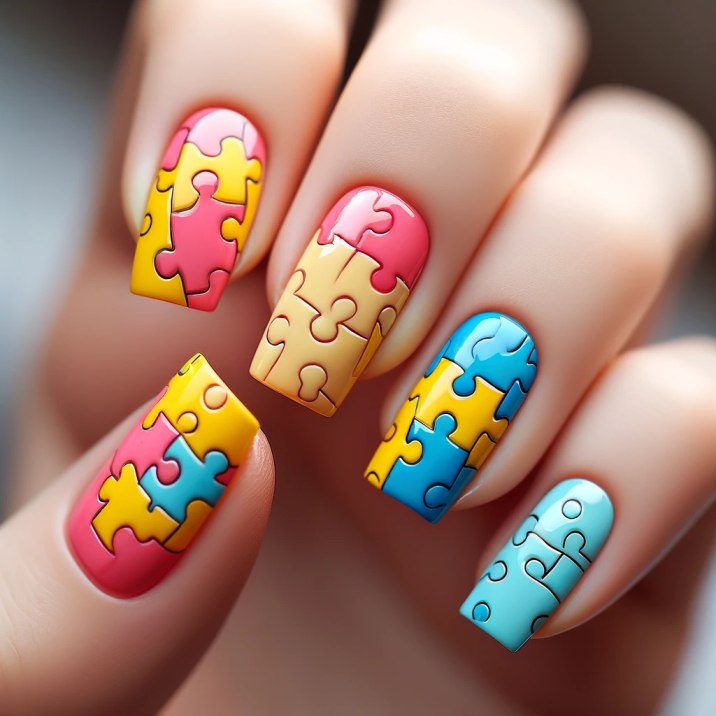
This creative design features puzzle pieces in different colors fitting together across your nails.
How to Achieve It:
- Paint each nail a different base color – pink, yellow, or blue.
- Use a fine brush to add the outline of puzzle pieces in contrasting colors.
- Make it look as if the pieces could fit together across your nails.
- Seal with a top coat for a complete and polished look.
43. Underwater Coral Reef
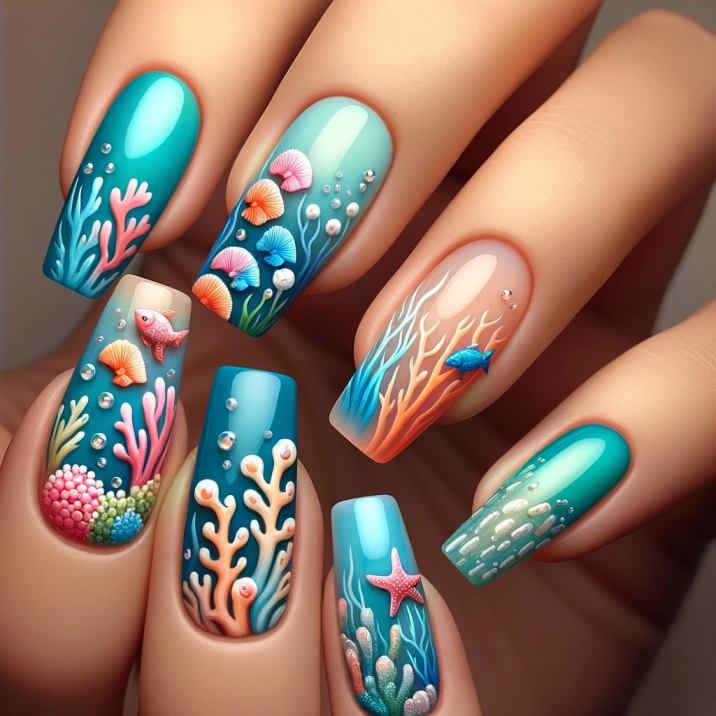
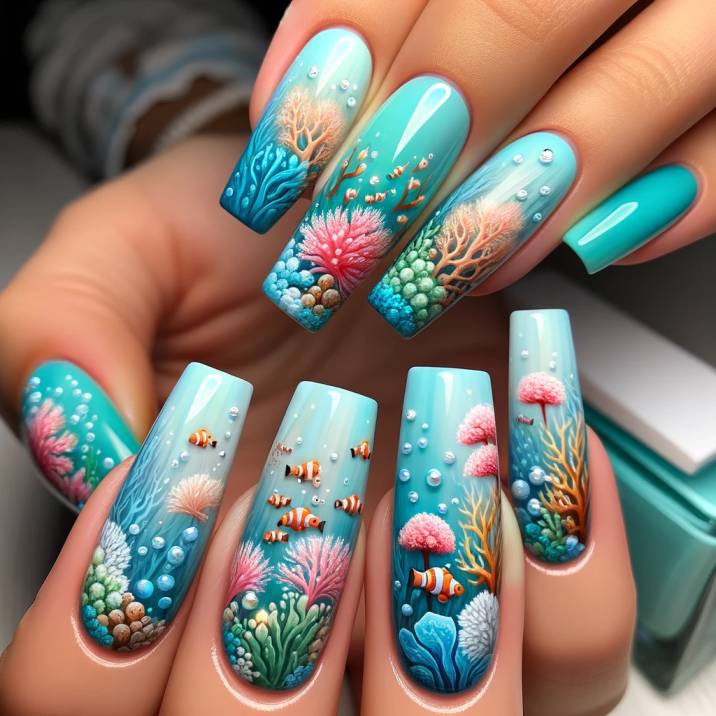
Capture the vibrant and diverse life of a coral reef with this aquatic-themed design.
How to Achieve It:
- Start with a turquoise or light blue base to represent water.
- Use pink, yellow, and blue to paint various coral shapes, sea anemones, and small fish.
- Add touches of white or silver to mimic light reflections in the water.
- Finish with a glossy top coat for a wet, oceanic look.
44. Nautical Stripes and Anchors
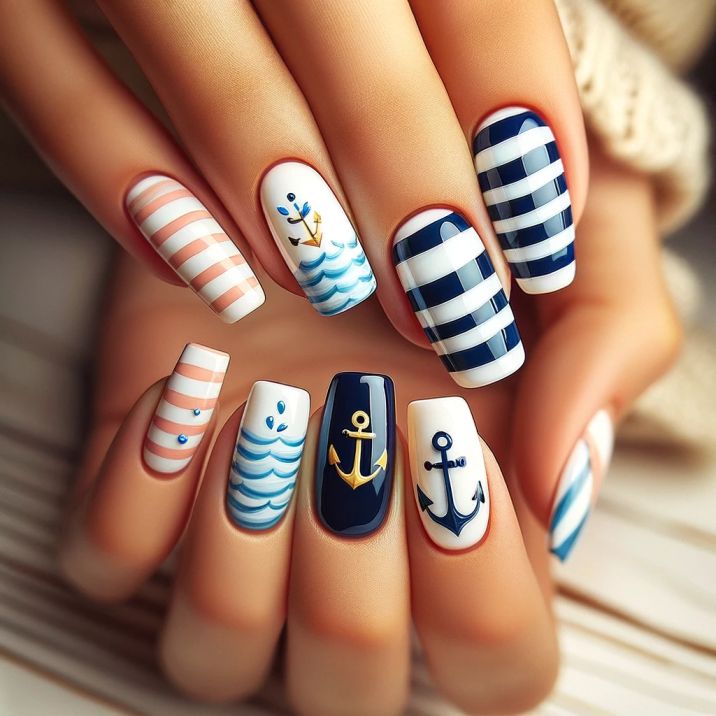
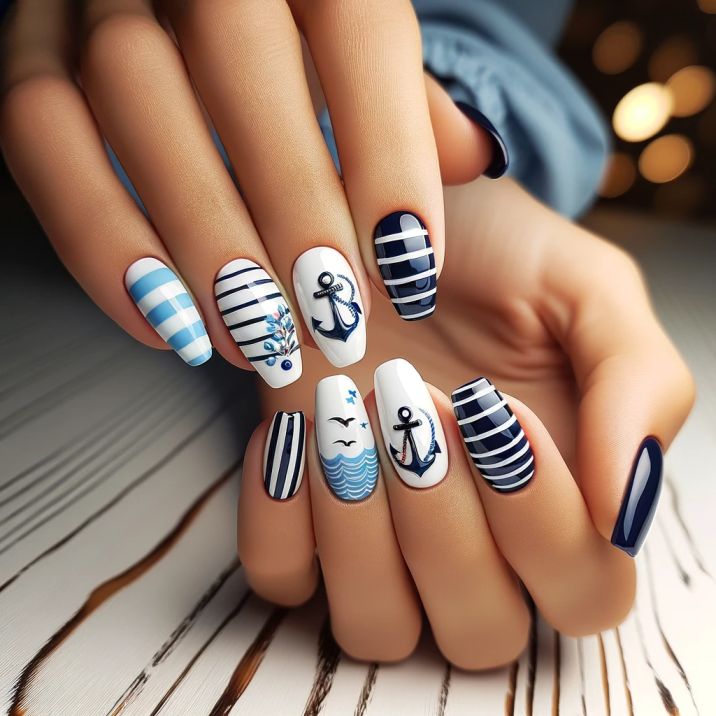
A classic nautical theme with stripes and anchors offers a timeless and chic look.
How to Achieve It:
- Paint your nails with alternating stripes of navy blue and white.
- On one or two accent nails, paint a small anchor in a contrasting color like pink or yellow.
- Add a few blue wave details or tiny seagulls for a complete nautical feel.
- Seal with a clear top coat for durability.
45. Mermaid Scales
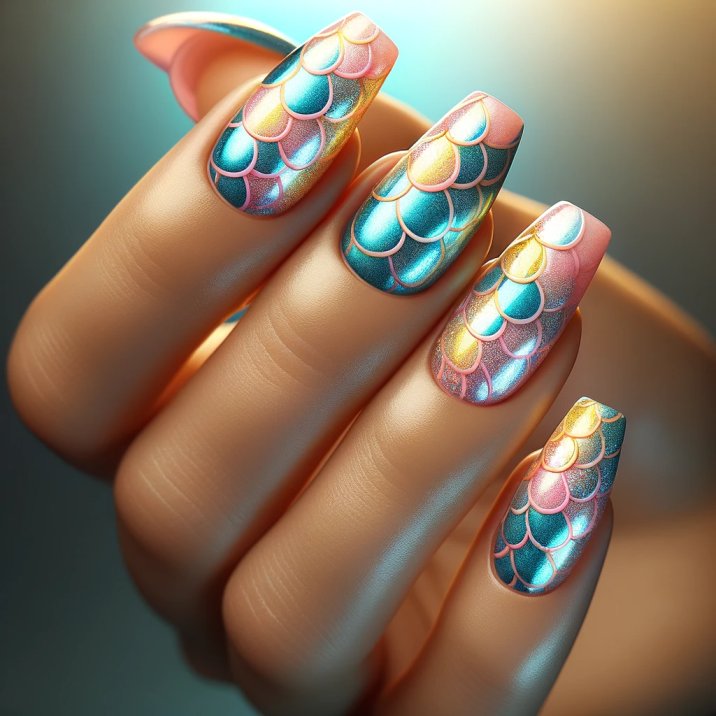
Embrace the mythical allure of mermaids with a scale pattern that shimmers in aquatic hues.
How to Achieve It:
- Use a shiny or holographic base color to mimic the look of a mermaid’s tail.
- Over this, paint scale shapes using a small brush in pink, yellow, and blue.
- Add a layer of glitter polish on top for extra shimmer.
- Finish with a glossy top coat for a smooth, scaly texture.
46. Tropical Fish Inspiration
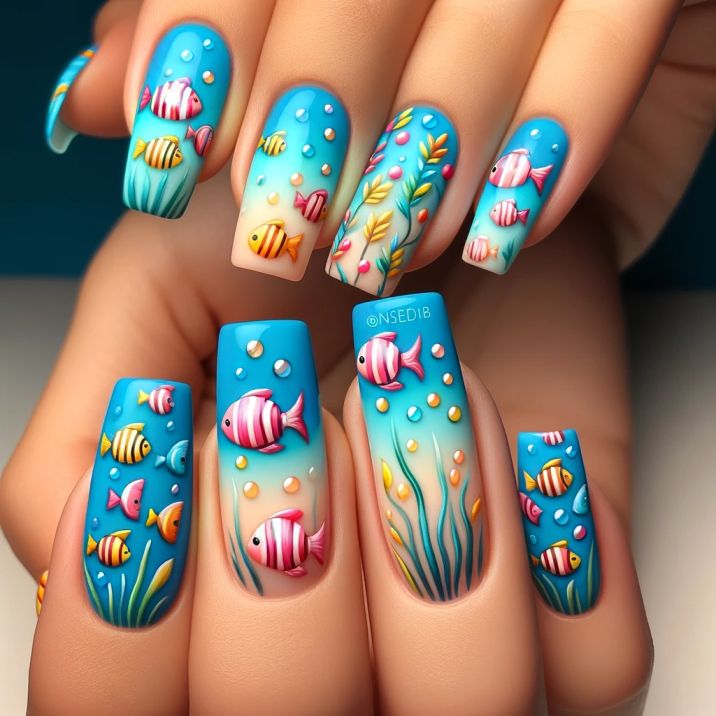
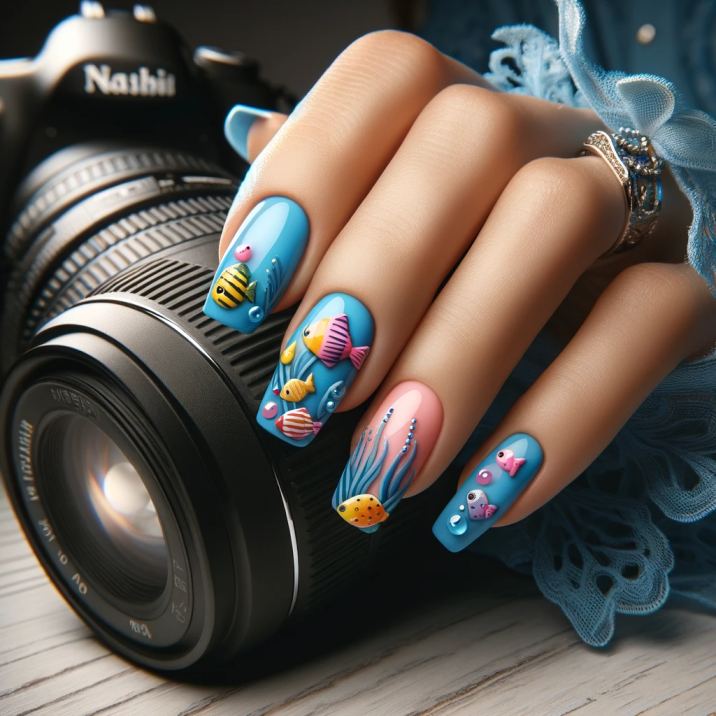
Draw inspiration from the bright and colorful world of tropical fish.
How to Achieve It:
- Begin with a bright blue base to represent tropical waters.
- Paint small, colorful fish in shades of pink, yellow, and blue, adding stripes or spots for detail.
- Use a fine brush or dotting tool for precision.
- Apply a clear top coat to protect your underwater scene.
47. Ocean Wave Ombre
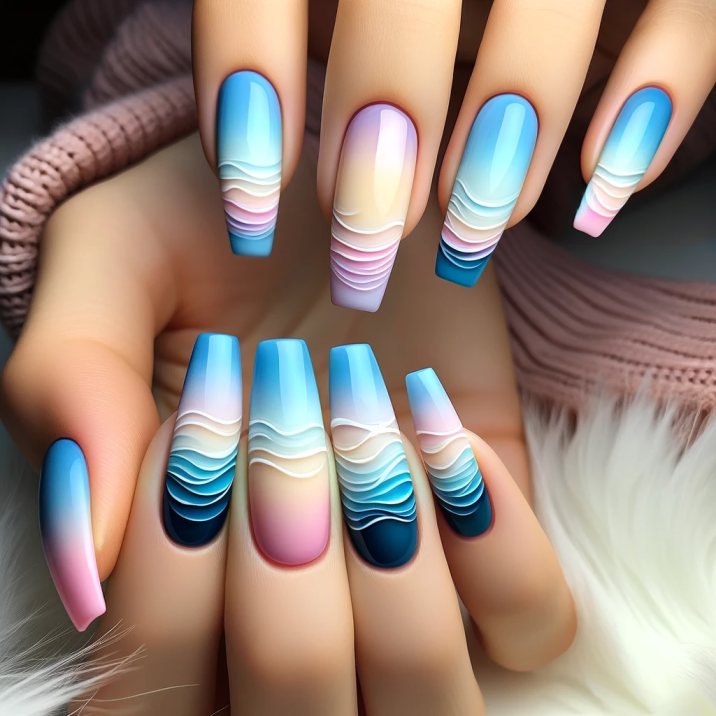
This design mimics the beautiful gradient seen in ocean waves, perfect for a calm and serene look.
How to Achieve It:
- Start with a light blue base at the bottom of the nail, gradually blending into darker blue, then pink, and finally yellow at the tip.
- Use a sponge to dab and blend the colors for a smooth ombre effect.
- Add a few white lines to represent the foam of the waves.
- Seal with a top coat for a glossy finish.
48. Seashell Accents
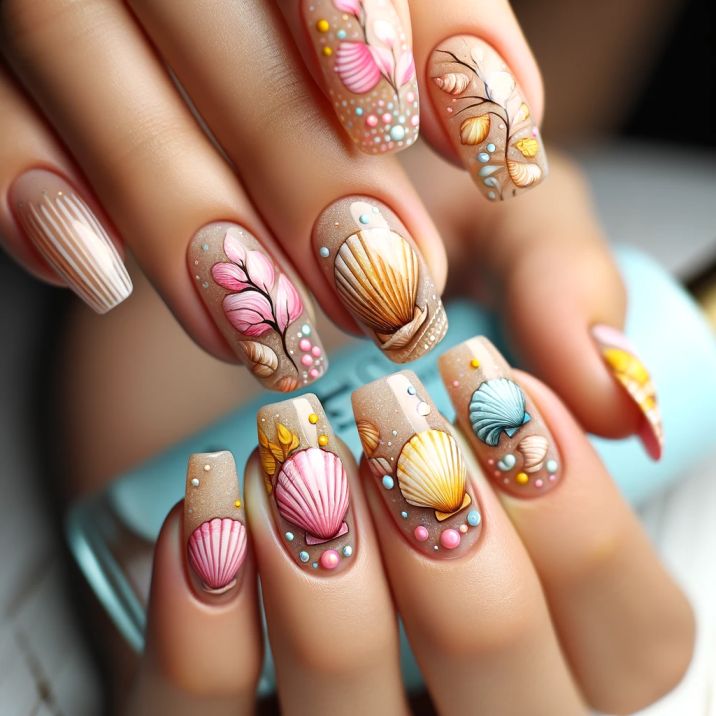
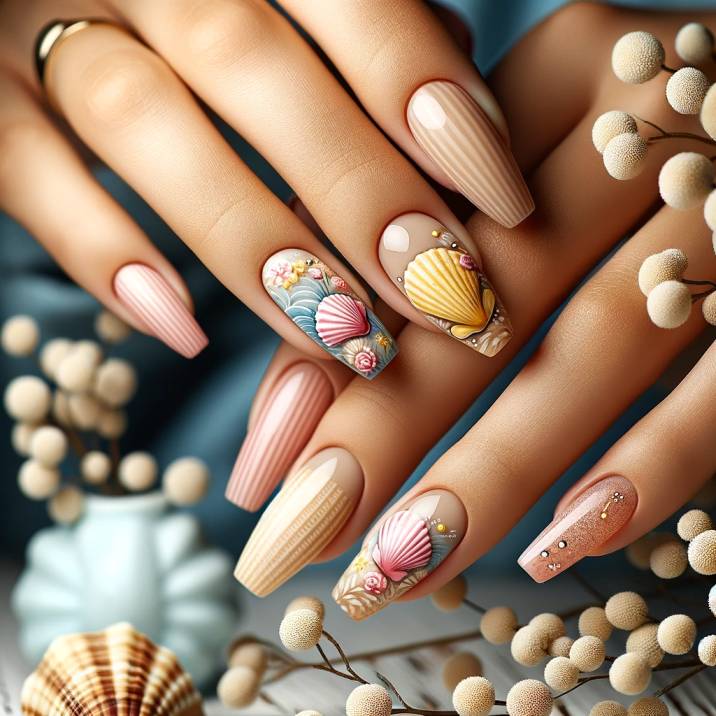
Incorporate the delicate patterns of seashells into your nail art for a beach-inspired look.
How to Achieve It:
- Use a sandy beige or light pink base to represent the beach.
- Paint small seashell designs in pink, yellow, and blue.
- Add fine lines and dots to mimic the texture of shells.
- Finish with a clear top coat for protection and shine.
49. Starfish Splendor
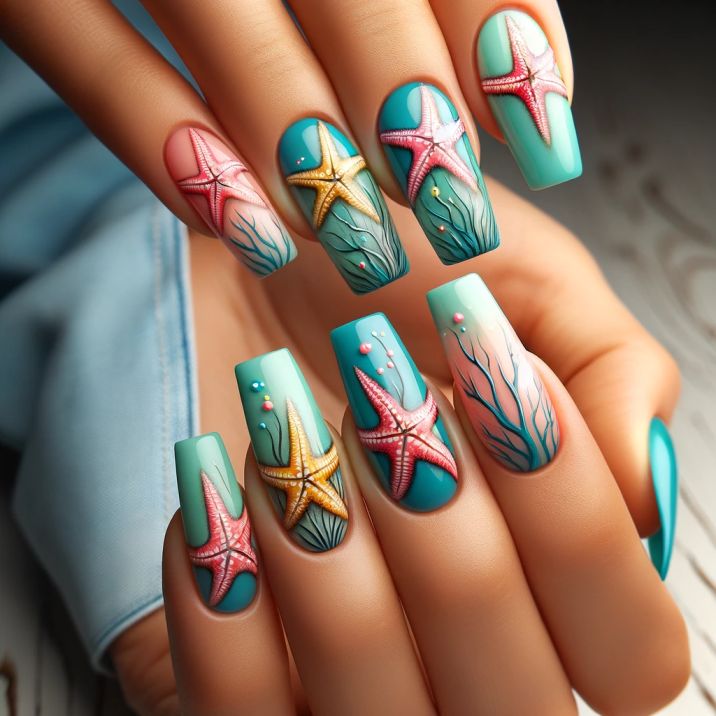
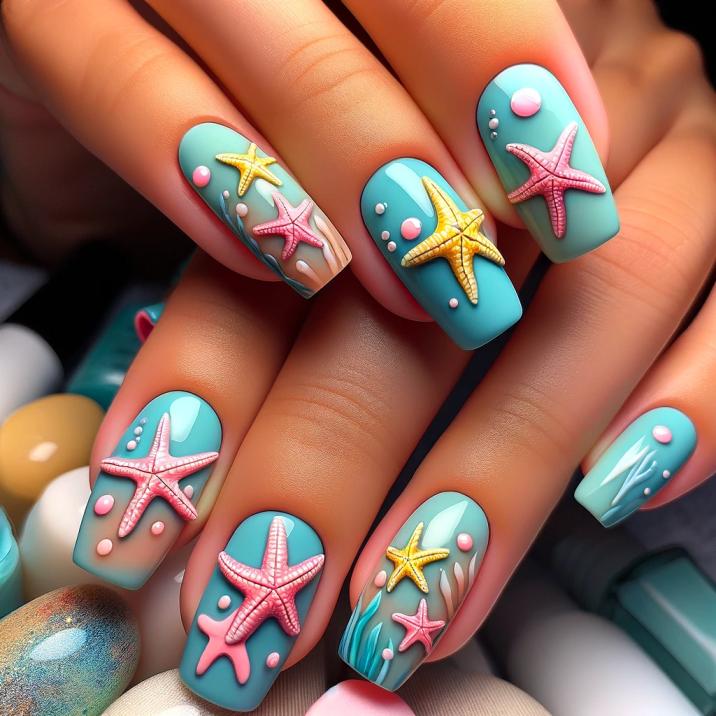
Starfish come in various shapes and colors, making them a fun and playful choice for nail art.
How to Achieve It:
- Opt for a seafoam green or light blue base color.
- Paint starfish shapes in pink, yellow, and blue, adding small details for realism.
- Place the starfish at different angles and positions on each nail.
- Apply a glossy top coat to complete the aquatic theme.
Conclusion
Pink, yellow, and blue are versatile colors that can be mixed and matched in countless ways to suit any style or occasion. Whether you prefer subtle pastels or bold, vivid shades, these colors offer endless possibilities for creative and eye-catching nail designs. Remember, the best manicure is the one that makes you feel fabulous, so don’t be afraid to experiment and express yourself!
