
Everyone dreams of waking up to naturally glowing, healthy skin. But with so many skincare products on the market, finding something that truly works — and doesn’t cost a fortune — can feel impossible. The truth is, your skin often responds best to nature’s own ingredients. That’s why creating a homemade night serum for glowing skin can be one of the most rewarding steps in your beauty routine.
Let’s explore how you can make your own simple, effective DIY serums using ingredients you probably already have — to restore that fresh, youthful radiance while you sleep.
Why Choose a Homemade Night Serum?
Before diving into recipes, it’s important to understand why crafting your own serum is worth it.
1. Tailored to Your Skin Type
Commercial products often take a one-size-fits-all approach. When you make your own serum, you control every drop — adjusting for dryness, dullness, or sensitivity.
2. Pure and Transparent
No hidden chemicals or mystery ingredients — just clean, natural oils that your skin actually recognizes and absorbs.
3. Budget Friendly
A few drops of essential oils and carrier oils go a long way. You can make weeks of serum for less than the cost of one commercial bottle.
4. Eco-Conscious Beauty
Fewer plastic bottles, reusable glass jars, and sustainably sourced ingredients — good for your skin and the planet.
30 Easy Homemade Night Serum Recipes for Glowing Skin
Below are thirty tried-and-tested night serum blends you can easily prepare at home.
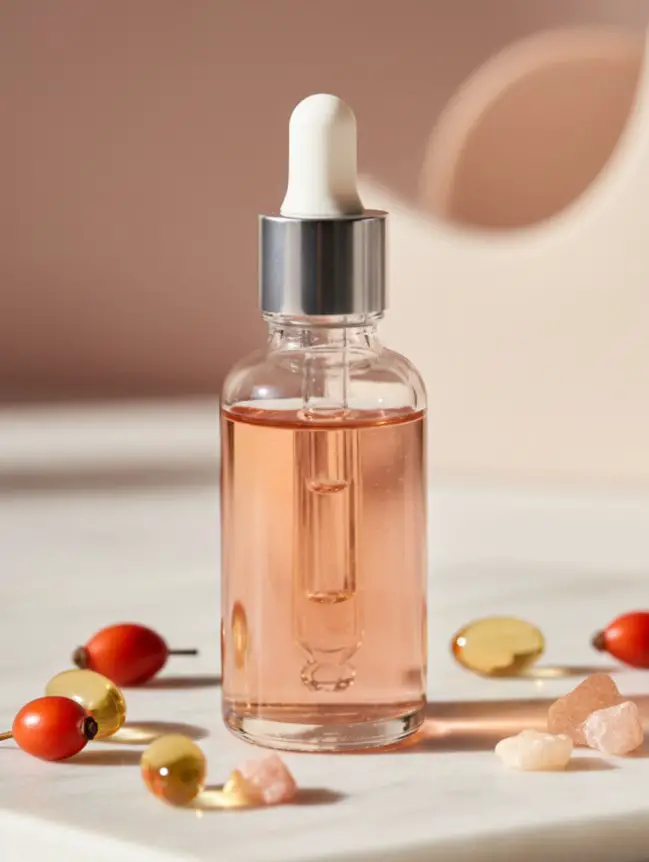
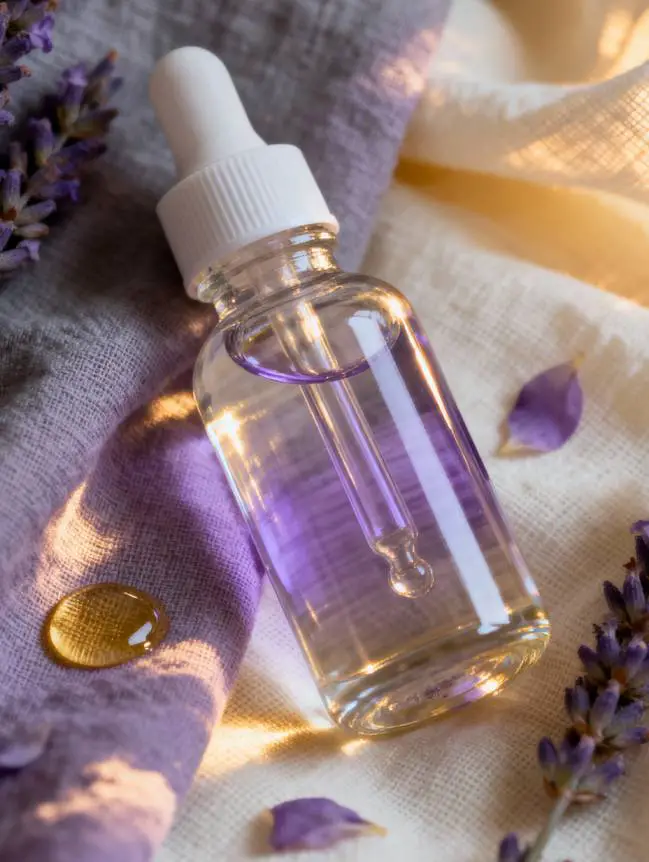
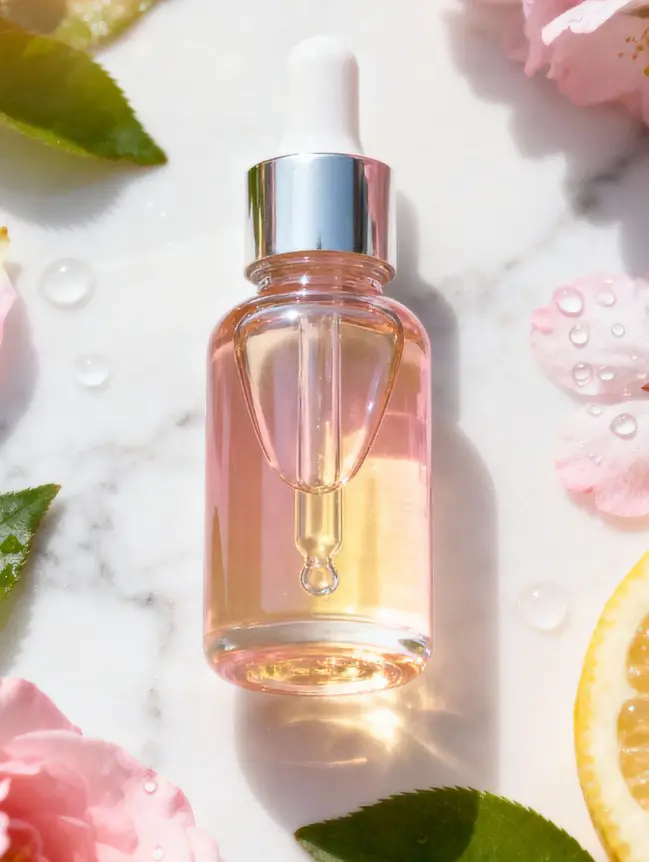
🧴 1. Vitamin E & Rosehip Brightening Serum
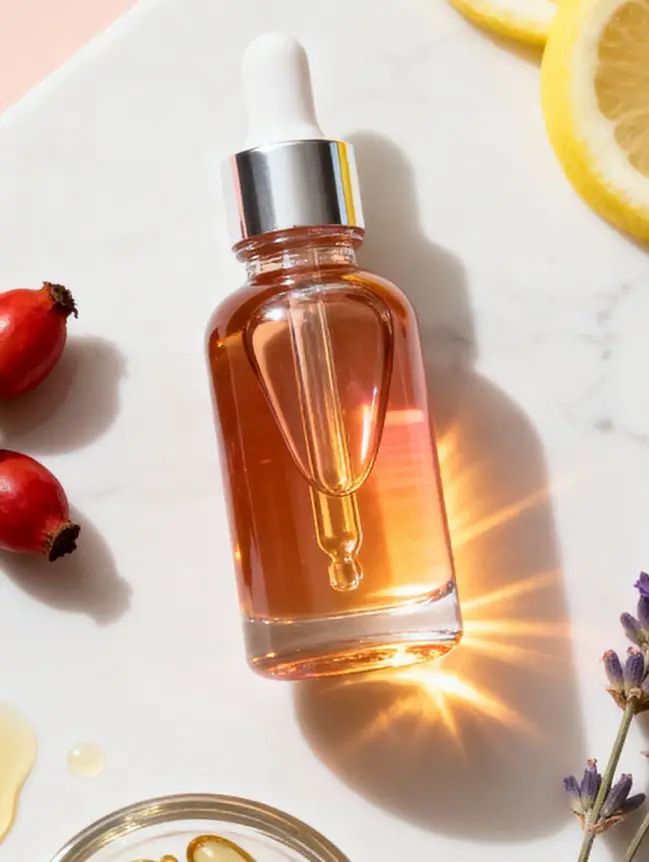
This serum nourishes tired skin and boosts radiance overnight. Perfect for dull, uneven complexions.
Ingredients:
- 2 tsp rosehip seed oil
- 1 tsp jojoba oil
- 3 drops vitamin E oil
- 2 drops lavender essential oil
- 1 drop lemon essential oil (optional – avoid sunlight after use)
Instructions:
- Mix all ingredients in a small dark glass bottle.
- Shake gently to combine.
- Apply 2–3 drops nightly on a clean face and neck.
- Massage upward until absorbed.
💡 Tip: Use this serum only at night and always wear sunscreen the next day.
💧 2. Hydrating Glow Serum with Hyaluronic Acid
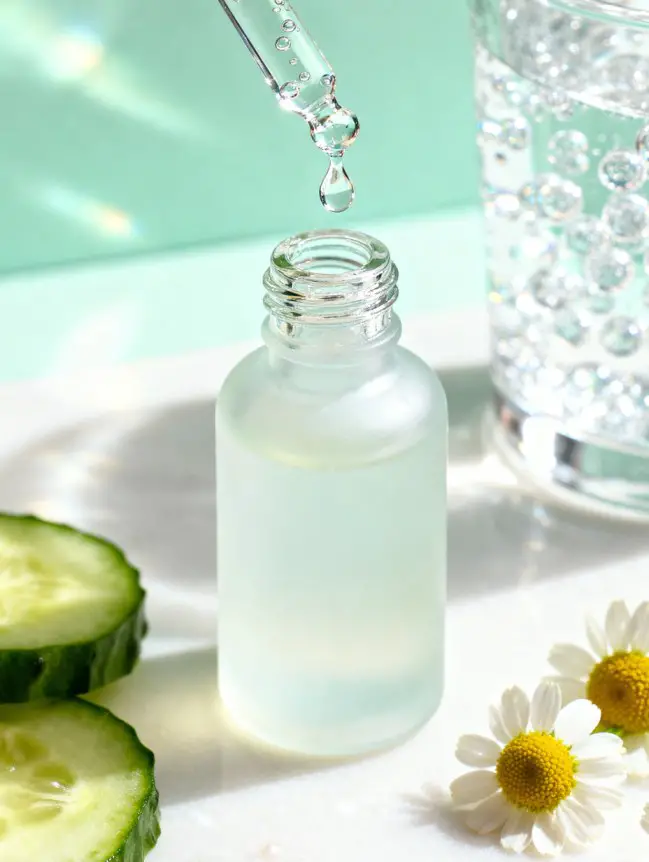
If your skin feels dry or tight, this hydrating serum will become your best friend.
Ingredients:
- 1 tsp hyaluronic acid (liquid form)
- 1 tsp cucumber seed oil
- 3 drops chamomile essential oil
- 2 drops ylang-ylang essential oil
Instructions:
- Combine ingredients in a dropper bottle.
- Shake well and store in a cool, dark place.
- Apply to slightly damp skin for best absorption.
- Follow with a light moisturizer if needed.
💧 Pro Tip: Hyaluronic acid loves water — always apply it on moist skin for maximum hydration.
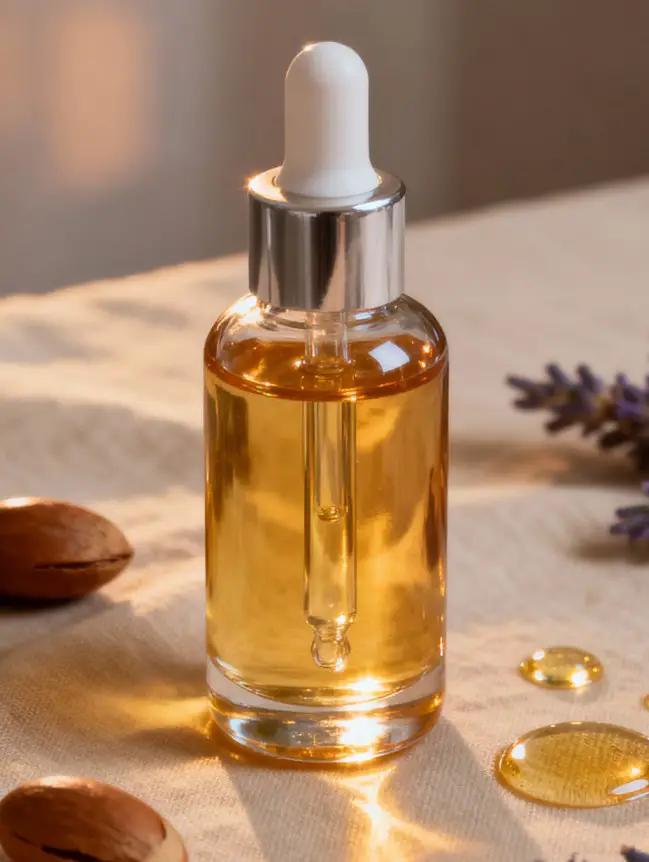
🌺 3. Rejuvenating Anti-Aging Night Serum

Designed to fight dullness and fine lines, this blend helps restore elasticity and youthful glow.
Ingredients:
- 1 tsp argan oil
- 1 tsp pomegranate seed oil
- 3 drops carrot seed essential oil
- 2 drops rose essential oil
Instructions:
- Mix and store in a glass bottle.
- Take 2–3 drops on your fingertips and warm it slightly.
- Massage gently in upward, circular motions before bed.
🌙 Why it works: Argan oil hydrates deeply, while pomegranate and carrot seed oils boost collagen and brighten skin tone.
4. Calming Lavender & Oat Night Serum
If your skin tends to get red, itchy, or inflamed, this calming serum will help restore balance overnight. It’s especially great for sensitive or stressed skin.
Ingredients:
- 1 tsp oat oil (or oat extract-infused carrier oil)
- 1 tsp evening primrose oil
- 3 drops lavender essential oil
- 2 drops chamomile essential oil
Instructions:
- Mix all oils in a dark glass bottle and shake gently.
- Apply 3–4 drops at night after cleansing.
- Massage lightly in circular motions.
- Let it absorb before bed.
🌿 Why it works: Oat and primrose oils soothe irritation and repair the skin barrier, while lavender and chamomile calm inflammation and promote relaxation.
🍊 5. Vitamin C & Rose Radiance Serum

This brightening serum helps fade pigmentation, even out skin tone, and give a healthy morning glow. Perfect for dull or sun-damaged skin.
Ingredients:
- 1 tsp rosehip seed oil
- 1 tsp sweet almond oil
- 3 drops vitamin E oil
- 2 drops frankincense essential oil
- 1 drop lemon or orange essential oil
Instructions:
- Combine all ingredients in a glass bottle.
- Shake well and apply 2–3 drops nightly.
- Gently pat into skin using fingertips.
💫 Tip: Always use this serum at night only, since citrus oils can increase sun sensitivity.
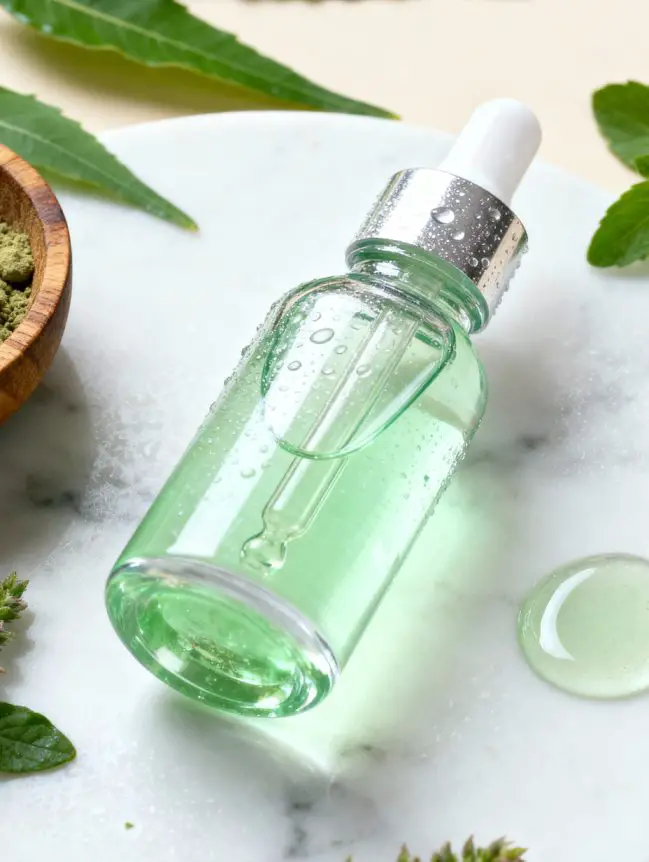
🪷 6. Green Tea & Grapeseed Antioxidant Serum
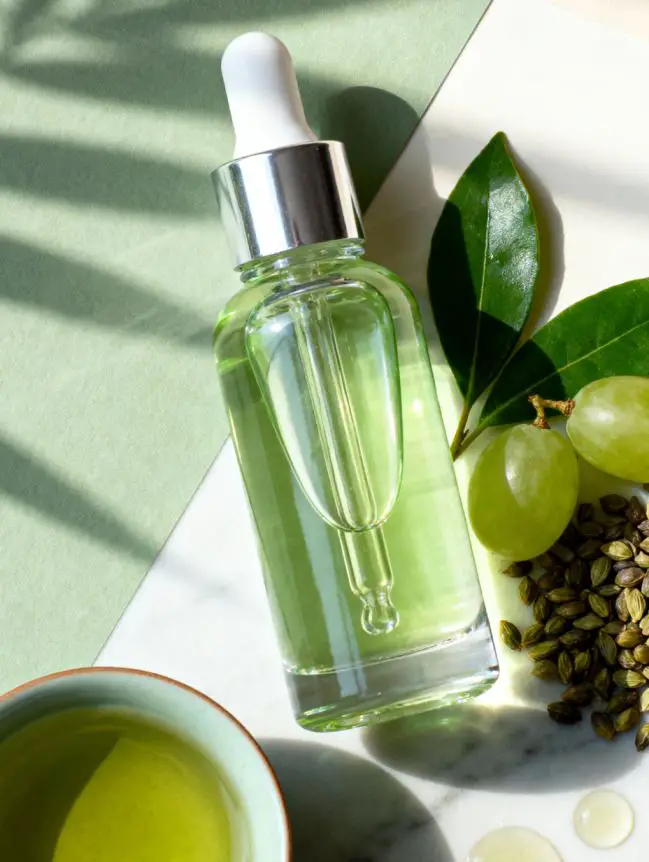
This lightweight serum is packed with antioxidants that protect your skin from pollution and oxidative stress — great for urban environments and oily skin types.
Ingredients:
- 1 tsp green tea–infused oil (infuse green tea in jojoba or olive oil)
- 1 tsp grapeseed oil
- 3 drops vitamin E oil
- 2 drops tea tree essential oil (optional, for acne-prone skin)
Instructions:
- Mix all oils in a small amber bottle.
- Shake well before each use.
- Apply 2–3 drops nightly after cleansing.
🌱 Why it works: Green tea and grapeseed oils neutralize free radicals, reduce acne, and improve overall texture, leaving your skin refreshed and supple.
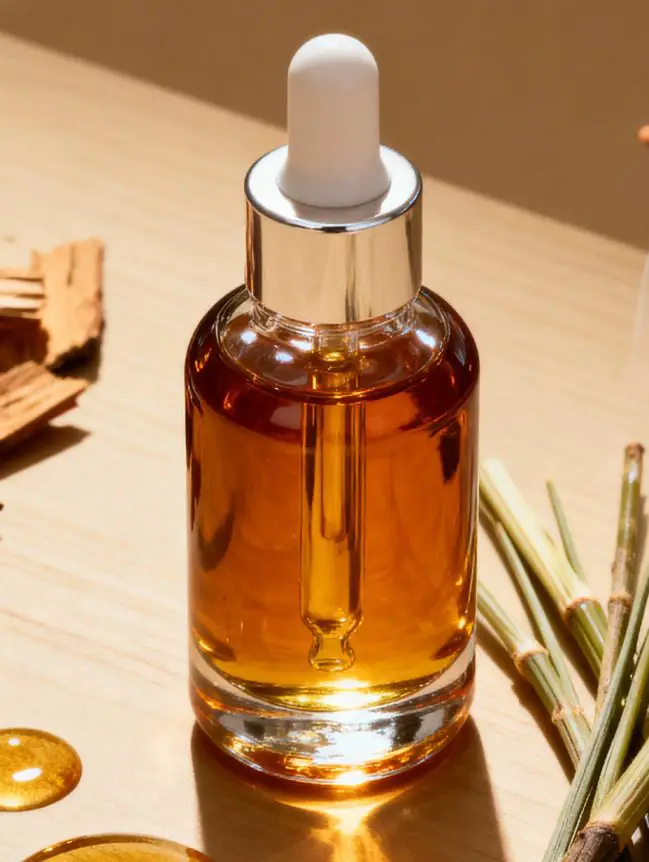
🌼 7. Sea Buckthorn & Argan Repair Serum
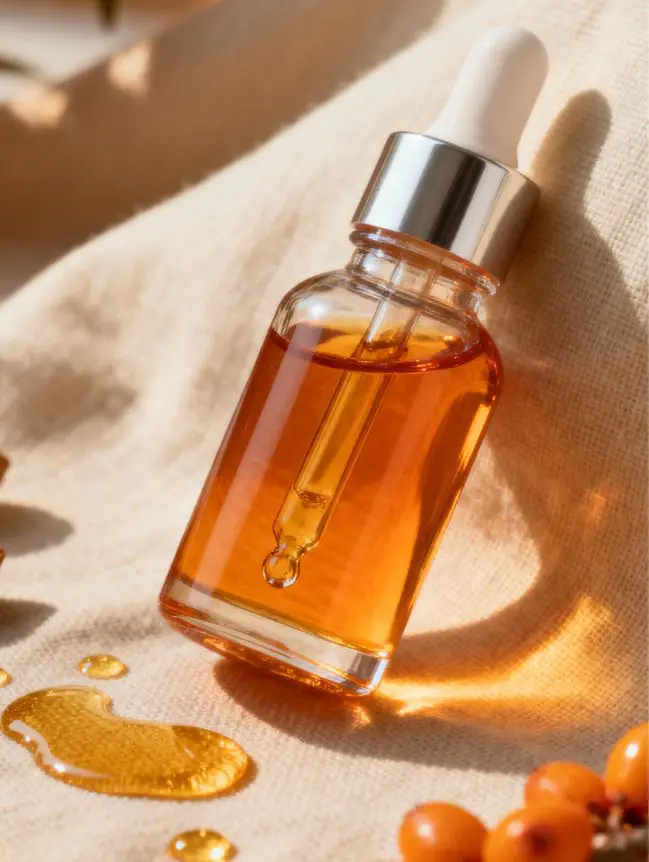
A deeply nourishing formula that supports skin repair and reduces the appearance of fine lines. Ideal for mature or dry skin.
Ingredients:
- 1 tsp argan oil
- 1 tsp sea buckthorn oil
- 2 drops geranium essential oil
- 2 drops rose essential oil
Instructions:
- Add all ingredients to a glass dropper bottle.
- Shake gently to blend.
- Apply 3–4 drops before bed, focusing on dry areas.
💛 Pro Tip: Sea buckthorn’s rich orange hue adds instant warmth to your complexion and boosts collagen production over time.
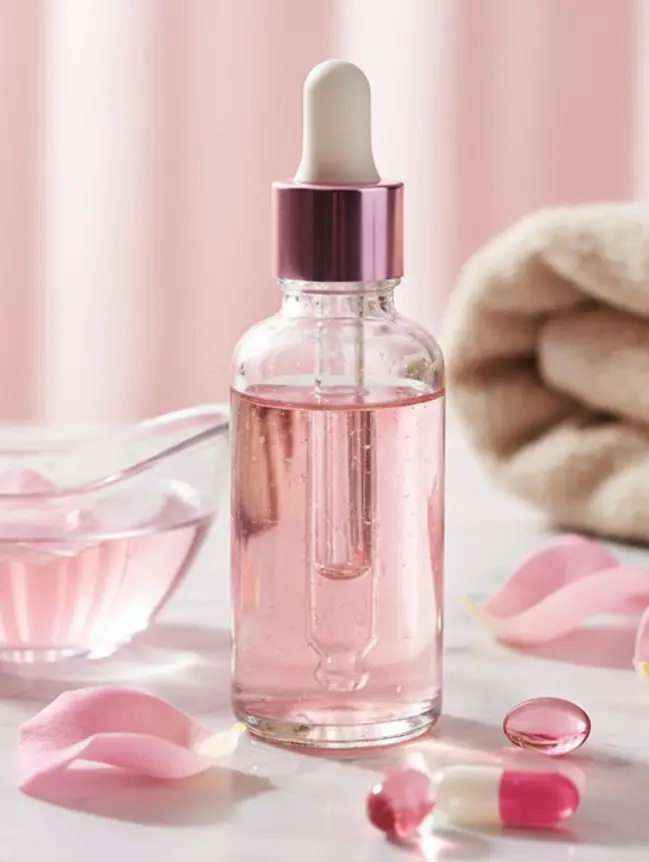
8. Rose Water & Aloe Refreshing Night Serum
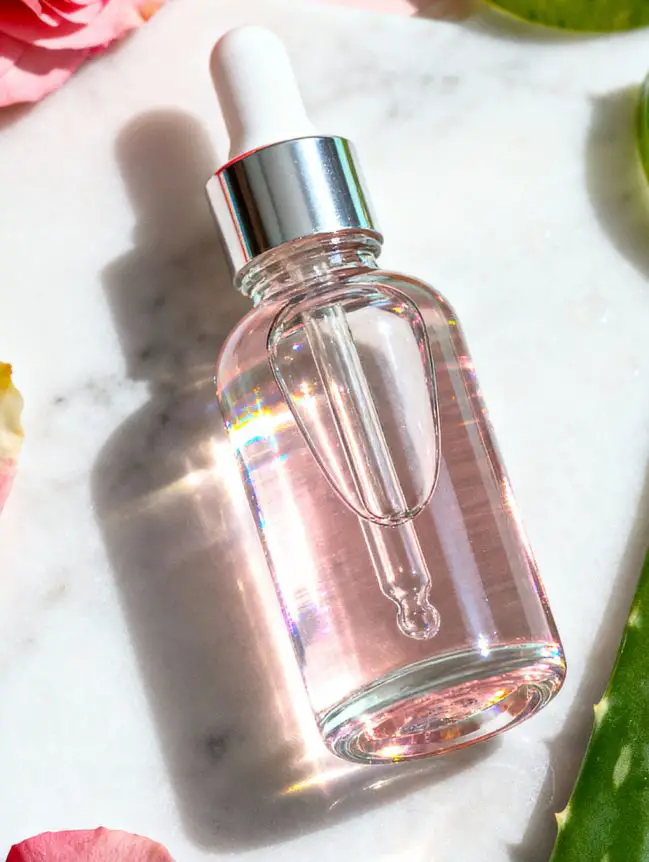
This lightweight, water-based serum is ideal for humid climates and oily or combination skin. It keeps your skin hydrated without feeling greasy.
Ingredients:
- 2 tbsp rose water
- 1 tsp aloe vera gel (pure or cold-pressed)
- 1 tsp glycerin
- 2 drops rose essential oil
- 2 drops tea tree essential oil (optional, for acne-prone skin)
Instructions:
- In a small bowl, whisk aloe vera gel and rose water until smooth.
- Add glycerin and essential oils, stirring gently.
- Transfer into a small glass dropper bottle and refrigerate.
- Apply 3–4 drops every night to clean skin.
🌸 Why it works: Rose water tones and tightens pores, aloe hydrates deeply, and tea tree fights bacteria — giving you calm, glowing skin overnight.
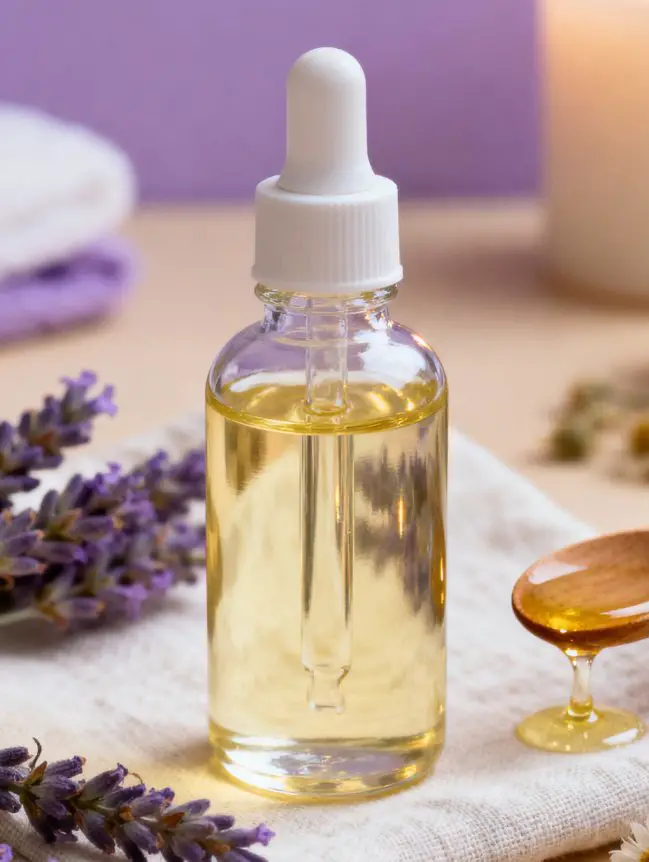
🍯 9. Honey & Jojoba Healing Serum
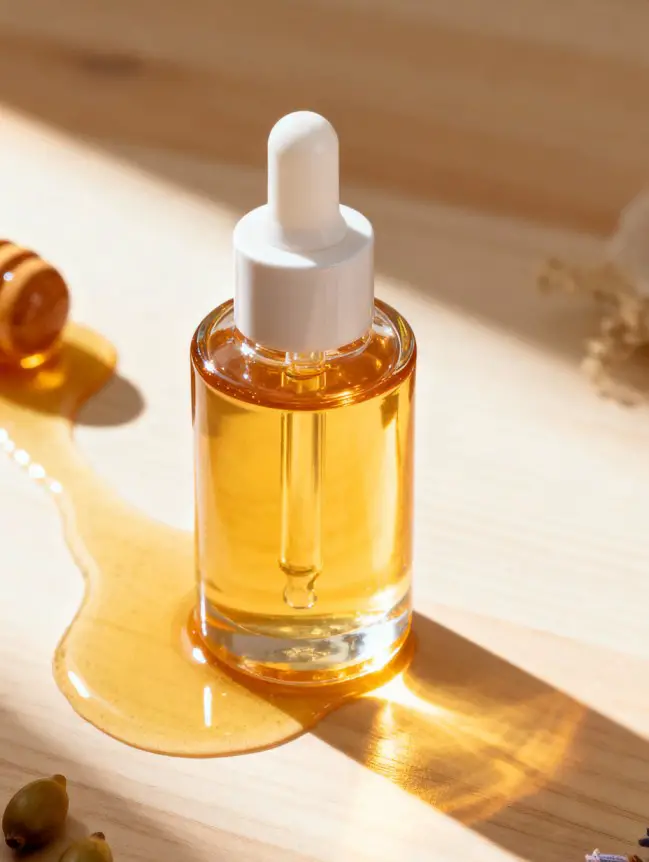
Perfect for dry or damaged skin, this serum combines honey’s natural humectant properties with the nourishing benefits of jojoba oil.
Ingredients:
- 1 tsp raw organic honey
- 1 tsp jojoba oil
- 3 drops vitamin E oil
- 2 drops lavender essential oil
Instructions:
- Mix all ingredients thoroughly until smooth.
- Apply a thin layer to clean skin before bed.
- Leave overnight and rinse with lukewarm water in the morning.
💛 Pro Tip: This serum doubles as a gentle overnight mask — great for dry patches and flaky skin.
🍋 10. Lemon & Turmeric Brightening Night Serum

A powerful brightening blend for those battling pigmentation, dark spots, or uneven tone.
Ingredients:
- 1 tsp almond oil
- 1 tsp coconut oil
- 1 drop lemon essential oil
- A pinch of turmeric powder
Instructions:
- Mix all ingredients and store in a small glass jar.
- Apply a few drops every other night using clean fingertips.
- Massage gently and rinse in the morning.
⚠️ Note: Use sparingly and only at night — lemon and turmeric can increase sun sensitivity.
🌿 11. Cucumber & Green Tea Cooling Serum
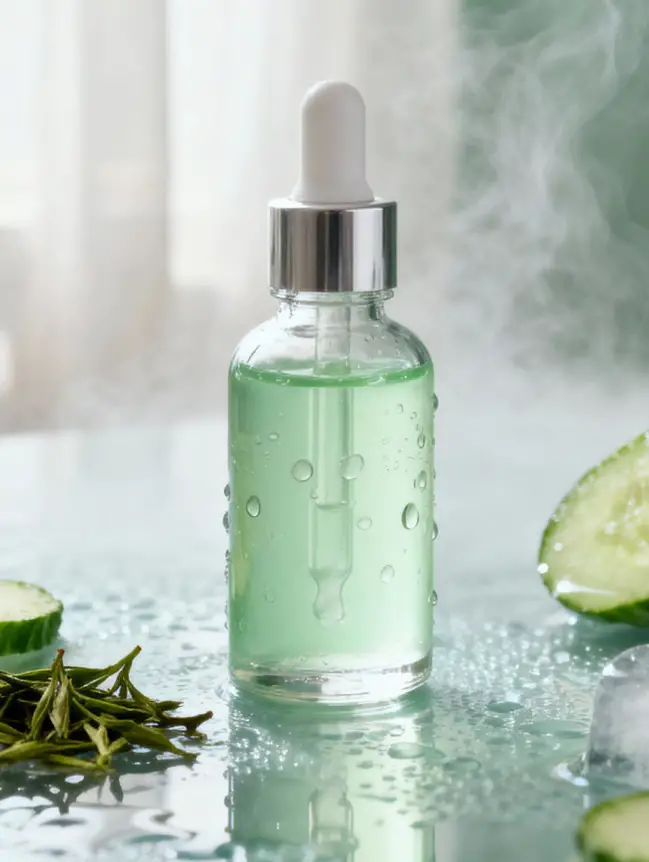
This refreshing serum calms irritated skin and reduces puffiness, perfect for summers or after long, stressful days.
Ingredients:
- 1 tbsp cucumber juice (freshly extracted)
- 1 tsp green tea (brewed and cooled)
- 1 tsp aloe vera gel
- 2 drops peppermint essential oil
Instructions:
- Combine all ingredients and refrigerate for 30 minutes.
- Apply to clean face at bedtime.
- Store in fridge and use within 7 days.
🌱 Why it works: The combination of cucumber and green tea fights inflammation, reduces redness, and tightens pores — giving your skin an instant refresh.
🌼 12. Saffron & Milk Glow Serum
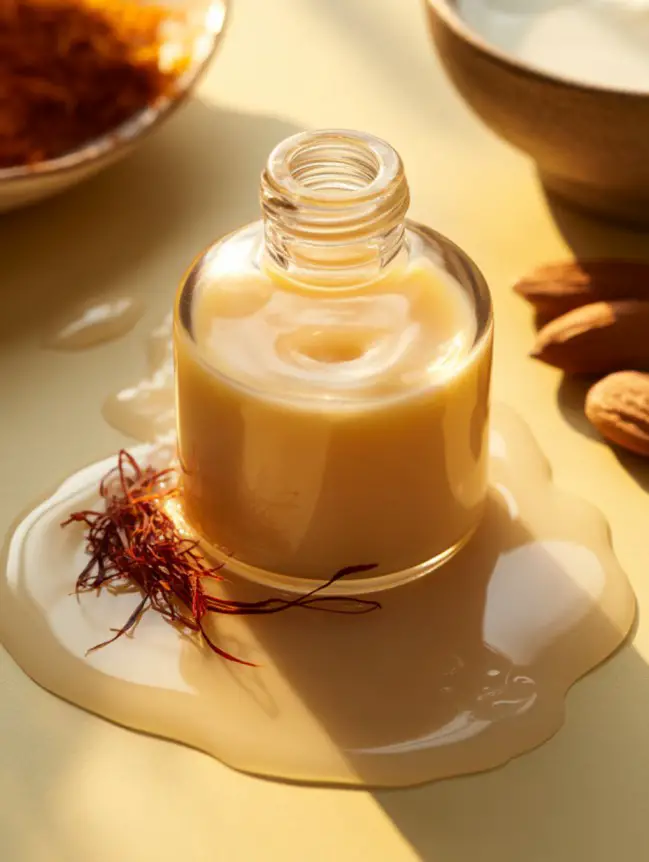
A luxurious, age-old Indian beauty recipe that gives your skin a luminous, golden glow.
Ingredients:
- 2 tbsp raw milk
- 3–4 saffron strands
- 1 tsp almond oil
- 2 drops sandalwood essential oil
Instructions:
- Soak saffron strands in milk for 30 minutes.
- Add almond oil and sandalwood oil, mixing gently.
- Apply to face using fingertips before sleeping.
- Rinse off in the morning with mild cleanser.
🌕 Why it works: Saffron brightens skin tone, almond oil nourishes, and sandalwood cools — leaving your skin soft, radiant, and fragrant.
13. Papaya & Almond Rejuvenating Night Serum
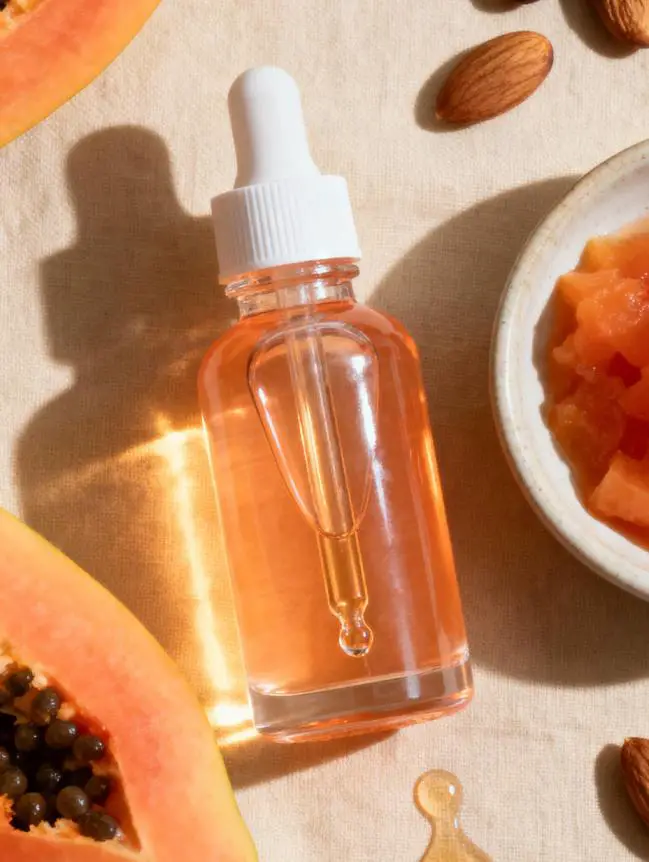
This gentle enzyme-based serum helps fade acne marks, pigmentation, and dullness while softening the skin overnight.
Ingredients:
- 1 tbsp papaya pulp (ripe)
- 1 tsp almond oil
- ½ tsp rose water
- 2 drops frankincense essential oil
Instructions:
- Mash papaya pulp until smooth.
- Add almond oil, rose water, and frankincense oil.
- Mix well and apply a thin layer to your face before bed.
- Leave for 15–20 minutes if you prefer a lighter mask, or overnight for deep nourishment.
💛 Why it works: Papaya enzymes gently exfoliate, almond oil moisturizes, and frankincense refines pores — revealing a radiant glow by morning.
🧘♀️ 14. Aloe Vera & Tea Tree Acne-Control Serum
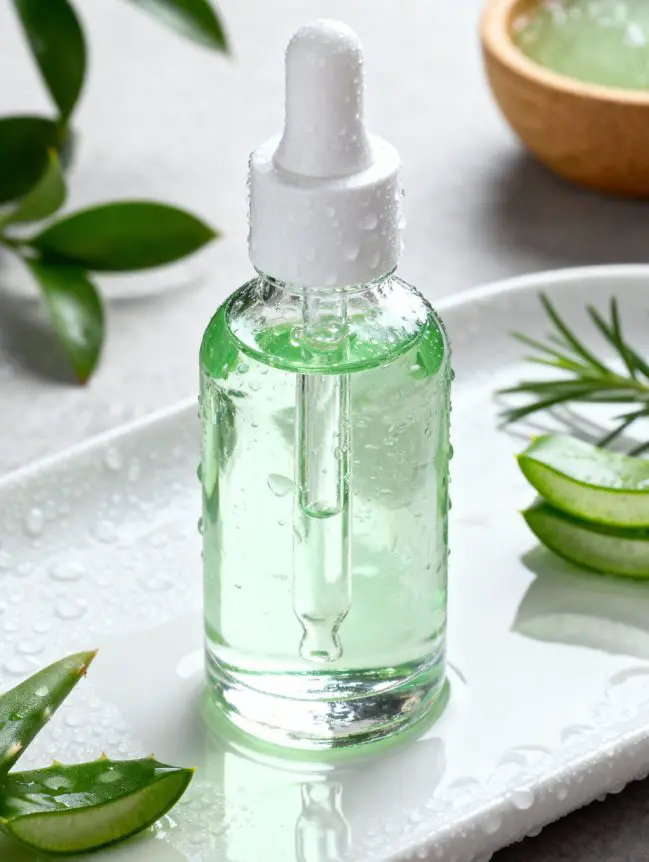
Perfect for acne-prone or oily skin, this serum fights breakouts while keeping the skin calm and hydrated.
Ingredients:
- 1 tbsp pure aloe vera gel
- 1 tsp rose water
- 2 drops tea tree essential oil
- 1 drop peppermint oil (optional, for cooling effect)
Instructions:
- Combine all ingredients in a small glass dropper bottle.
- Shake well and refrigerate.
- Apply a few drops on cleansed face before bed.
🌿 Why it works: Aloe vera soothes inflammation, tea tree clears bacteria, and peppermint provides a refreshing overnight detox.
💧 15. Niacinamide & Rosehip Repair Serum
This powerhouse blend repairs the skin barrier, improves texture, and helps even out pigmentation over time.
Ingredients:
- 1 tsp niacinamide powder (or serum base, 5% concentration)
- 1 tsp rosehip seed oil
- 1 tsp jojoba oil
- 2 drops vitamin E oil
Instructions:
- Mix oils first, then blend in niacinamide.
- Store in a dark bottle and shake before each use.
- Apply nightly to clean, dry skin.
💫 Pro Tip: Always keep niacinamide products in cool, dark storage to maintain potency.
🌸 16. Lavender & Squalane Soothing Night Serum
Ideal for mature or sensitive skin, this serum deeply moisturizes without heaviness and promotes overnight recovery.
Ingredients:
- 1 tsp squalane oil (plant-derived)
- 1 tsp marula oil
- 3 drops lavender essential oil
- 1 drop geranium essential oil
Instructions:
- Combine all oils in a dropper bottle.
- Shake gently to mix.
- Apply 2–3 drops nightly, focusing on fine lines and dry patches.
🌷 Why it works: Squalane locks in moisture, while lavender and geranium balance oil levels and calm stressed skin.
🌕 17. Coconut & Turmeric Overnight Glow Serum
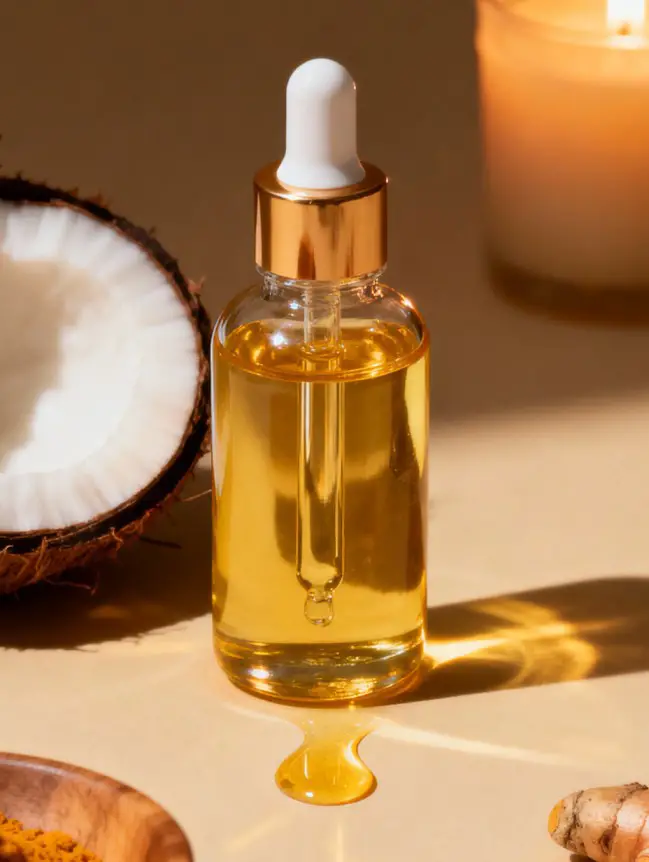
A traditional, Ayurvedic-inspired recipe that brightens, evens skin tone, and restores your natural radiance.
Ingredients:
- 1 tsp cold-pressed coconut oil
- ½ tsp castor oil
- A pinch of turmeric powder
- 2 drops sandalwood essential oil
Instructions:
- Warm the coconut oil slightly (not hot).
- Stir in castor oil, turmeric, and sandalwood.
- Massage gently onto face and neck before bed.
💛 Why it works: Coconut oil nourishes deeply, turmeric fades blemishes, and sandalwood provides a soothing fragrance that promotes relaxation.
18. Argan & Lavender Overnight Repair Serum
Perfect for tired, dull, or sun-exposed skin, this serum repairs and softens while you sleep.
Ingredients:
- 1 tsp argan oil
- 1 tsp rosehip seed oil
- 3 drops lavender essential oil
- 1 drop frankincense essential oil
Instructions:
- Mix all ingredients in a small glass bottle.
- Shake well and store away from sunlight.
- Massage 3–4 drops onto clean skin before bed.
💜 Why it works: Argan oil rebuilds elasticity, rosehip brightens tone, while lavender and frankincense support skin regeneration.
🪵 19. Sandalwood & Vetiver Night Serum for Deep Hydration
A luxurious Ayurvedic-inspired serum that deeply moisturizes and improves skin texture — perfect for dry and mature skin types.
Ingredients:
- 1 tsp sandalwood oil (carrier-grade)
- 1 tsp vetiver oil (or vetiver-infused carrier oil)
- 3 drops geranium essential oil
- 2 drops rose essential oil
Instructions:
- Blend all oils in a glass dropper bottle.
- Shake lightly before each use.
- Apply 2–3 drops nightly and massage gently into skin.
🌿 Why it works: Vetiver cools and tones, sandalwood heals and softens, while geranium restores balance to dry, dull complexions.
🌰 20. Cocoa Butter & Vitamin E Wrinkle-Defying Serum
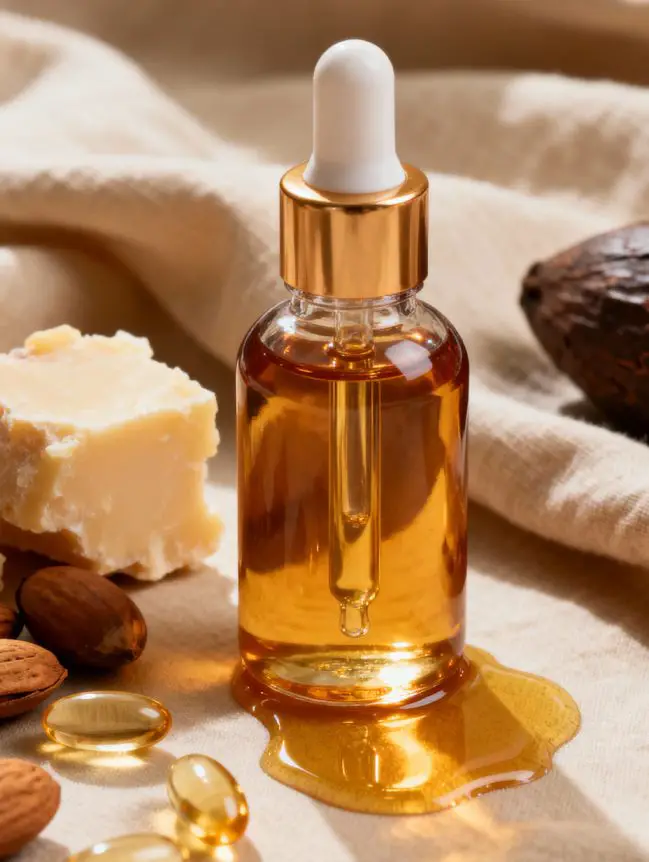
Rich, creamy, and comforting — this serum targets fine lines and boosts collagen overnight.
Ingredients:
- 1 tsp melted cocoa butter
- 1 tsp argan oil
- 3 drops vitamin E oil
- 2 drops frankincense essential oil
Instructions:
- Melt cocoa butter gently in a warm water bath.
- Mix in the remaining oils and pour into a small glass container.
- Allow it to solidify slightly before use.
- Apply sparingly on fine lines and dry areas at bedtime.
🍫 Why it works: Cocoa butter improves elasticity, while argan and vitamin E repair the skin barrier for a plump morning glow.
🍃 21. Neem & Tulsi Clarifying Night Serum
A purifying blend perfect for acne-prone and congested skin — helps unclog pores and prevent breakouts naturally.
Ingredients:
- 1 tsp neem oil
- 1 tsp tea tree oil (diluted with a carrier like jojoba)
- 2 drops tulsi (holy basil) essential oil
- 1 tsp aloe vera gel (optional for smoother texture)
Instructions:
- Combine all oils in a dropper bottle.
- Shake well and apply a few drops on affected areas at night.
- Avoid eye contact and use only 3–4 times a week.
🌿 Why it works: Neem and tulsi are antibacterial and anti-inflammatory, helping detoxify skin and reduce acne flare-ups.
🍇 22. Grapeseed & Pomegranate Youth-Boosting Serum
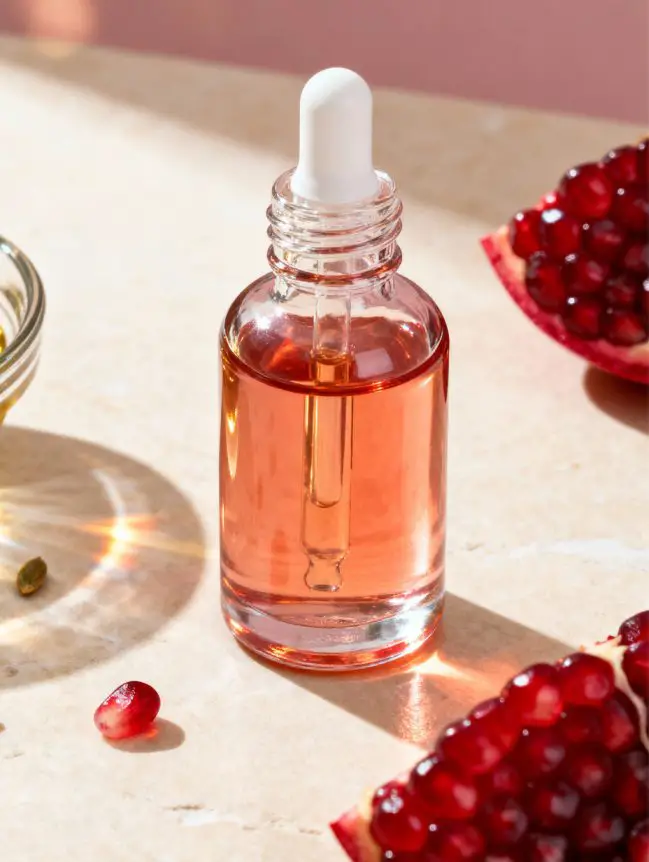
A light, antioxidant-packed formula to prevent early signs of aging and restore youthful glow.
Ingredients:
- 1 tsp grapeseed oil
- 1 tsp pomegranate seed oil
- 2 drops vitamin E oil
- 2 drops rose geranium essential oil
Instructions:
- Add all ingredients into a clean glass bottle.
- Shake gently to mix.
- Apply 2–3 drops nightly, focusing on fine lines and dull areas.
🍷 Why it works: Grapeseed tightens pores and boosts collagen; pomegranate oil reverses sun damage for radiant, resilient skin.
23. Winter Deep Hydration Night Serum
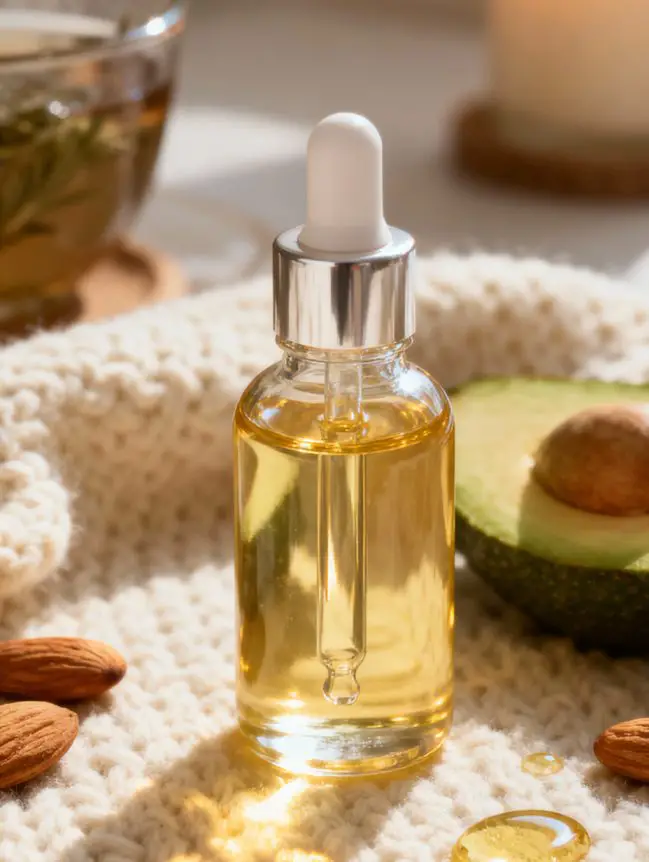
Cold winds and low humidity can strip your skin of moisture — this serum restores softness and prevents flakiness.
Ingredients:
- 1 tsp avocado oil
- 1 tsp almond oil
- 3 drops vitamin E oil
- 2 drops geranium essential oil
Instructions:
- Combine all ingredients in a dropper bottle.
- Shake gently and apply nightly to clean, damp skin.
- Massage until fully absorbed.
💧 Why it works: Avocado oil deeply nourishes, almond oil strengthens, and vitamin E repairs dryness — perfect for winter nights.
🌸 24. Spring Renewal & Brightening Serum
As the season changes, so does your skin! This serum rejuvenates dull winter skin, revealing a fresher, more radiant glow.
Ingredients:
- 1 tsp rosehip seed oil
- 1 tsp jojoba oil
- 3 drops lemon essential oil
- 2 drops rose essential oil
Instructions:
- Mix oils in a dark glass bottle.
- Apply 2–3 drops before bedtime.
- Massage gently in upward circles.
🌼 Why it works: Rosehip renews skin cells while lemon oil brightens — perfect for spring revival.
☀️ 25. Summer Cooling & Oil-Balance Night Serum
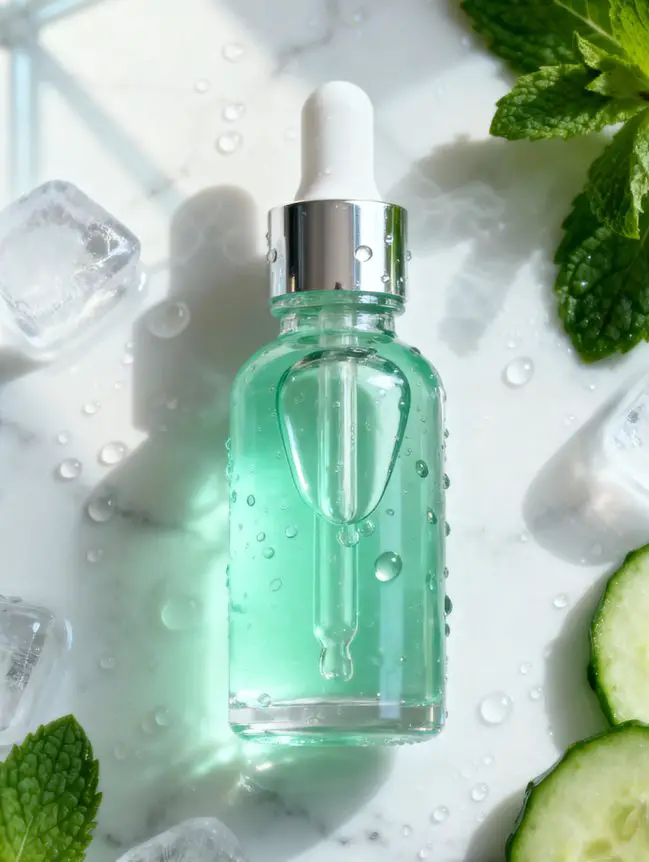
Hot, humid days can lead to excessive oil and breakouts. This serum balances sebum and keeps your skin calm.
Ingredients:
- 1 tsp cucumber seed oil
- 1 tsp aloe vera gel
- 2 drops peppermint essential oil
- 2 drops tea tree essential oil
Instructions:
- Blend ingredients in a sterilized dropper bottle.
- Store in the refrigerator for an extra cooling effect.
- Apply nightly to reduce inflammation and shine.
🍃 Why it works: Cucumber hydrates without heaviness, aloe calms irritation, and peppermint cools — keeping your summer glow fresh.
🌧️ 26. Monsoon Acne-Control Serum
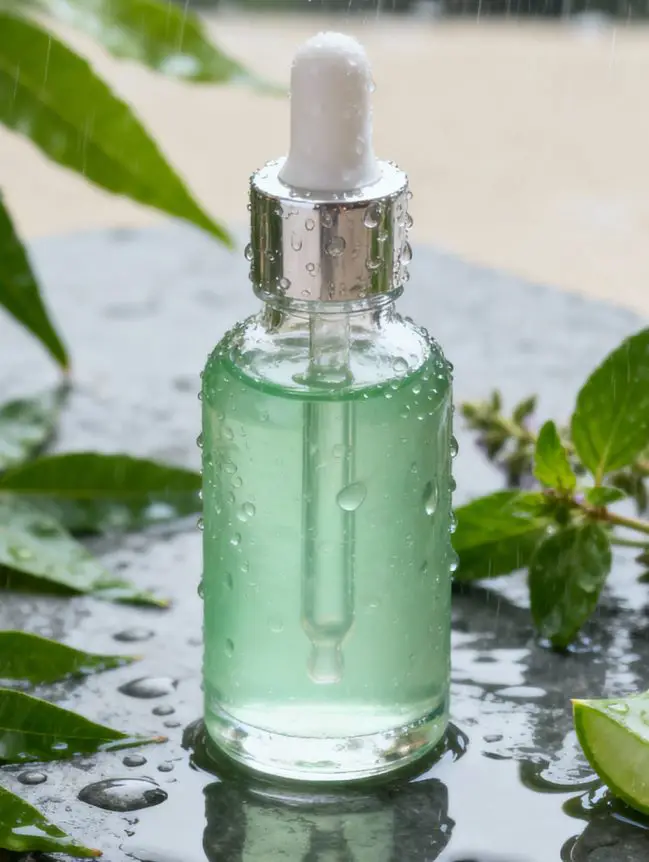
During humid monsoon weather, clogged pores and pimples become common. This serum fights bacteria and clarifies skin tone.
Ingredients:
- 1 tsp neem oil
- 1 tsp grapeseed oil
- 2 drops basil (tulsi) essential oil
- 2 drops lavender essential oil
Instructions:
- Mix oils and store in a dark bottle.
- Apply a few drops nightly, especially on acne-prone areas.
🌿 Why it works: Neem detoxifies, basil purifies, and lavender soothes post-acne redness — keeping your skin balanced and clean.
🍁 27. Autumn Radiance Recovery Serum
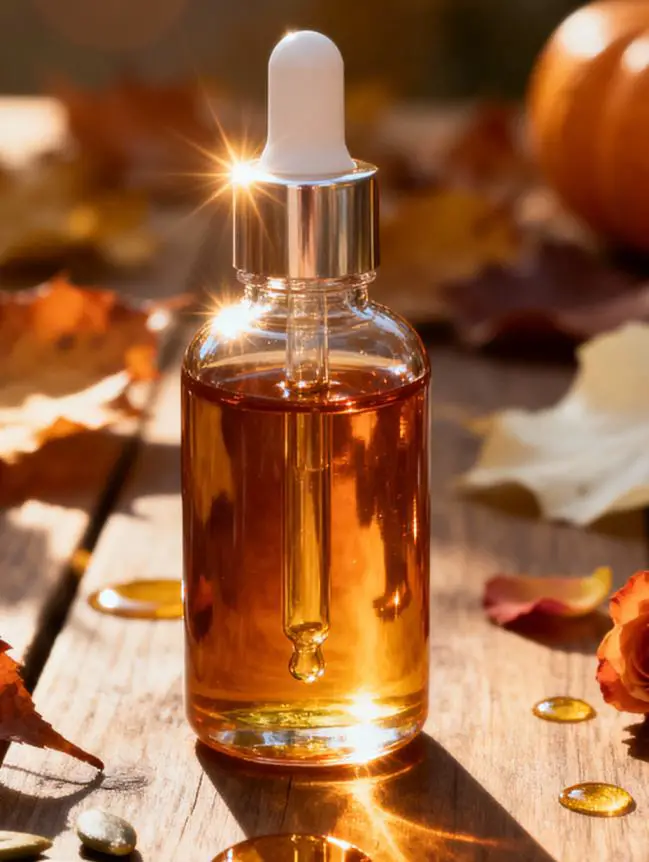
When temperatures drop, your skin can feel tight or uneven. This serum helps restore the natural barrier and even tone.
Ingredients:
- 1 tsp argan oil
- 1 tsp pomegranate seed oil
- 3 drops frankincense essential oil
- 1 drop clary sage oil
Instructions:
- Combine oils and shake gently.
- Apply nightly to face and neck.
🍂 Why it works: Pomegranate and argan oils rebuild elasticity while frankincense firms — perfect for post-summer rejuvenation.
🌿 28. Coffee & Vitamin E Glow Boost Serum
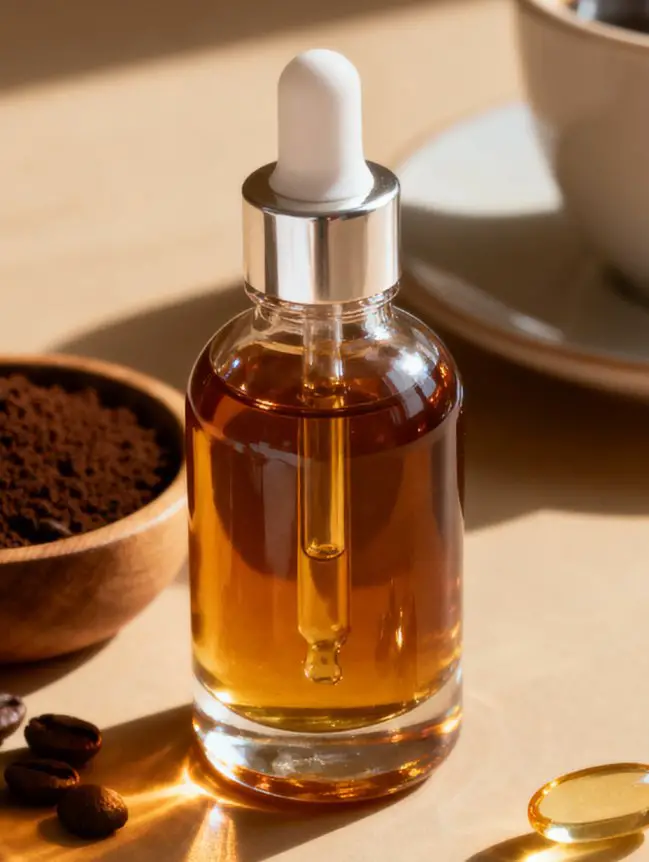
If your skin looks tired, this energizing serum revives dullness and gives a refreshed, dewy glow.
Ingredients:
- 1 tsp coffee-infused oil (olive or coconut base)
- 1 tsp jojoba oil
- 3 drops vitamin E oil
- 1 drop vanilla essential oil (optional for scent)
Instructions:
- Infuse coffee grounds in your chosen oil for 24 hours.
- Strain, mix remaining ingredients, and store in a dropper bottle.
- Apply at night 2–3 times per week.
☕ Why it works: Caffeine improves circulation and reduces puffiness while vitamin E adds antioxidant protection.
🌺 29. Lotus & Jasmine Radiant Glow Serum
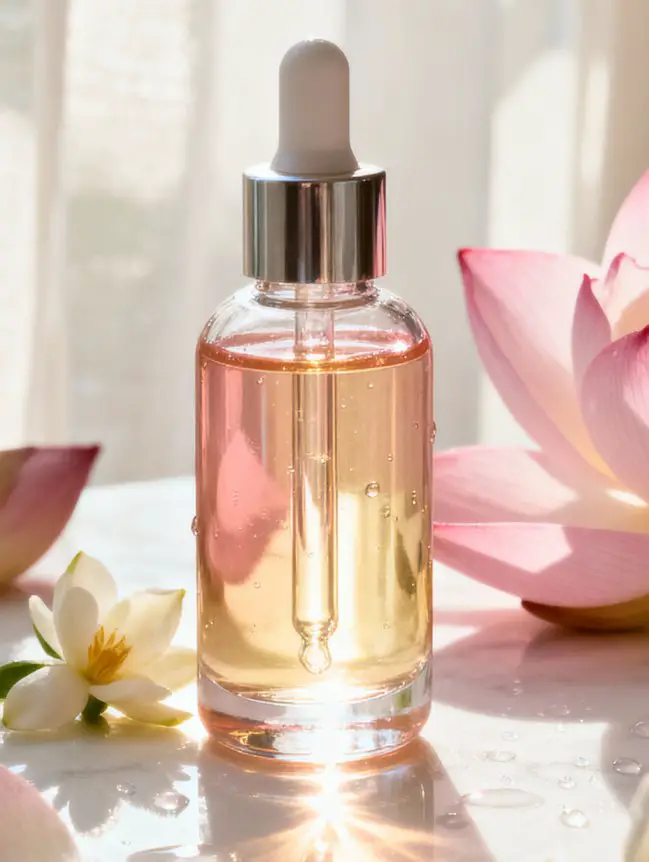
A luxurious, floral-infused serum that smooths and brightens skin while calming the senses.
Ingredients:
- 1 tsp lotus oil (or lotus extract in carrier oil)
- 1 tsp jasmine oil
- 3 drops vitamin E oil
- 1 drop sandalwood essential oil
Instructions:
- Mix all oils and shake well.
- Apply 3 drops before bed and massage gently.
🌸 Why it works: Lotus oil brightens, jasmine softens, and sandalwood adds a divine scent that enhances your nighttime ritual.
🧴 30. Niacinamide & Rosewater Barrier-Repair Serum
This science-meets-nature serum strengthens your skin barrier and improves tone, texture, and hydration balance.
Ingredients:
- 1 tbsp rose water
- 1 tsp niacinamide powder (5% solution)
- 1 tsp aloe vera juice
- 2 drops vitamin E oil
Instructions:
- Mix well until dissolved.
- Pour into a glass dropper bottle and refrigerate.
- Apply nightly after cleansing.
💖 Why it works: Niacinamide refines pores and improves elasticity, while rose water refreshes and tones for lasting radiance.
How to Apply Night Serum Correctly (Step-by-Step for Maximum Glow)
Even the most powerful night serum won’t work its magic if it’s not applied properly. To help your skin absorb every drop of nourishment, follow this simple yet effective bedtime routine:
🧼 Step 1: Cleanse Thoroughly
Start with a clean canvas. Use a gentle face cleanser to remove dirt, oil, and makeup residue.
💡 Why it matters: Serums penetrate deeper into freshly cleansed skin, maximizing nutrient absorption and preventing clogged pores.
💦 Step 2: Tone or Lightly Mist
After cleansing, apply a mild toner or a refreshing mist (like rose water or aloe spray).
💧 Pro Tip: Apply serum on slightly damp skin — it helps the oils and actives absorb better and lock in hydration.
🪶 Step 3: Warm the Serum
Take 2–4 drops of serum in your palms and rub them together for a few seconds to warm it slightly.
🌿 Why it helps: Warming activates the natural oils, making the texture smoother and easier to spread.
💆♀️ Step 4: Apply Gently — No Rubbing!
Use your fingertips to press and pat the serum onto your face and neck in upward circular motions.
Start from your cheeks → forehead → chin → neck.
✨ Avoid the delicate under-eye area unless the serum is specifically formulated for it.
🫧 Step 5: Layer It Right (Optional)
If you’re using multiple serums:
- Apply water-based serums first (like rose water, hyaluronic acid).
- Follow with oil-based serums (like argan, rosehip, or vitamin E).
💫 Tip: Wait about 1–2 minutes between layers for complete absorption.
🧴 Step 6: Seal the Moisture
Finish with a lightweight night cream or moisturizer to lock in all the goodness. This step ensures hydration stays sealed throughout the night.
💤 Step 7: Sleep & Let It Work
Your skin repairs itself during deep sleep — this is when serums perform best. Try to get 7–8 hours of sleep and stay hydrated for a truly radiant morning glow.
Safety Tips Before Using Homemade Night Serums
Creating your own skincare is fun and empowering — but safety always comes first. Since natural ingredients can still trigger reactions, here are the golden rules to keep your glowing skin healthy and protected:
🧪 1. Always Do a Patch Test
Before applying any new serum to your face, test a small amount on your inner wrist or behind your ear.
⏱ Wait 24 hours to check for redness, itching, or irritation.
If your skin reacts negatively, do not use the mixture on your face.
🍋 2. Avoid Sunlight After Citrus Oils
Essential oils like lemon, orange, or bergamot can make your skin photosensitive.
🌞 Use these serums only at night and always wear sunscreen the next morning to prevent pigmentation or sunburn.
🌿 3. Use Essential Oils in Small Quantities
Essential oils are powerful — a little goes a long way.
Stick to 1–2% dilution, which means just a few drops per tablespoon of carrier oil.
Too much can cause irritation, dryness, or allergic reactions.
🧴 4. Choose High-Quality, Pure Ingredients
Buy cold-pressed, organic oils and therapeutic-grade essential oils from trusted brands.
🧡 Avoid artificial fragrances, mineral oil, or alcohol-based additives that can strip your skin’s natural moisture barrier.
🧊 5. Store Properly
Natural serums are sensitive to light and heat.
- Keep them in dark glass bottles (amber or cobalt blue).
- Store in a cool, dry place, or refrigerate for freshness.
- Shelf life: usually 4–6 months when stored correctly.
🚫 6. Don’t Mix Too Many Actives Together
Combining vitamin C, retinol, and strong essential oils in one blend can overwhelm the skin.
Instead, alternate between brightening, hydrating, and repairing serums on different nights.
👩⚕️ 7. Consult a Dermatologist if You Have Skin Conditions
If you have eczema, rosacea, severe acne, or are pregnant or breastfeeding, talk to a dermatologist before using essential oils.
Professional guidance ensures your DIY blends remain safe and suitable for your skin type.
🧘♀️ 8. Listen to Your Skin
Your skin will tell you when it’s happy — or when it’s had too much.
If you notice redness, dryness, or breakouts, reduce frequency or switch to a gentler formula.
💬 Remember: “Natural” doesn’t always mean “non-reactive.”
Treat your DIY skincare with the same care you’d give any professional product — and your skin will reward you with lasting, luminous beauty.
Benefits of Using Homemade Night Serums
Homemade night serums are more than just skincare — they’re a daily act of self-care and love. By blending natural oils, vitamins, and botanicals, you can achieve that healthy, radiant glow without relying on expensive or chemical-based products. Here’s why making your own night serum is a beauty game-changer:
🌸 1. 100% Natural and Chemical-Free
Unlike commercial serums that often contain preservatives, parabens, and artificial fragrances, your DIY serum is pure and safe.
💧 Result: Your skin absorbs only clean, nourishing ingredients — nothing harmful or synthetic.
🧴 2. Customizable for Every Skin Type
Your skin is unique — and your serum should be too.
Whether your concern is dryness, acne, pigmentation, or fine lines, you can handpick ingredients that perfectly match your needs.
🪶 Example: Use rosehip oil for brightening, neem oil for acne, or argan oil for anti-aging care.
💰 3. Budget-Friendly Beauty
Why spend thousands on a tiny bottle when you can create an equally effective serum at home?
A few drops of essential oils and carrier oils go a long way — one small bottle can last for weeks.
💵 You save money while treating your skin to luxury-level care.
🌿 4. Packed with Nutrients and Antioxidants
Natural oils like rosehip, pomegranate, and sea buckthorn are rich in vitamins A, C, and E — essential for repairing, hydrating, and protecting skin overnight.
✨ Benefit: Regular use improves elasticity, reduces dullness, and supports collagen production.
🌙 5. Deep Nourishment While You Sleep
During the night, your skin goes into repair mode.
Homemade serums provide the hydration and nutrients your skin needs to recover from daily stress, pollution, and UV exposure.
🌼 Wake up to softer, smoother, and naturally glowing skin every morning.
🌱 6. Environmentally Friendly
By choosing reusable glass bottles and natural ingredients, you reduce waste and support eco-friendly living.
♻️ It’s good for your skin and kind to the planet.
🧘♀️ 7. A Mindful Self-Care Ritual
Mixing and applying your own serum turns skincare into a relaxing, mindful routine.
The aroma of essential oils like lavender or rose also promotes calmness and better sleep.
💖 It’s not just skincare — it’s soul care.
🌟 8. Visible Long-Term Results
With consistent use, homemade serums deliver real, lasting improvement — not temporary fixes.
They help restore your skin’s balance naturally, enhancing radiance from within.
✨ In short:
Homemade night serums nourish, repair, and protect your skin in the gentlest way possible — combining nature’s wisdom with your personal touch.
Pure. Affordable. Effective. That’s true beauty — made by you. 💖
Expert Tip: Create Your Personal Glow Routine
Your skin is unique — so your nighttime skincare routine should be too. The secret to radiant, healthy skin isn’t found in one miracle product, but in a consistent ritual that supports your skin’s natural rhythm. Here’s how to build your own personal glow routine using your favorite homemade night serums:
🌙 Step 1: Double Cleanse for a Fresh Start
Use a gentle oil-based cleanser to remove makeup and sunscreen, followed by a mild face wash to clear impurities.
🧼 Clean skin = better absorption.
🌸 Step 2: Tone or Mist for Balance
Spritz rose water, aloe mist, or green tea toner to balance your pH and prep your skin.
💧 Applying serum on damp skin helps lock in moisture and nutrients.
✨ Step 3: Choose the Right Serum for the Night
Rotate your serums based on your skin’s daily needs:
- Hydration boost: Aloe + Cucumber or Hyaluronic blends
- Anti-aging repair: Argan + Pomegranate or Rosehip + Vitamin E
- Brightening glow: Lemon + Turmeric or Rose + Vitamin C
- Acne control: Tea Tree + Neem or Green Tea + Tulsi
💡 Listen to your skin — it tells you what it needs each day.
🧴 Step 4: Seal with Moisture
After applying your serum, wait 1–2 minutes, then apply a light night cream or aloe gel to lock in hydration.
🌿 This “seal” ensures your serum stays active all night long.
💤 Step 5: Sleep, Hydrate, and Glow
Serums work best while your body rests and repairs.
Drink a glass of water before bed, sleep for 7–8 hours, and let your skin do its natural healing.
💕 Step 6: Morning Aftercare
Rinse with cool water, apply a mild moisturizer, and never skip sunscreen — especially after using brightening or exfoliating serums.
🌿 Your glow routine should feel like a nightly ritual, not a chore.
Enjoy the scent, the texture, and the quiet few minutes you dedicate to yourself — because true radiance starts with mindful care.
✨ Stay consistent, stay natural, and let your glow tell your story.
🧴 DIY Night Serum Checklist
Before you start blending your homemade night serums, make sure you have everything ready. A little preparation ensures that your serum stays fresh, effective, and safe for your skin.
✅ 1. Choose the Right Ingredients
Pick pure, cold-pressed carrier oils (like rosehip, jojoba, argan) and therapeutic-grade essential oils.
Avoid anything with added fragrance or artificial color.
🧪 2. Keep It Clean
Always sterilize your tools — droppers, spoons, bottles — with hot water or rubbing alcohol before use.
💡 Clean tools = longer shelf life and zero bacterial contamination.
💧 3. Measure Accurately
Use a 1–2% dilution ratio for essential oils.
➡️ Example: About 2–3 drops of essential oil per teaspoon of carrier oil.
Overuse can irritate sensitive skin.
🧴 4. Store in the Right Bottles
Use amber or cobalt blue glass bottles to protect your serum from sunlight.
Label each bottle with the date and recipe name so you can track freshness.
🧊 5. Keep It Cool
Store your DIY serums in a cool, dark place — or refrigerate if they contain ingredients like aloe, rose water, or fruit extracts.
🕒 6. Check Shelf Life
Most oil-based serums last 4–6 months if stored properly.
If the scent or texture changes, it’s time to make a new batch.
🌿 7. Patch-Test Every New Blend
Apply a drop of serum on your inner wrist and wait 24 hours to check for irritation or redness.
🧘♀️ 8. Keep It Simple
Avoid mixing too many actives together.
Stick to 3–5 core ingredients — your skin absorbs simpler formulas more effectively.
💫 9. Be Consistent
Use your serum nightly for best results.
Apply on clean, slightly damp skin and massage gently to help absorption.
✨ Following this checklist ensures your DIY night serums stay safe, stable, and potent — giving you glowing, healthy skin with every drop.
Final Thoughts
Beautiful skin doesn’t come from expensive products — it comes from consistency, care, and the right ingredients. When you create your own homemade night serum, you’re not just saving money; you’re giving your skin the love and nourishment it truly deserves.
Each natural oil, vitamin, and extract you blend carries its own magic — hydrating, repairing, and rejuvenating your skin while you sleep. Over time, this simple ritual transforms into something deeper: a peaceful moment of self-care that reconnects you with nature’s rhythm.
🌿 Whether you choose a hydrating aloe blend, a brightening vitamin C serum, or a rejuvenating argan mix, the results will always reflect your intention — glowing, healthy, and balanced skin that feels alive every morning.
✨ Consistency is your best beauty secret. Use your serum nightly, stay hydrated, get restful sleep, and watch your skin reward you with a natural radiance that no high-end product can replicate.
So tonight, skip the chemicals and trust your hands — mix your glow, breathe in the calming scent of nature, and let your skin rest, repair, and rise renewed.
Stay Gorgeous, Share the Secret! 💖