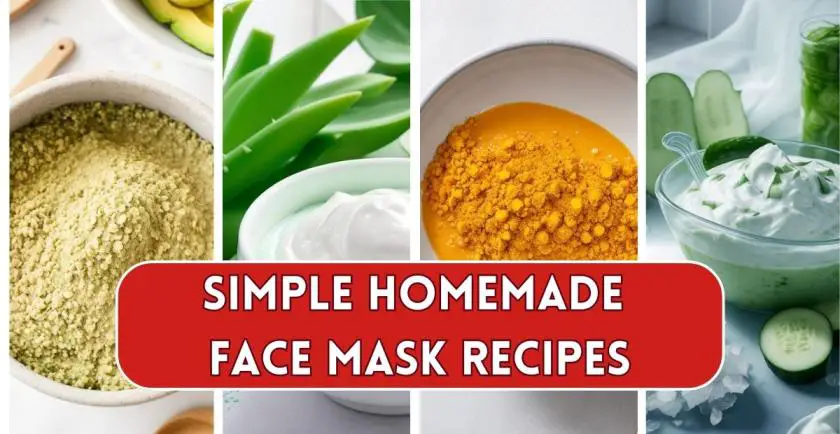
Welcome to the world of DIY beauty, where simplicity meets effectiveness. In this blog post, we’ll explore simple homemade face mask recipes and how you can create nourishing and revitalizing concoctions using ingredients like avocado, honey, yogurt, and oats. These natural gems offer a myriad of benefits for your skin, making your at-home skincare routine a delightful and rewarding experience.
Section 1: Avocado Face Masks
Avocado isn’t just a trendy toast topping; it’s a fantastic skincare ingredient too! Packed with vitamins E, C, and K, along with antioxidants and healthy fats, avocado helps nourish and hydrate your skin deeply. Try these easy-to-make avocado face mask recipes:
1. Avocado and Honey Hydration Mask:
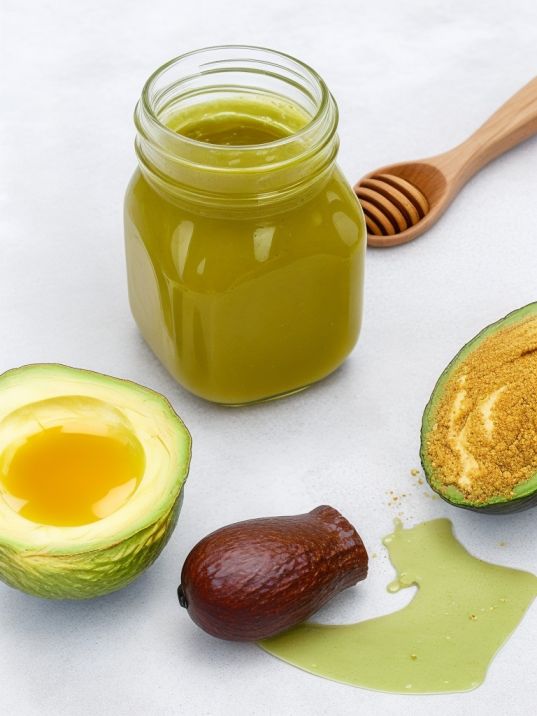
Experience Deep Hydration and Nourishment: Avocado and honey come together to replenish your skin’s moisture levels, leaving it soft, supple, and beautifully hydrated. Avocado’s rich vitamins and healthy fats combine with honey’s humectant properties to lock in moisture and promote a radiant, dewy complexion. Say goodbye to dryness and hello to a revitalized glow with this luxurious hydration mask.
Ingredients:
- 1 ripe avocado
- 1 tablespoon of raw honey
Instructions:
Mash the avocado in a bowl and mix in the honey until you get a smooth paste. Apply it to your clean face and leave it on for 15-20 minutes. Rinse off with warm water to reveal glowing and moisturized skin.
2. Avocado and Oatmeal Exfoliating Mask:
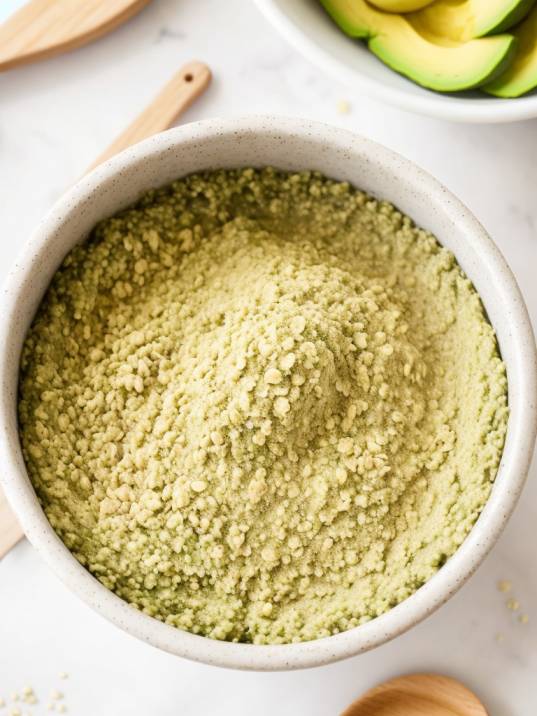
Achieve a Glowing Complexion: Avocado and oatmeal team up to provide your skin with an exfoliating and rejuvenating experience. The combination of avocado’s nourishing properties and oatmeal’s gentle exfoliation helps slough away dead skin cells, revealing a brighter and more radiant complexion. This mask effectively unclogs pores, reduces the appearance of blemishes, and leaves your skin feeling velvety smooth. Embrace the natural goodness of this exfoliating mask and enjoy the benefits of a revitalized glow.
Ingredients:
- 1/2 ripe avocado
- 2 tablespoons of finely ground oats
- 1 teaspoon of lemon juice
Instructions:
Combine the mashed avocado, ground oats, and lemon juice to create a gentle exfoliating mask. Massage it onto your face in circular motions for a few minutes before letting it sit for another 10 minutes. Rinse off to enjoy smooth and rejuvenated skin.
Section 2: Honey Face Masks
Honey, nature’s sweet nectar, is a skincare powerhouse. Its antibacterial and anti-inflammatory properties make it ideal for acne-prone skin, while its humectant properties lock in moisture, keeping your skin supple and glowing. Here are some DIY honey face mask recipes:
1. Honey and Yogurt Soothing Mask:
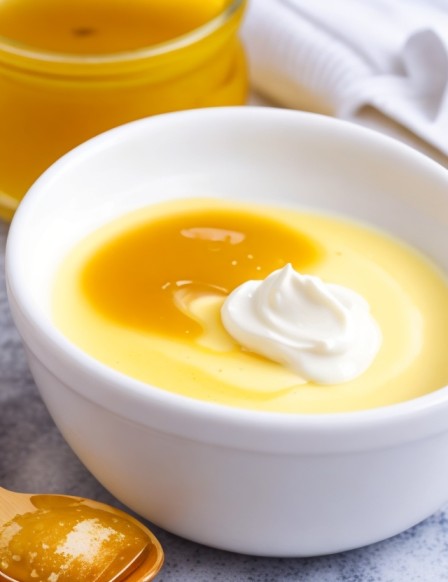
Experience Calm and Comfort: The honey and yogurt soothing mask is a gentle treat for your skin, combining the calming properties of honey with the cooling effects of yogurt. This delightful blend helps soothe irritation, redness, and inflammation, leaving your skin feeling refreshed and revitalized. Enjoy the hydrating benefits of yogurt and the antibacterial properties of honey, as this mask works to restore balance and provide instant relief for sensitive or stressed skin. Embrace the comfort of this soothing mask and pamper your skin with a touch of natural care.
Ingredients:
- 2 tablespoons of raw honey
- 1 tablespoon of plain yogurt
Instructions:
Mix the honey and yogurt thoroughly. Apply an even layer to your face and relax for 15 minutes. Rinse off with lukewarm water to reveal calm and nourished skin.
2. Honey and Turmeric Brightening Mask:
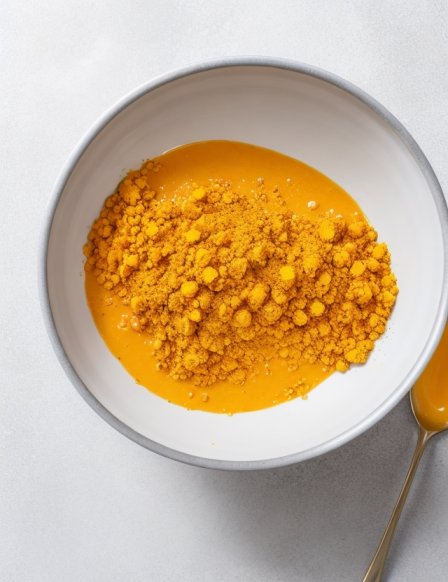
Reveal Your Natural Radiance: The honey and turmeric brightening mask is a golden elixir for your skin, combining the brightening powers of turmeric with the nourishing properties of honey. This powerful duo helps fade dark spots, even out skin tone, and promote a healthy glow. Turmeric’s anti-inflammatory benefits, coupled with honey’s antibacterial properties, work wonders to unclog pores and soothe acne-prone skin. Experience a radiant complexion and bask in the glow of this illuminating mask, as it unveils the true beauty of your skin.
Ingredients:
- 1 tablespoon of raw honey
- 1/2 teaspoon of turmeric powder
- A squeeze of lemon juice (optional)
Instructions:
Combine the honey and turmeric, adding lemon juice if you prefer. Spread the mixture on your face and let it sit for 10-15 minutes. Rinse off gently to enjoy a radiant and revitalized complexion.
Section 3: Yogurt Face Masks
Yogurt is a probiotic-rich ingredient that works wonders for your skin. Its lactic acid content gently exfoliates, while its creamy texture hydrates and calms irritated skin. Try these DIY yogurt face masks:
1. Yogurt and Aloe Vera Cooling Mask:
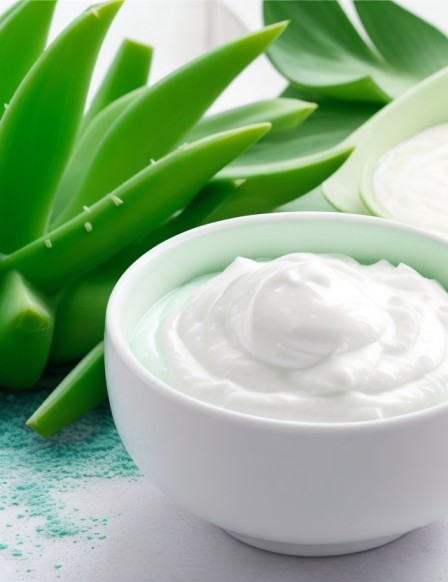
The yogurt and aloe vera cooling mask offers a blissful and cooling experience for your skin. The combination of yogurt’s probiotics and aloe vera’s hydrating gel provides a soothing escape from daily stressors. This mask helps calm inflammation, reduce redness, and replenish your skin’s moisture, leaving it feeling revitalized and rejuvenated. Embrace the soothing benefits of this cooling mask and treat your skin to a spa-like sensation of pure relaxation and comfort.
Ingredients:
- 2 tablespoons of plain yogurt
- 1 tablespoon of fresh aloe vera gel
Instructions:
Mix the yogurt and aloe vera gel until well blended. Apply the mask to your face and leave it on for 20 minutes. Rinse off to reveal refreshed and soothed skin.
2. Yogurt and Cucumber Rejuvenating Mask:
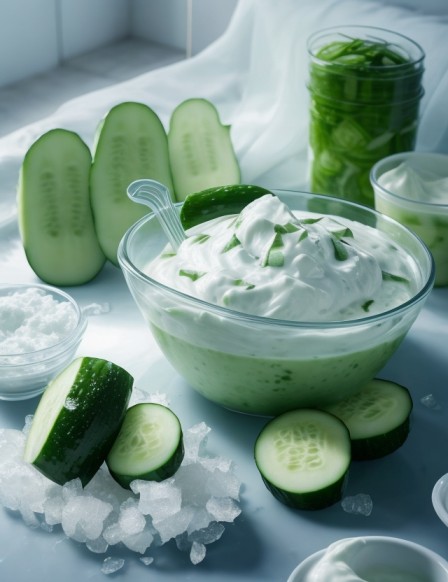
The yogurt and cucumber rejuvenating mask is a refreshing and invigorating blend that breathes new life into your complexion. With yogurt’s gentle exfoliation and cucumber’s cooling properties, this mask helps revitalize tired skin, reducing puffiness and leaving it feeling revitalized. The soothing benefits of both ingredients work together to restore balance and provide a rejuvenating experience. Embrace the transformative power of this mask and enjoy a renewed, youthful glow that will leave you feeling truly rejuvenated.
Ingredients:
- 3 tablespoons of plain yogurt
- 2 tablespoons of grated cucumber
Instructions:
Combine the yogurt and grated cucumber to create a cooling and rejuvenating mask. Apply it to your face and neck, avoiding the eye area. After 15 minutes, rinse off with cool water for a revitalized and invigorated look.
Read More-
- 6 Natural DIY Shampoos: Gentle Cleansing for Healthy Hair
- 7 Tips for Keeping Your Skin Hydrated and Fresh During Long Flights
Section 4: Oat Face Masks
Oats are gentle and calming, making them perfect for sensitive and irritated skin. The anti-inflammatory properties of oats help reduce redness and soothe irritation. Try these DIY oat face masks:
1. Oatmeal and Honey Cleansing Mask:
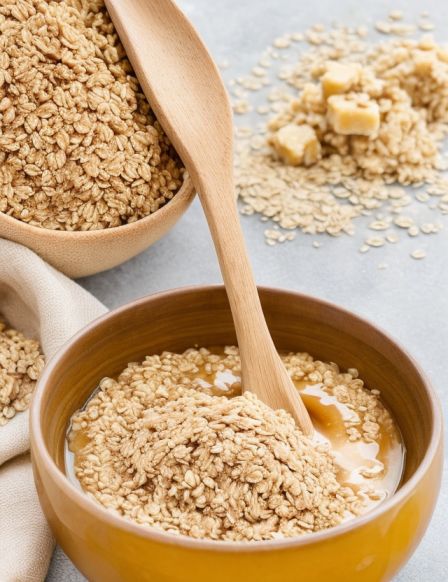
The oatmeal and honey cleansing mask is a natural delight for your skin. Oatmeal’s gentle exfoliation combined with honey’s antibacterial properties creates a powerful cleanser that effectively removes impurities and unclogs pores. This mask helps to soothe and balance the skin, leaving it feeling clean, refreshed, and revitalized. Embrace the nourishing benefits of this cleansing mask and enjoy a clearer, healthier complexion that radiates natural beauty.
Ingredients:
- 1/4 cup of oats (ground to a powder)
- 1 tablespoon of raw honey
- 1 tablespoon of warm water
Instructions:
Mix the ground oats, honey, and warm water to form a paste. Gently massage it onto your face, then let it sit for 10 minutes. Rinse off with lukewarm water for a clean and refreshed complexion.
2. Oatmeal and Banana Nourishing Mask:
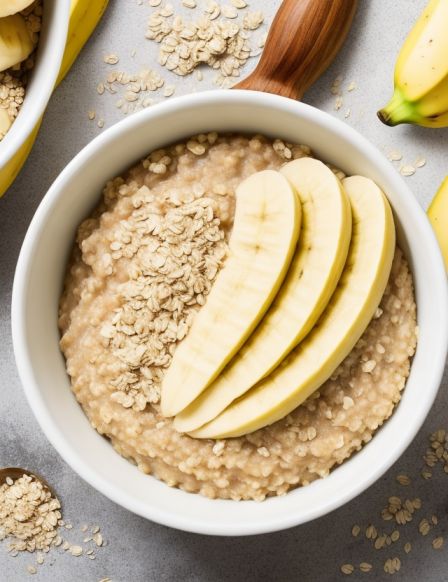
The oatmeal and banana nourishing mask is a luxurious treat for your skin. Packed with vitamins and minerals, the combination of oatmeal and banana helps to hydrate, nourish, and revitalize your skin. This mask provides essential nutrients to promote a healthy complexion and leaves your skin feeling soft, supple, and deeply moisturized. Embrace the natural goodness of this nourishing mask and enjoy the benefits of a radiant and revitalized glow.
Ingredients:
- 1/2 ripe banana
- 2 tablespoons of ground oats
- 1 tablespoon of plain yogurt
Instructions:
Mash the banana and mix it with ground oats and yogurt to form a nourishing mask. Apply it to your face and let it work its magic for 15-20 minutes. Rinse off to reveal soft and nourished skin.
Tips for Using Homemade Face Masks
- Before applying any face mask, perform a patch test on a small area of your skin to check for allergic reactions.
- Always start with a clean face before applying a mask to ensure better absorption of the nutrients.
- If you have sensitive skin, reduce the frequency of face mask usage to avoid over-exfoliation or irritation.
- Conduct a Patch Test: Before applying any new face mask, always perform a patch test on a small area of your skin, preferably on your inner arm. This will help you check for any allergic reactions or sensitivity to the ingredients.
- Avoid the Eye Area: When applying face masks, be cautious around the delicate eye area. Avoid applying masks too close to the eyes to prevent irritation.
- Cleanse Your Face: Start with a clean and makeup-free face before applying a mask. Use a gentle cleanser to remove dirt and oil, ensuring better absorption of the mask’s nutrients.
- Use Non-Metallic Bowls and Utensils: When mixing ingredients for your homemade face masks, use non-metallic bowls and utensils. Metal can react with certain ingredients, affecting their efficacy.
- Customize the Recipes: Feel free to customize the face mask recipes based on your skin type and concerns. For oily skin, add a few drops of lemon juice to control excess oil. For dry skin, add a little extra honey for extra moisture.
- Apply Evenly: Use a clean brush, silicone applicator, or your fingertips to apply the face mask evenly to your face and neck. Ensure there are no air pockets or gaps for optimal results.
- Time It Right: Follow the recommended time for each mask. Leaving a mask on for too long can cause irritation, while removing it too early may not provide the desired benefits.
- Relax While Masking: Take the opportunity to relax and unwind while the face mask works its magic. Lie down or sit back, close your eyes, and enjoy a few minutes of self-care.
- Don’t Forget to Moisturize: After rinsing off the face mask, don’t skip moisturizing. Apply your favorite moisturizer to lock in the benefits of the mask and keep your skin hydrated.
- Use Masks in Moderation: While homemade face masks can be beneficial, it’s essential not to overdo them. Depending on the mask’s ingredients and your skin type, use them 1-3 times a week for best results.
Note-
The information provided in this article is for general informational purposes only and is not intended as a substitute for professional medical advice. It is essential to consult with a qualified healthcare professional before using any homemade face masks or skincare products, especially if you have any pre-existing skin conditions or allergies. The efficacy and safety of these DIY beauty recipes may vary based on individual skin types and sensitivities. To read more about health disclaimers and better understand our website’s policies, visit our health disclaimer page.
FAQs (Frequently Asked Questions)
1. How do you make a simple homemade face mask?
To make a simple homemade face mask, choose a base ingredient like yogurt, honey, or mashed avocado. Mix it with other natural ingredients such as oatmeal, lemon juice, or aloe vera gel to create a paste. Apply the mixture to your face, leave it on for the recommended time, and rinse off with warm water. Enjoy the natural goodness of your DIY face mask!
2. Which food can be used to make an easy facial mask at home?
Several foods can be used to make an easy facial mask at home, such as avocado, honey, yogurt, oatmeal, banana, and cucumber. These natural ingredients are readily available and offer various skincare benefits.
3. What is the best easy homemade face mask?
The best easy homemade face mask depends on your skin type and concerns. Avocado and honey masks are excellent for deep hydration, while yogurt and turmeric masks are great for brightening. Experiment with different recipes to find the one that suits your skin best.
4. How do you make a hydrating mask at home?
Create a hydrating mask at home by mixing ingredients like avocado, honey, and yogurt. These ingredients are rich in moisture and nutrients that help keep your skin hydrated, smooth, and supple.
5. What is the best ingredient for a face mask?
The best ingredient for a face mask depends on your skin’s needs. For hydration, use avocado or aloe vera gel. For exfoliation, try oatmeal or sugar. For brightening, consider turmeric or lemon juice. Choose ingredients that suit your skin type and concerns.
6. Can I store leftover face mask mixtures for later use?
It’s best to use the face mask immediately after preparing it to retain its freshness and effectiveness. Avoid storing leftover mixtures, as they may lose their potency or become contaminated.
7. How long should I leave the face mask on my skin?
The recommended time for leaving a face mask on varies depending on the recipe and ingredients used. Generally, most masks can be left on for 10-20 minutes. Refer to the specific instructions for each mask.
8. Can I combine different homemade face mask recipes in one application?
It’s not advisable to mix different homemade face masks together, as their ingredients are carefully balanced for specific benefits. Combining multiple masks may cause unpredictable reactions on your skin.
9. What should I do if I experience any adverse reactions to a face mask?
If you experience any redness, irritation, or discomfort after using a face mask, rinse it off immediately and discontinue its use. Consult a dermatologist if the symptoms persist.
10. Can I use these face masks on other parts of my body?
Yes, you can use these face masks on other parts of your body, such as your neck, chest, or hands, to extend their benefits to those areas.
Conclusion:
Creating homemade face masks using avocado, honey, yogurt, oats, and other natural ingredients is a simple yet effective way to give your skin the care it deserves. These DIY beauty recipes offer a wide range of benefits, from hydration and rejuvenation to soothing and exfoliation. Embrace the goodness of natural skincare and treat yourself to a nourishing and revitalizing experience right at home.
